Creating Something Magical
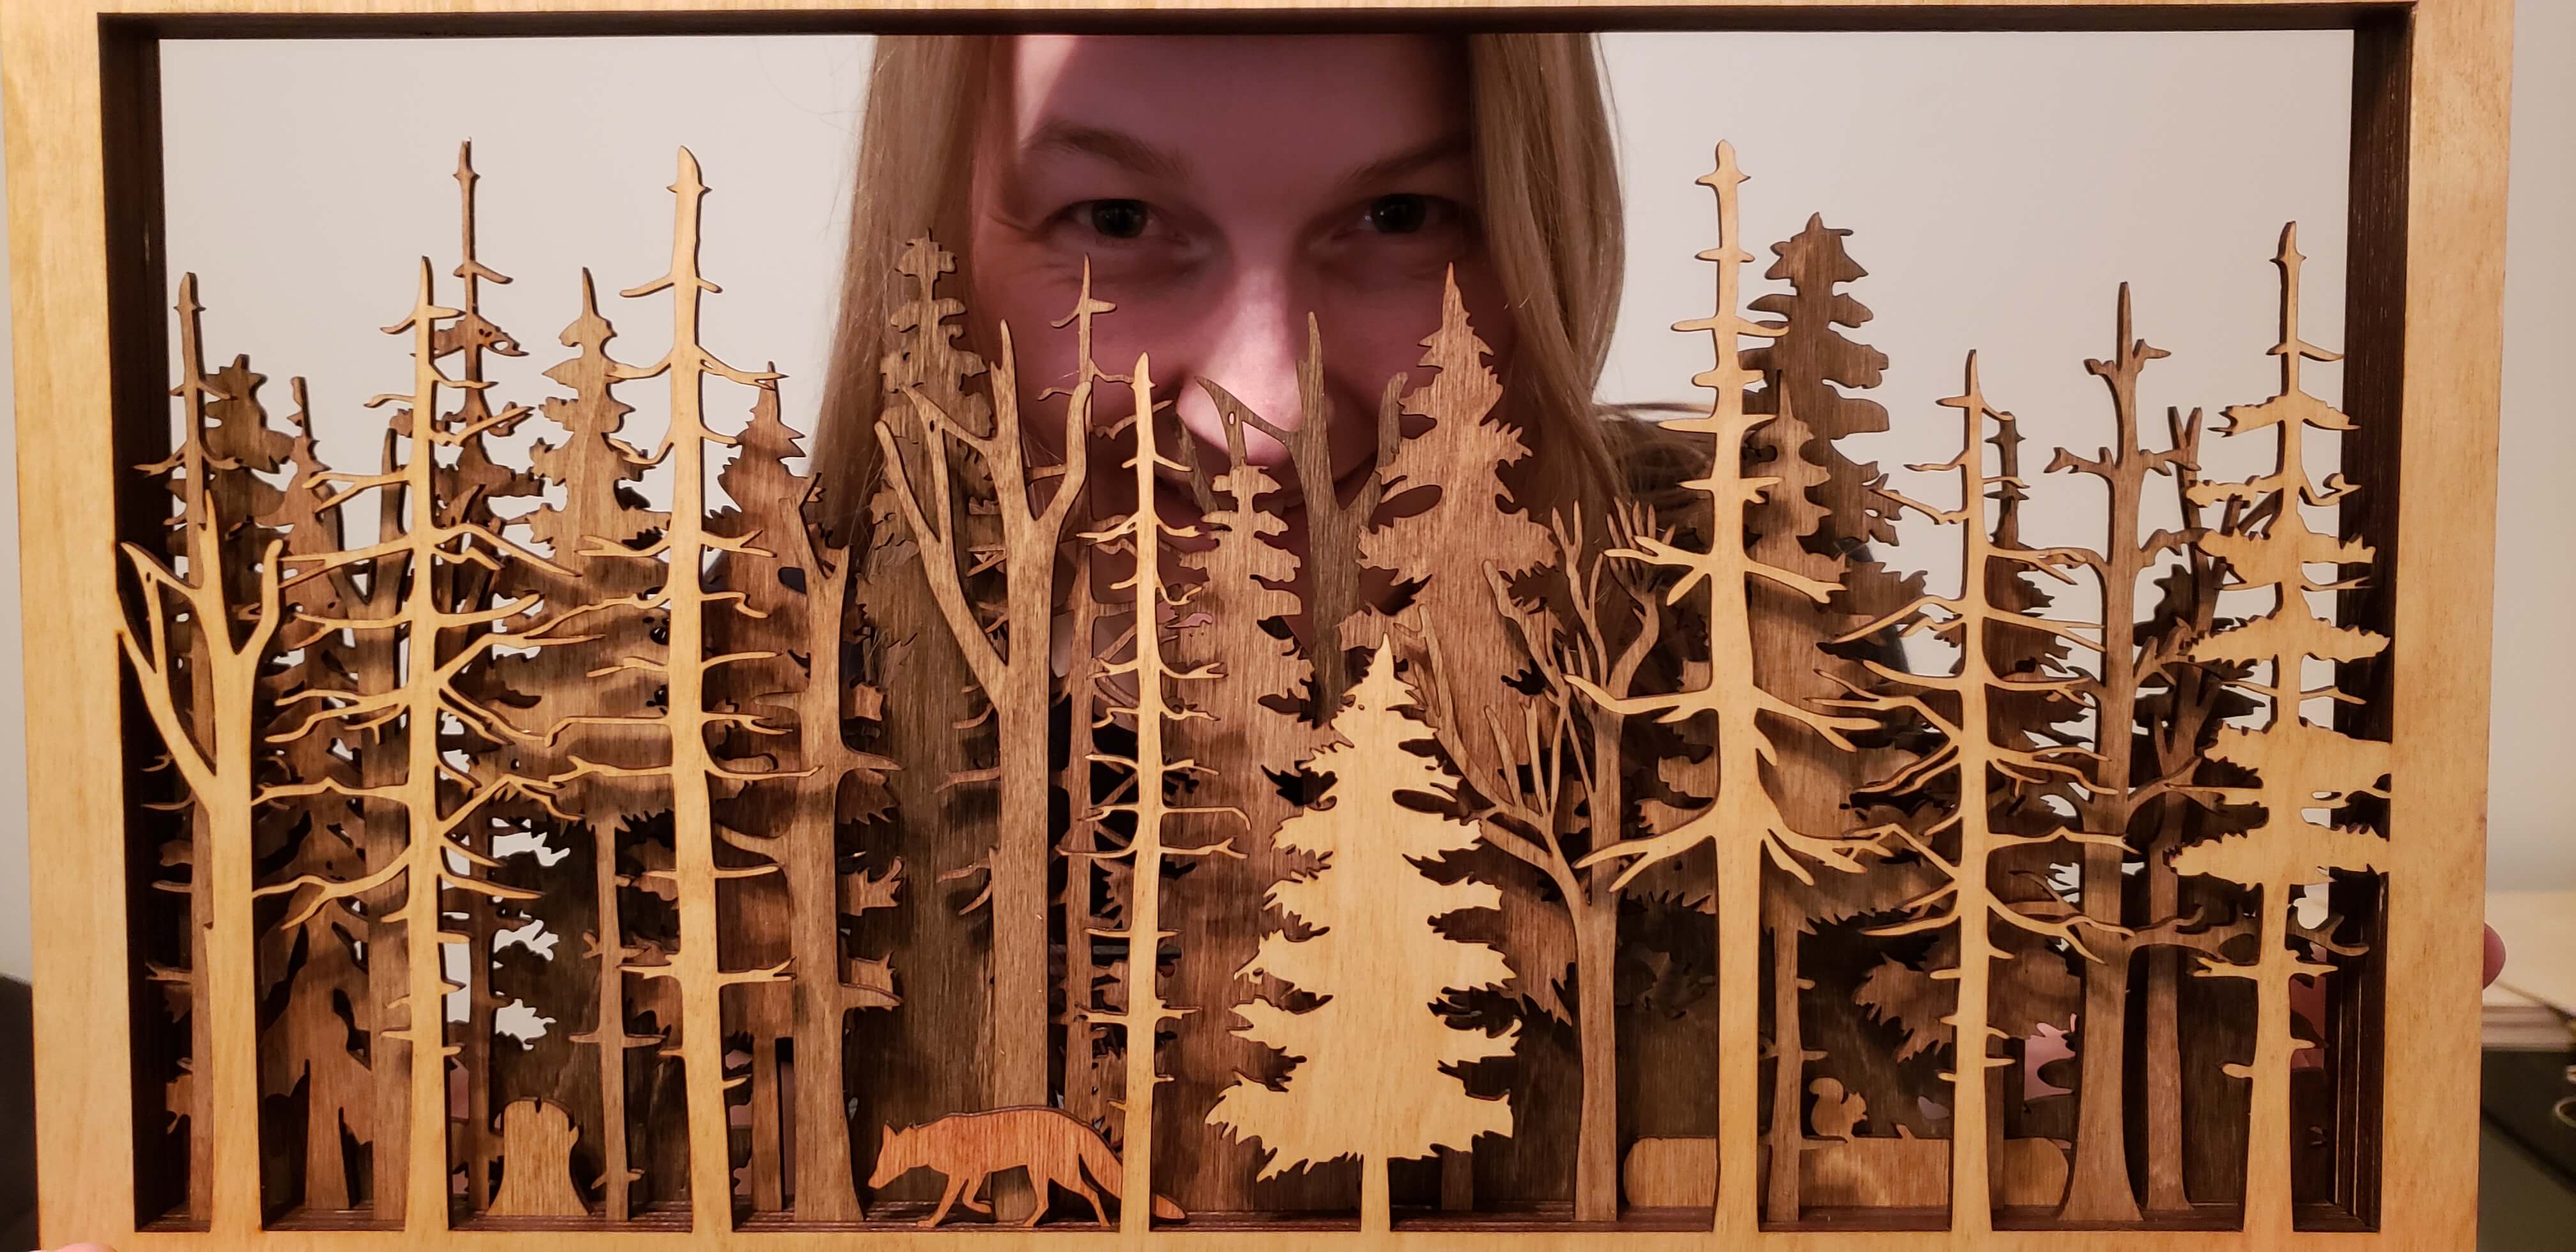
The Wide Woods is our largest, most complex and most expensive piece that we sell in our Etsy shop. It takes up a lot of space at physical events being 19” x 11”, but it also draws a lot of “ooohs” and “aaahs” (until people see the price tag). While we do have a smaller version called “Call of the Woods”, which takes up less material and is as wide as this is tall, The Wide Woods is still our anchor piece.
Made up of 7 layers and 16 pieces (+ 2 sawtooth hangers), this piece takes some time to complete and assemble. I’m going to take you through the process step by step to show you how it’s done!
Step 1. Preparing the Wood
There is actually pre-preparation to this step, which is obtaining the wood, cutting the wood to size, and sanding the wood (which is not really fun when you have 60 or more of these boards to do), but we’ll skip that for now!
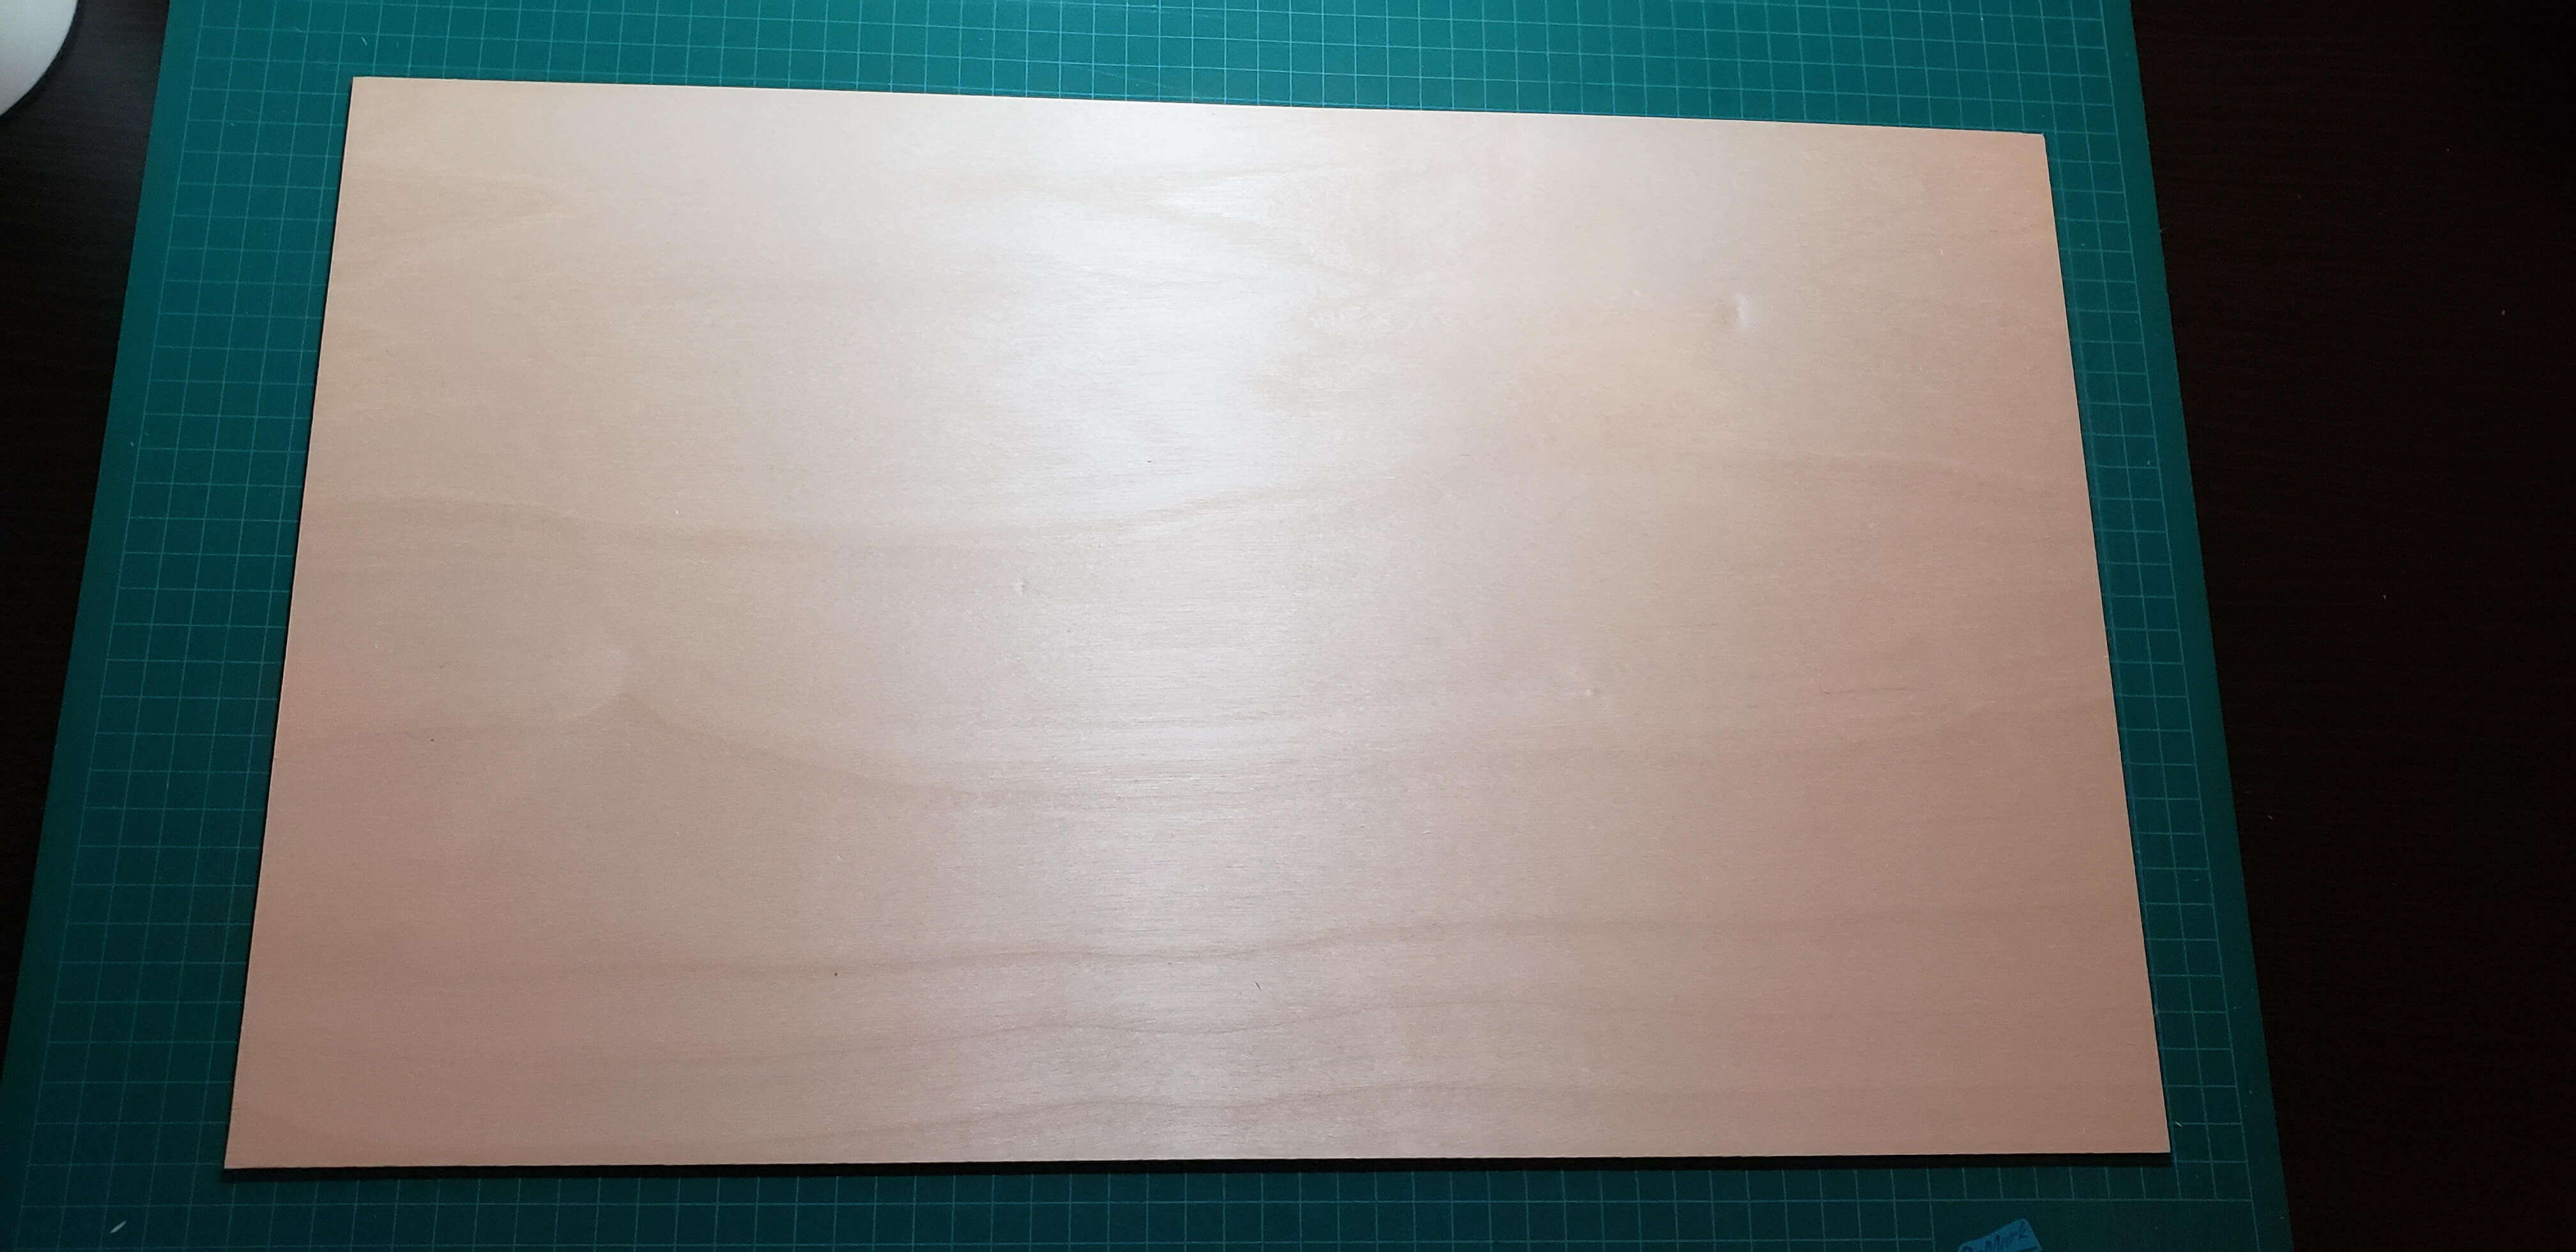
We’ve got our 1st board, and in this case we are using premium 1/8” Finish Birch 4 Ply with an AB/B rating, which is why it costs 3 times our regular 3B/4B Baltic Birch 3 Ply. Lucky for us, this premium wood comes pre-sanded. The reason we use this wood is because it’s made specifically for laser cutting and should have no issues in cutting. With our regular Baltic Birch supply we can have smooth sailing or run into mystery nightmares as the center ply layer ends up being hollow in spots or filled with a rock like substance that my diamond tipped Dremel can’t even grind out. There is nothing worse then spending 30 minutes cutting up an entire board to find out that it failed to cut through in several spots and is non-recoverable (even with scalpel + Dremel surgery). Even worse is when this happens on every single layer or board (which did happen for a huge portion of wood that all came from a bad batch).
Step 2. Masking the Wood
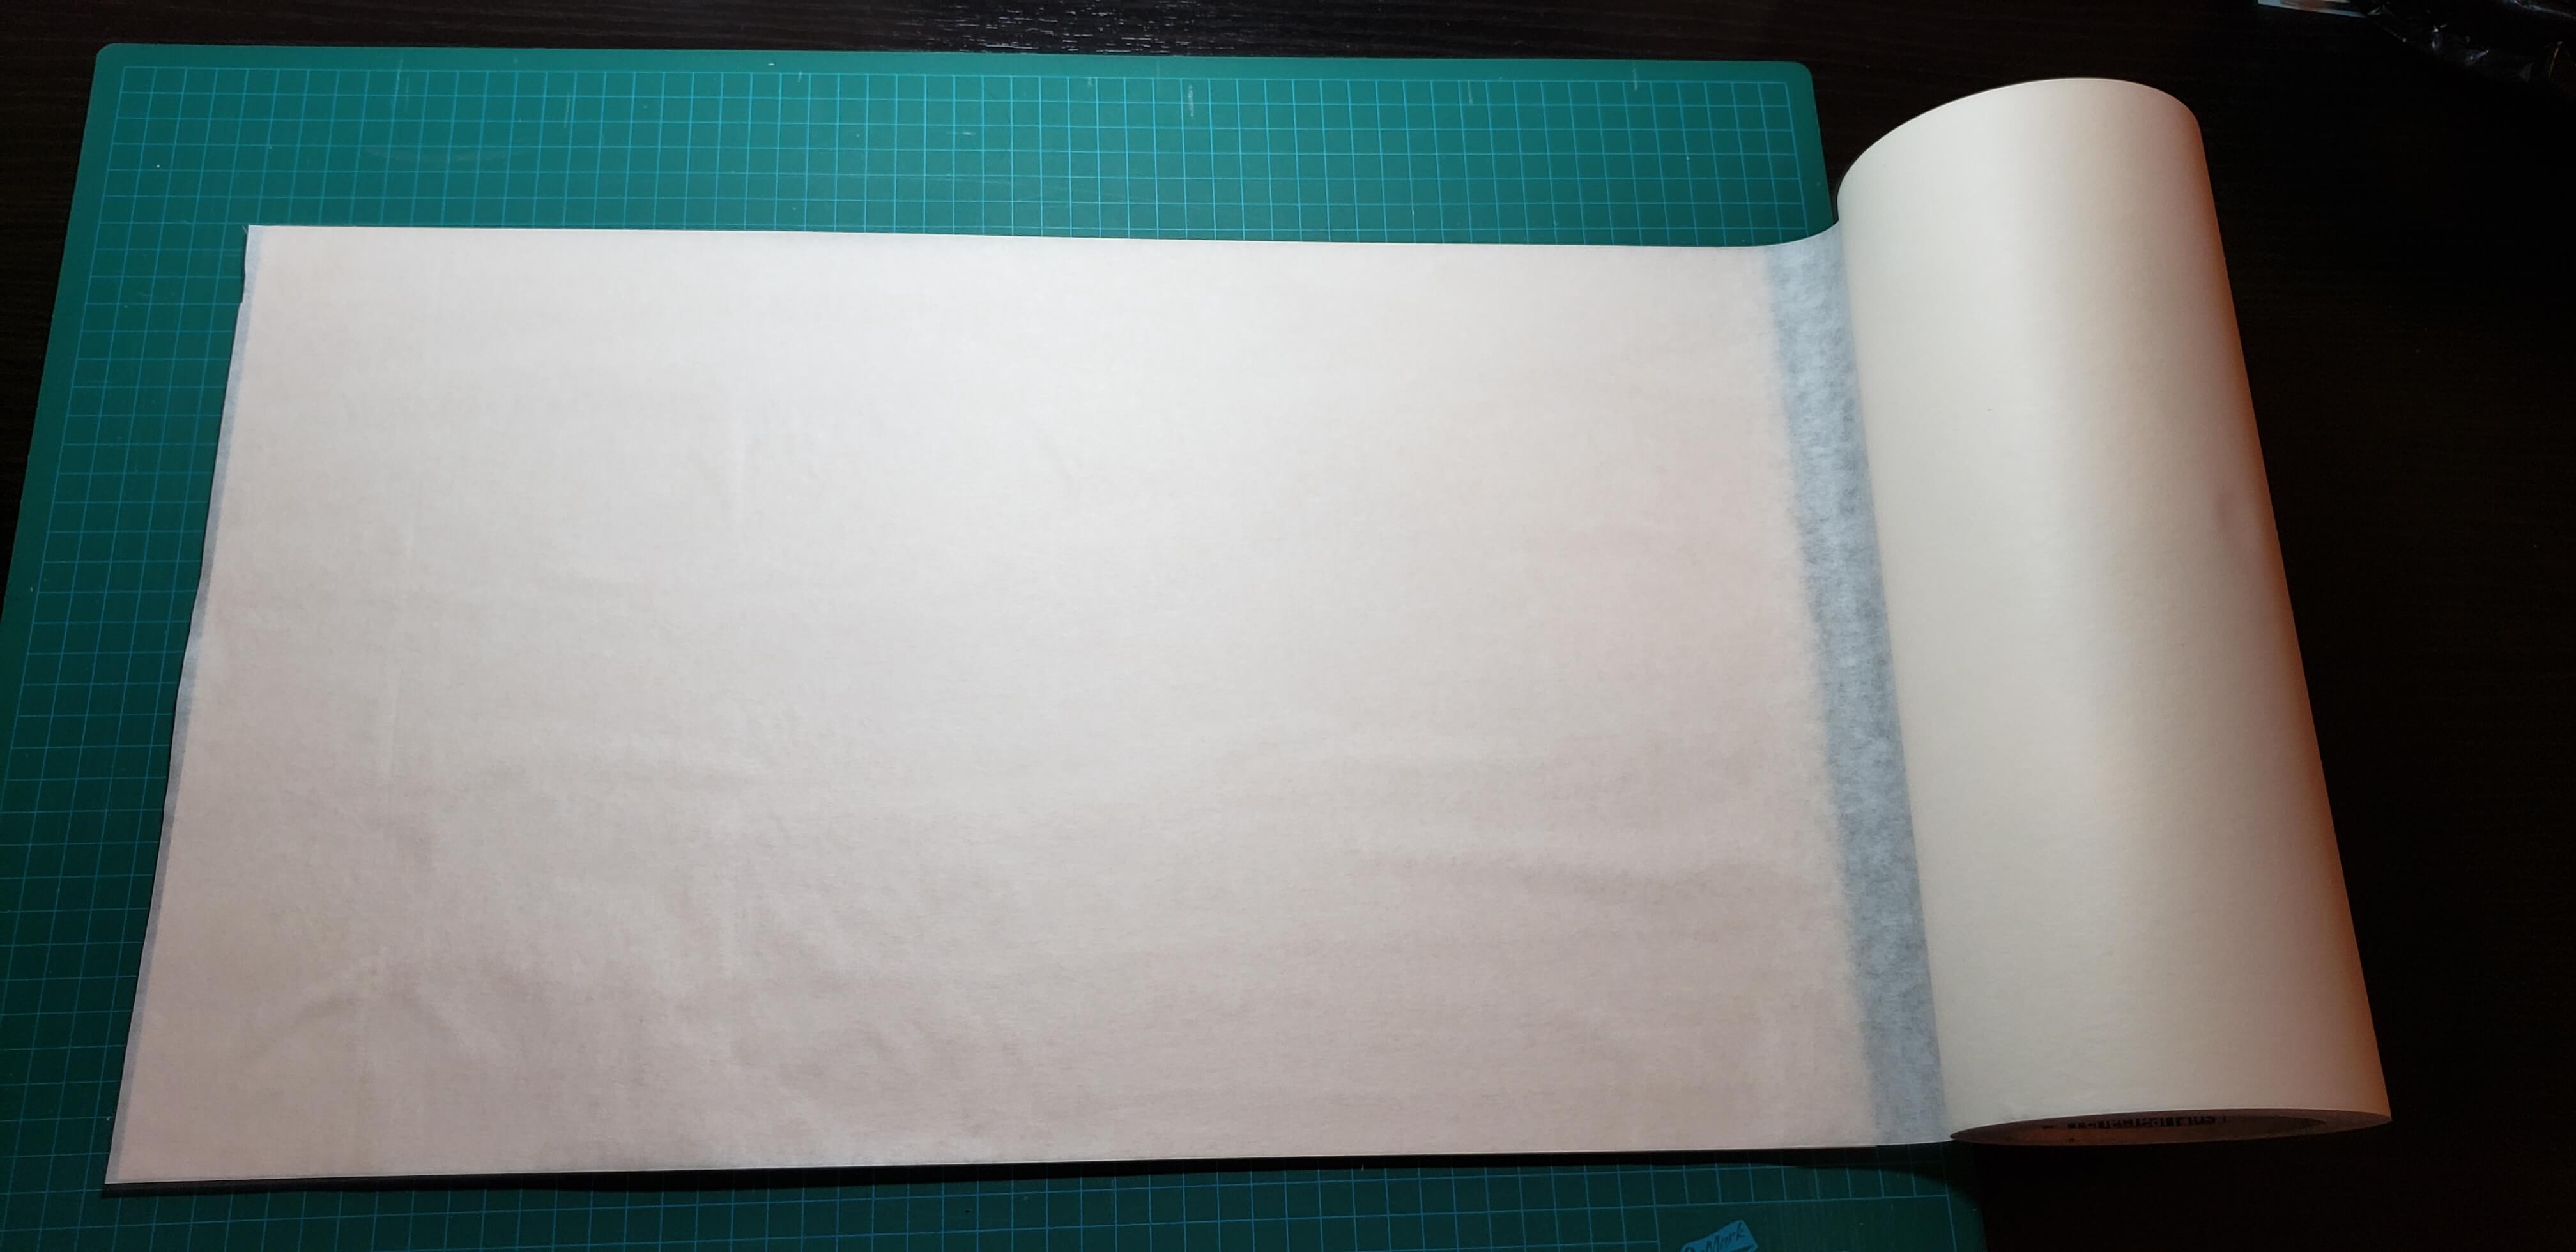
In order to make sure the wood is clean after cutting, we need to apply high tack transfer tape to each board. These supplies are not really easy to find, but I managed to find a supplier in Mississauga that also ships. We take this roll, apply it to the end, and try to unroll it over the board and line it up straight, then we cut it with an Xacto knife and smooth it out. We’ve got two different smoothing tools and it can take some work and practice to get it affixed very tightly with no bubbles or creases.
If we did not apply the tape, the edges of the wood around cuts would have an orange hue to them, looking slightly toasted or burnt. Some people may not care, but we think it’s pretty ugly and unprofessional looking. It doesn’t go away when covered in stain and leaves orange residue on your fingers after touching it each time. You can tell which shops online mask or don’t mask by seeing this orange glow around the edges and know that they are trying to pump stuff out faster and cheaper. Note that if you are engraving, you do not want to have it taped!
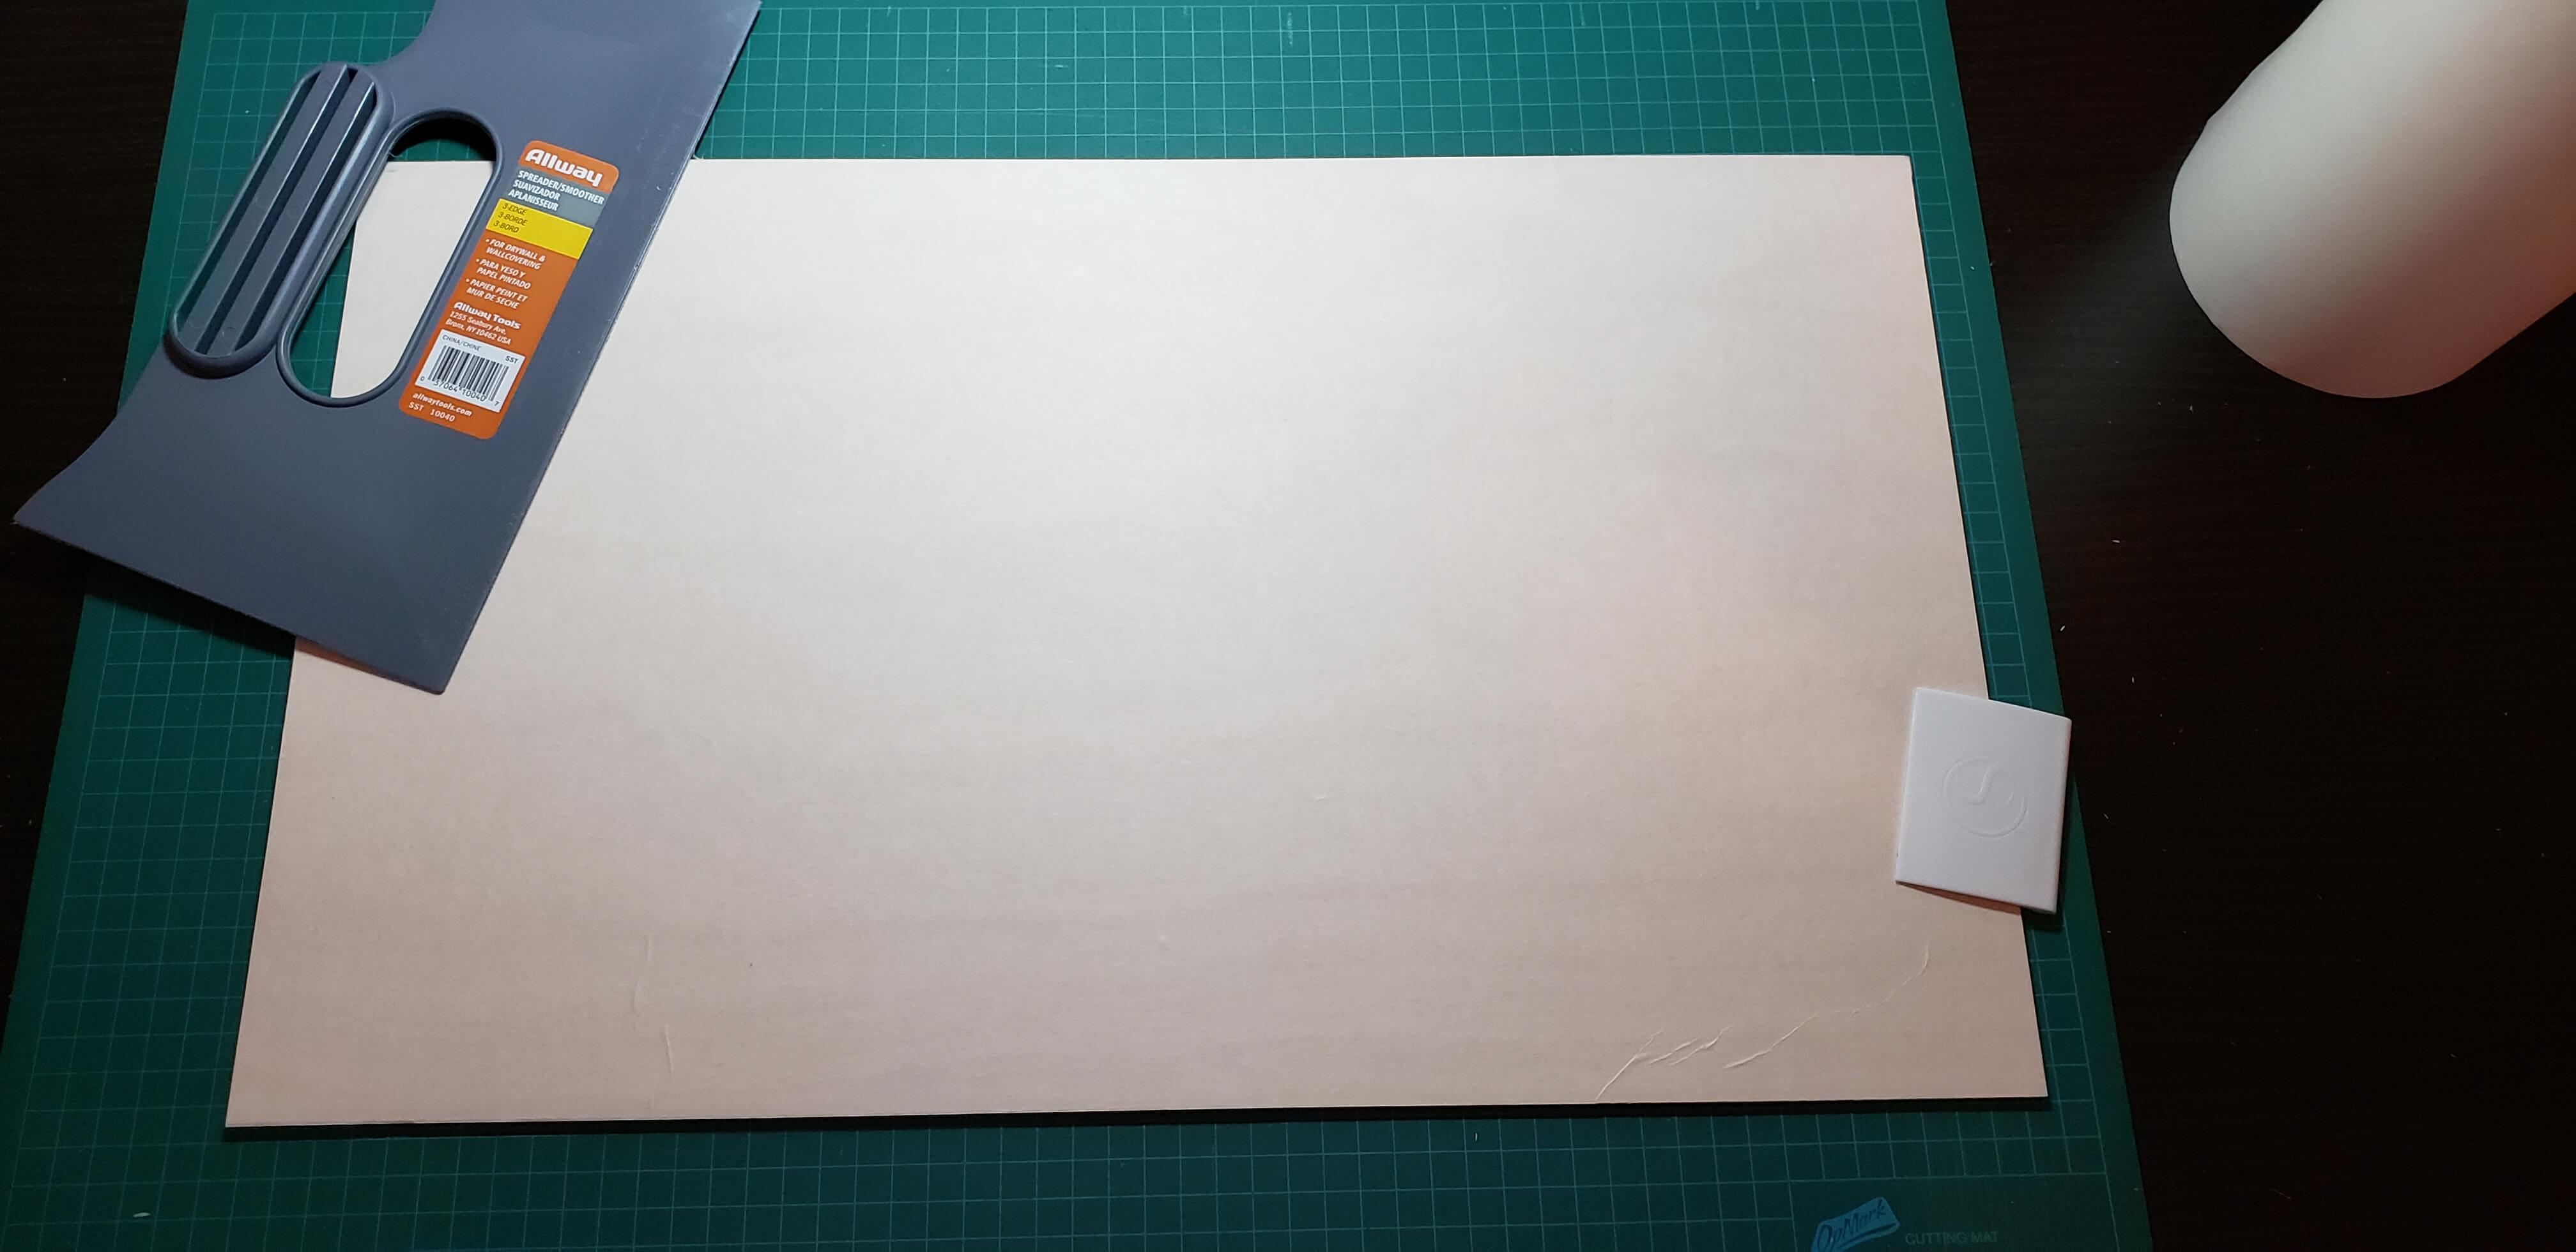
Here is our first piece ready to go, with minor creases, but they usually don’t cause issue. We need to repeat this step for every piece of wood we are going to cut.
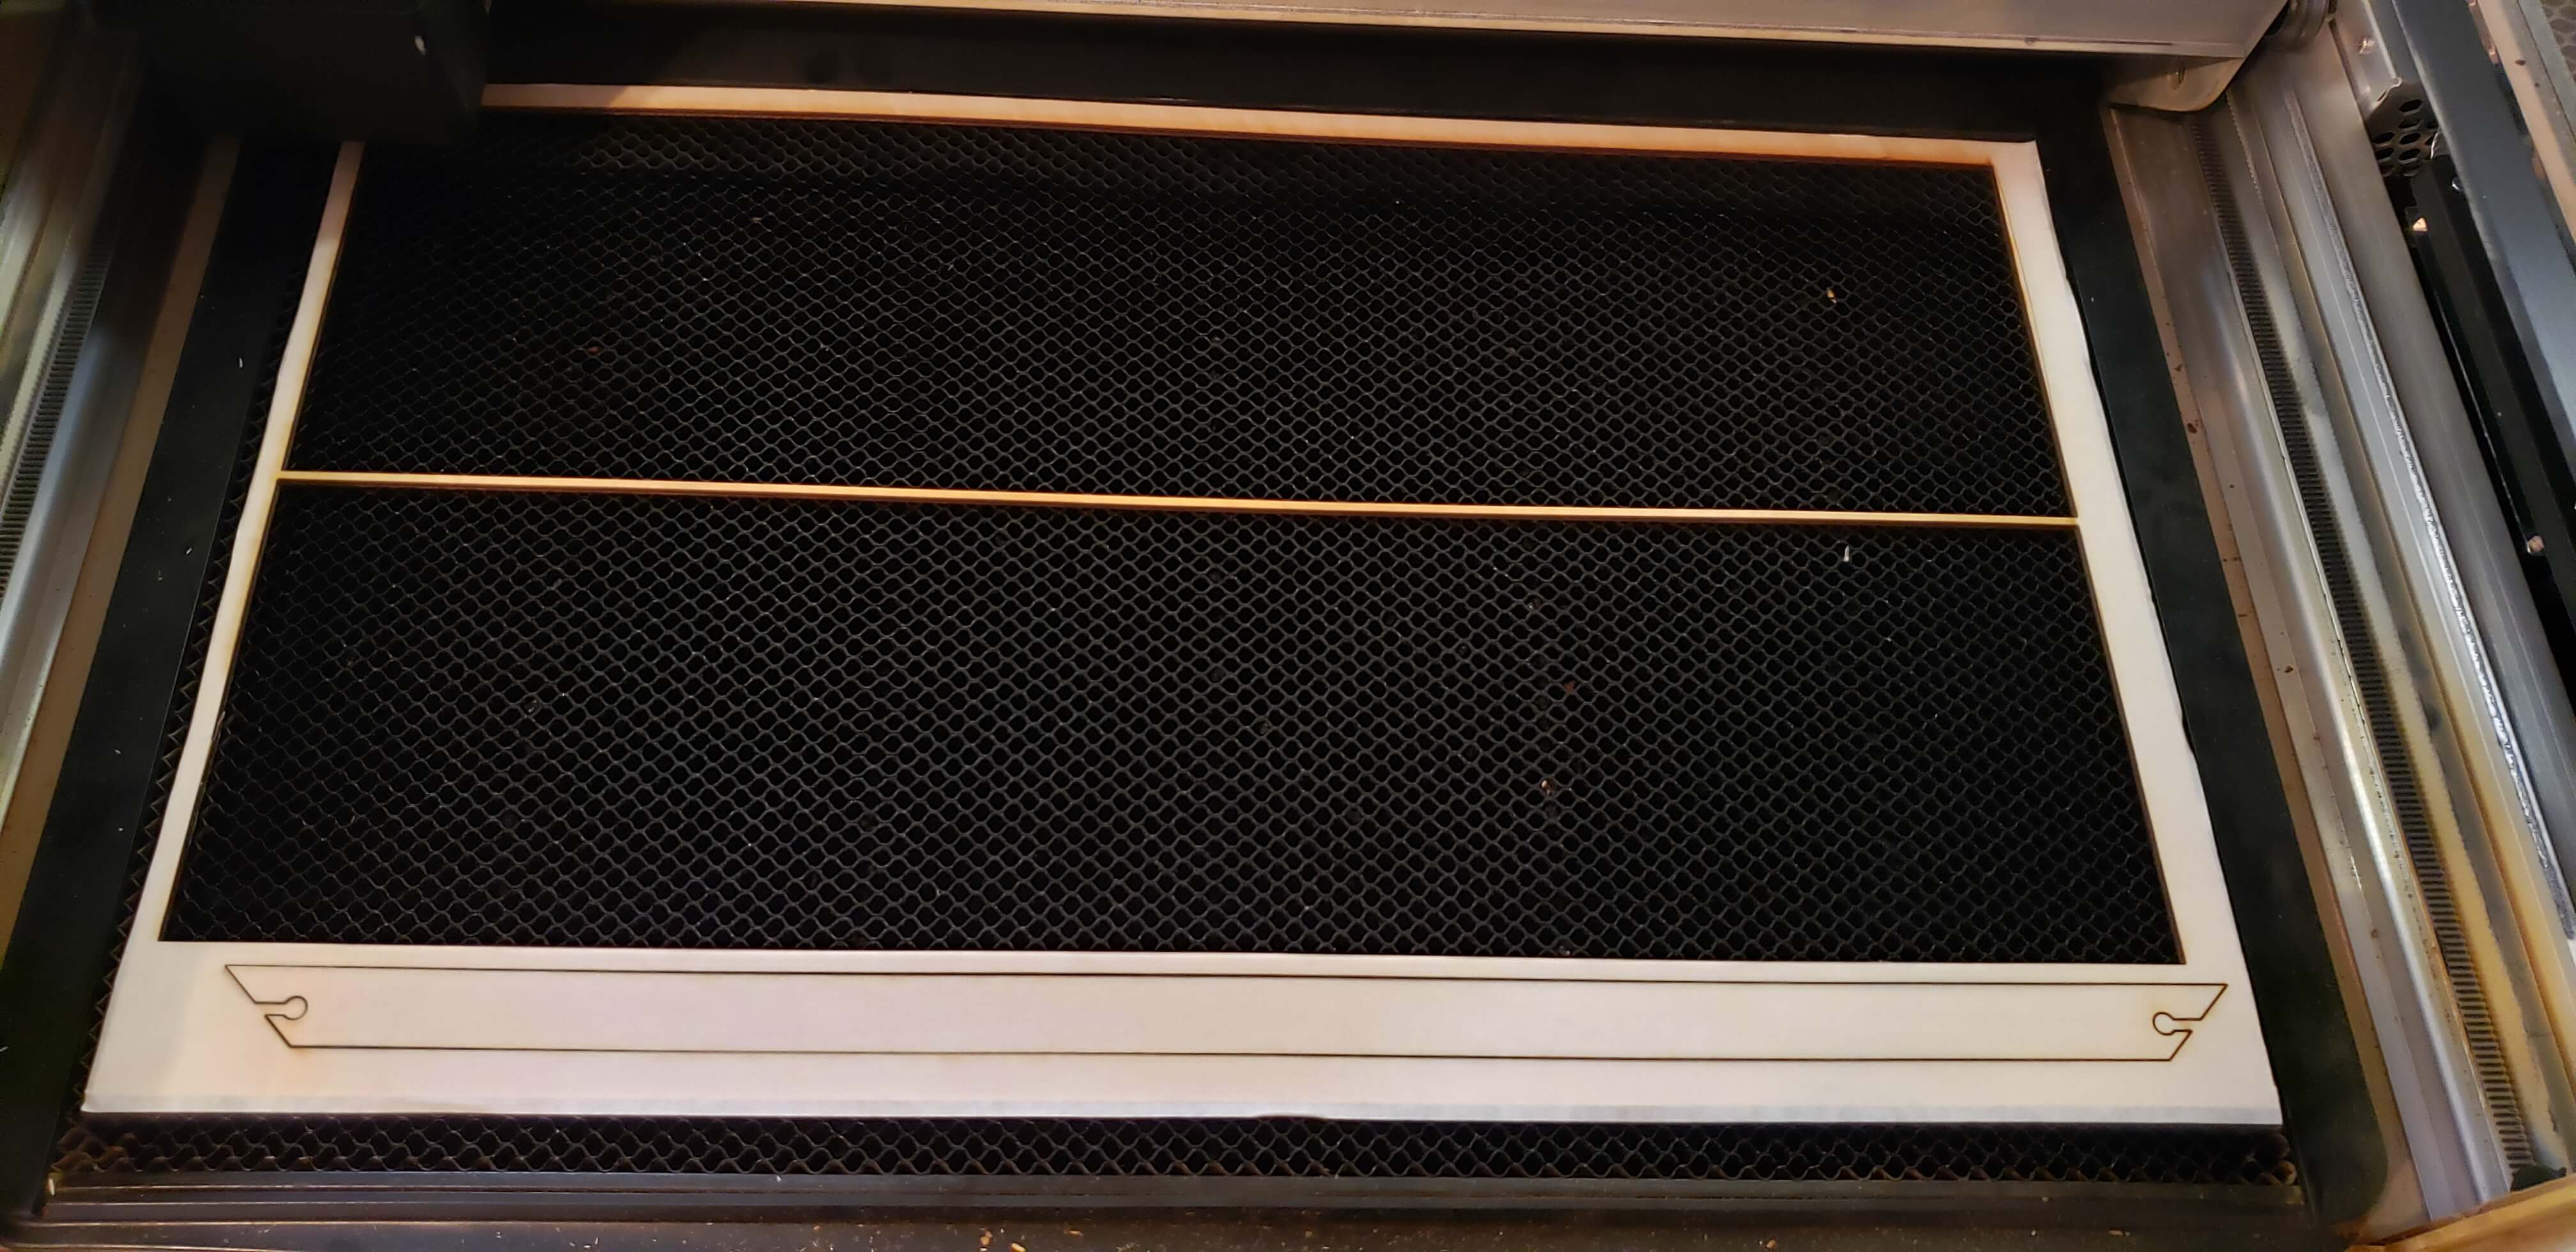
Step 3. Cutting Out the Layers
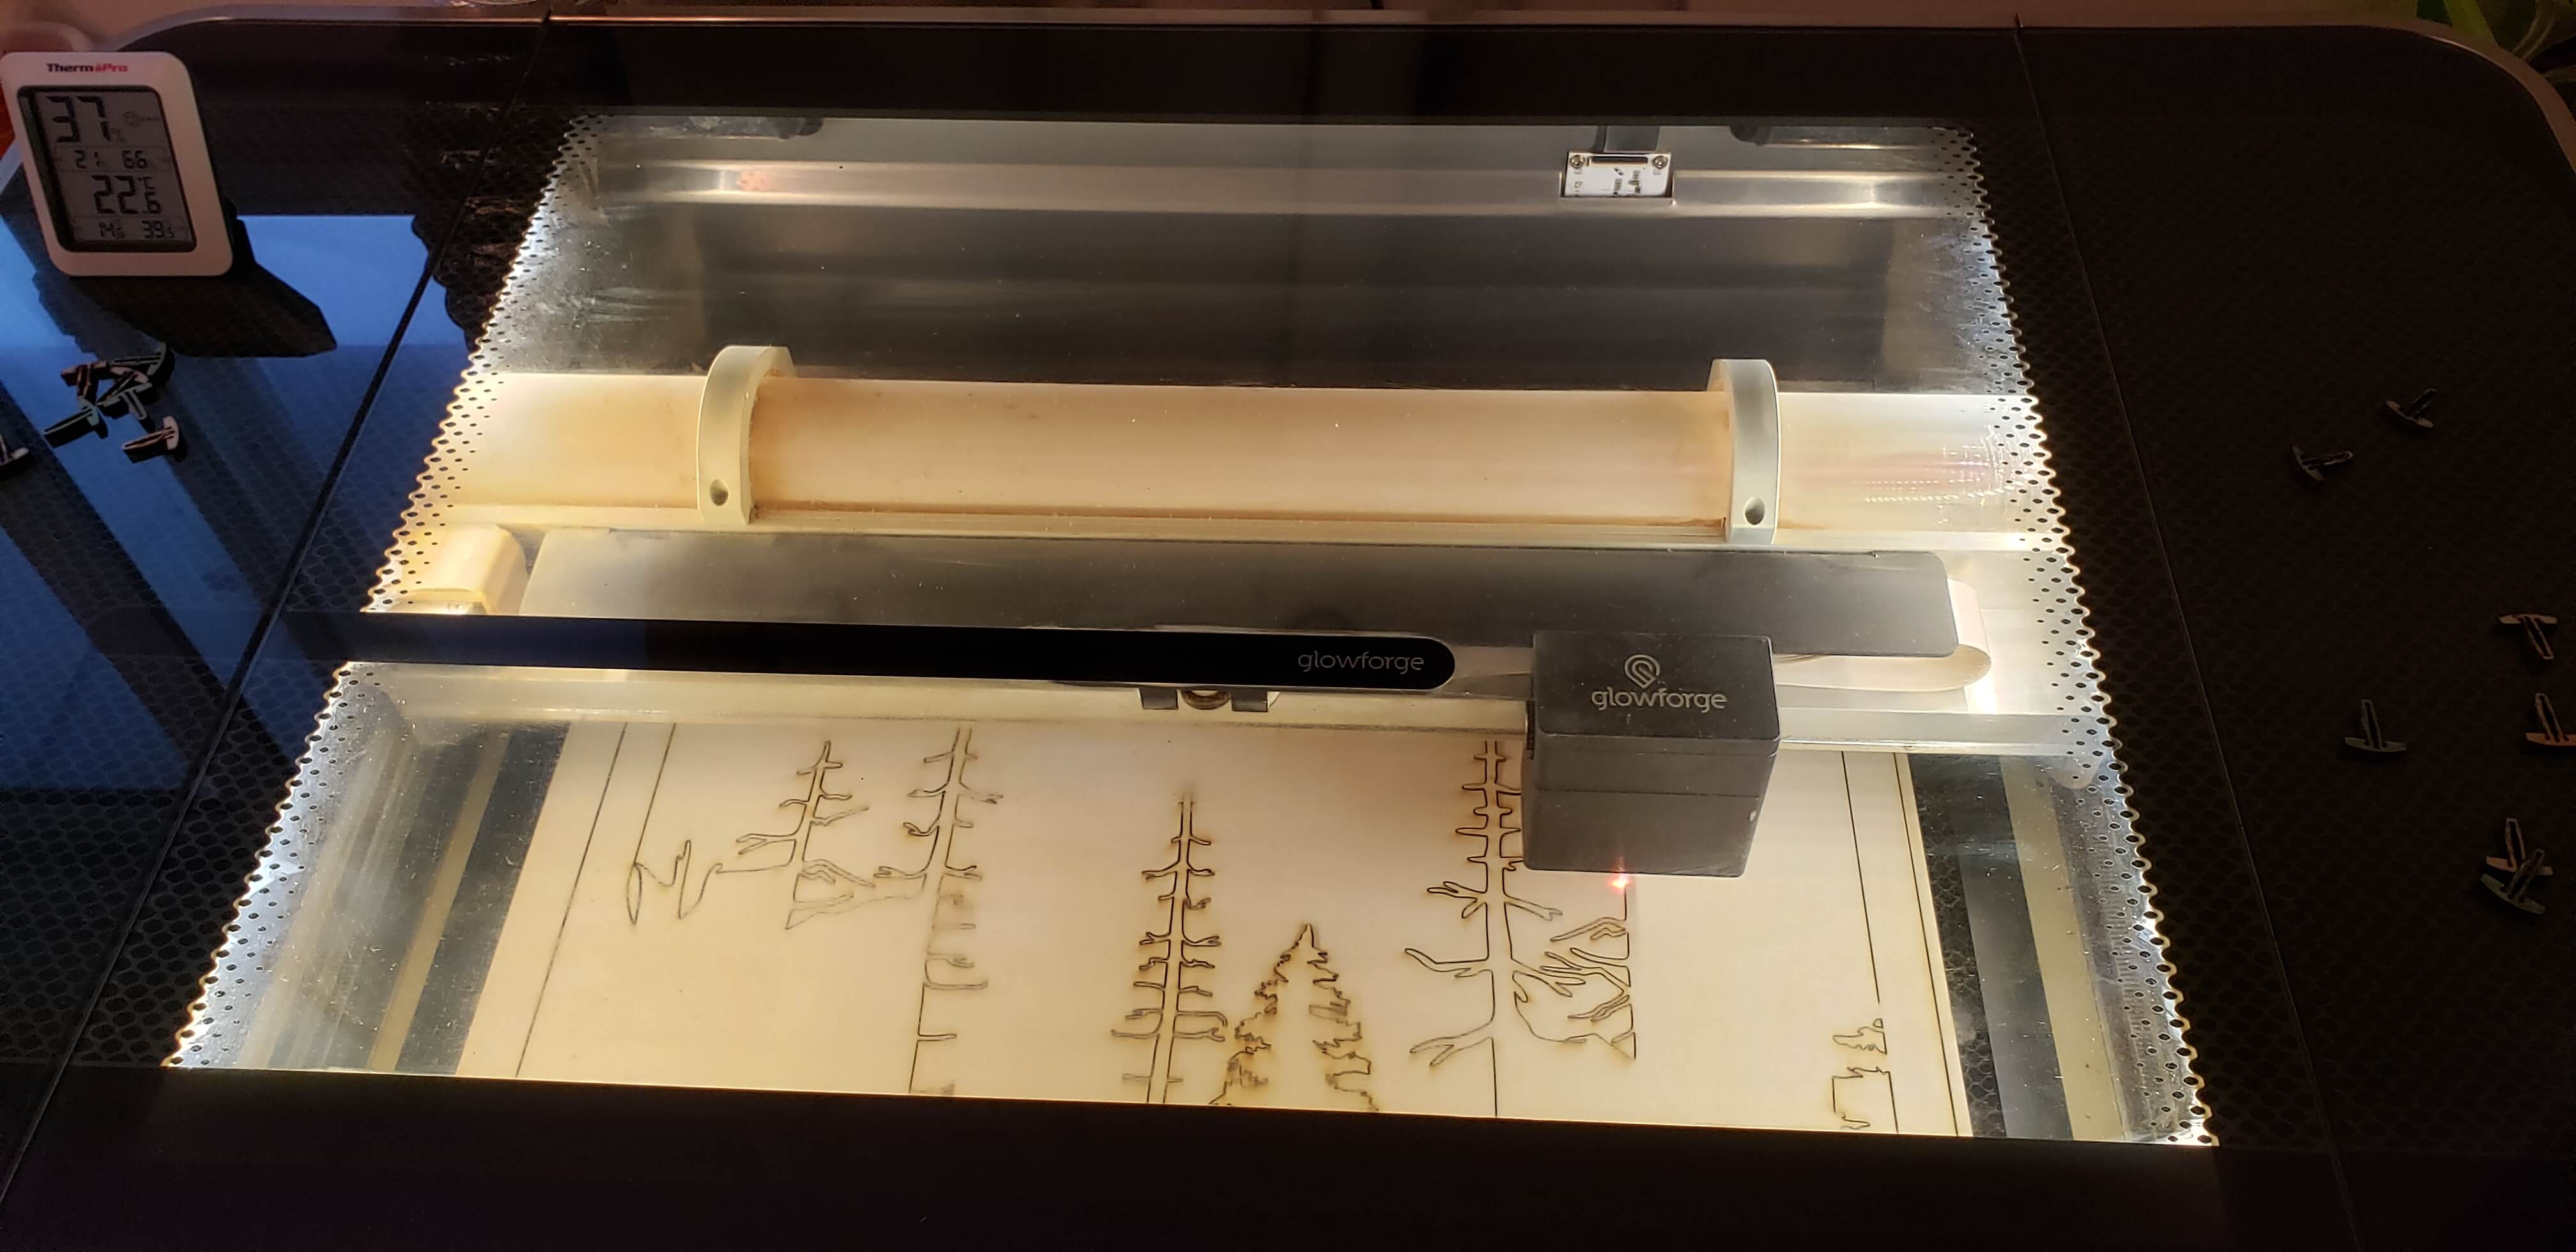
Our laser cutter is a Glowforge. We load up our design in a web interface, align the design on an image of the wood, set the cut lines and settings and then hit go. Each layer takes between 10 and 25 minutes to cut out in addition to the time it takes to turn the machine on, set up the venting out the window, load the wood, wait for alignment and calibration, and actually get everything ready and loaded in the software, which sometimes can take twice as long or more as the actual cutting process!
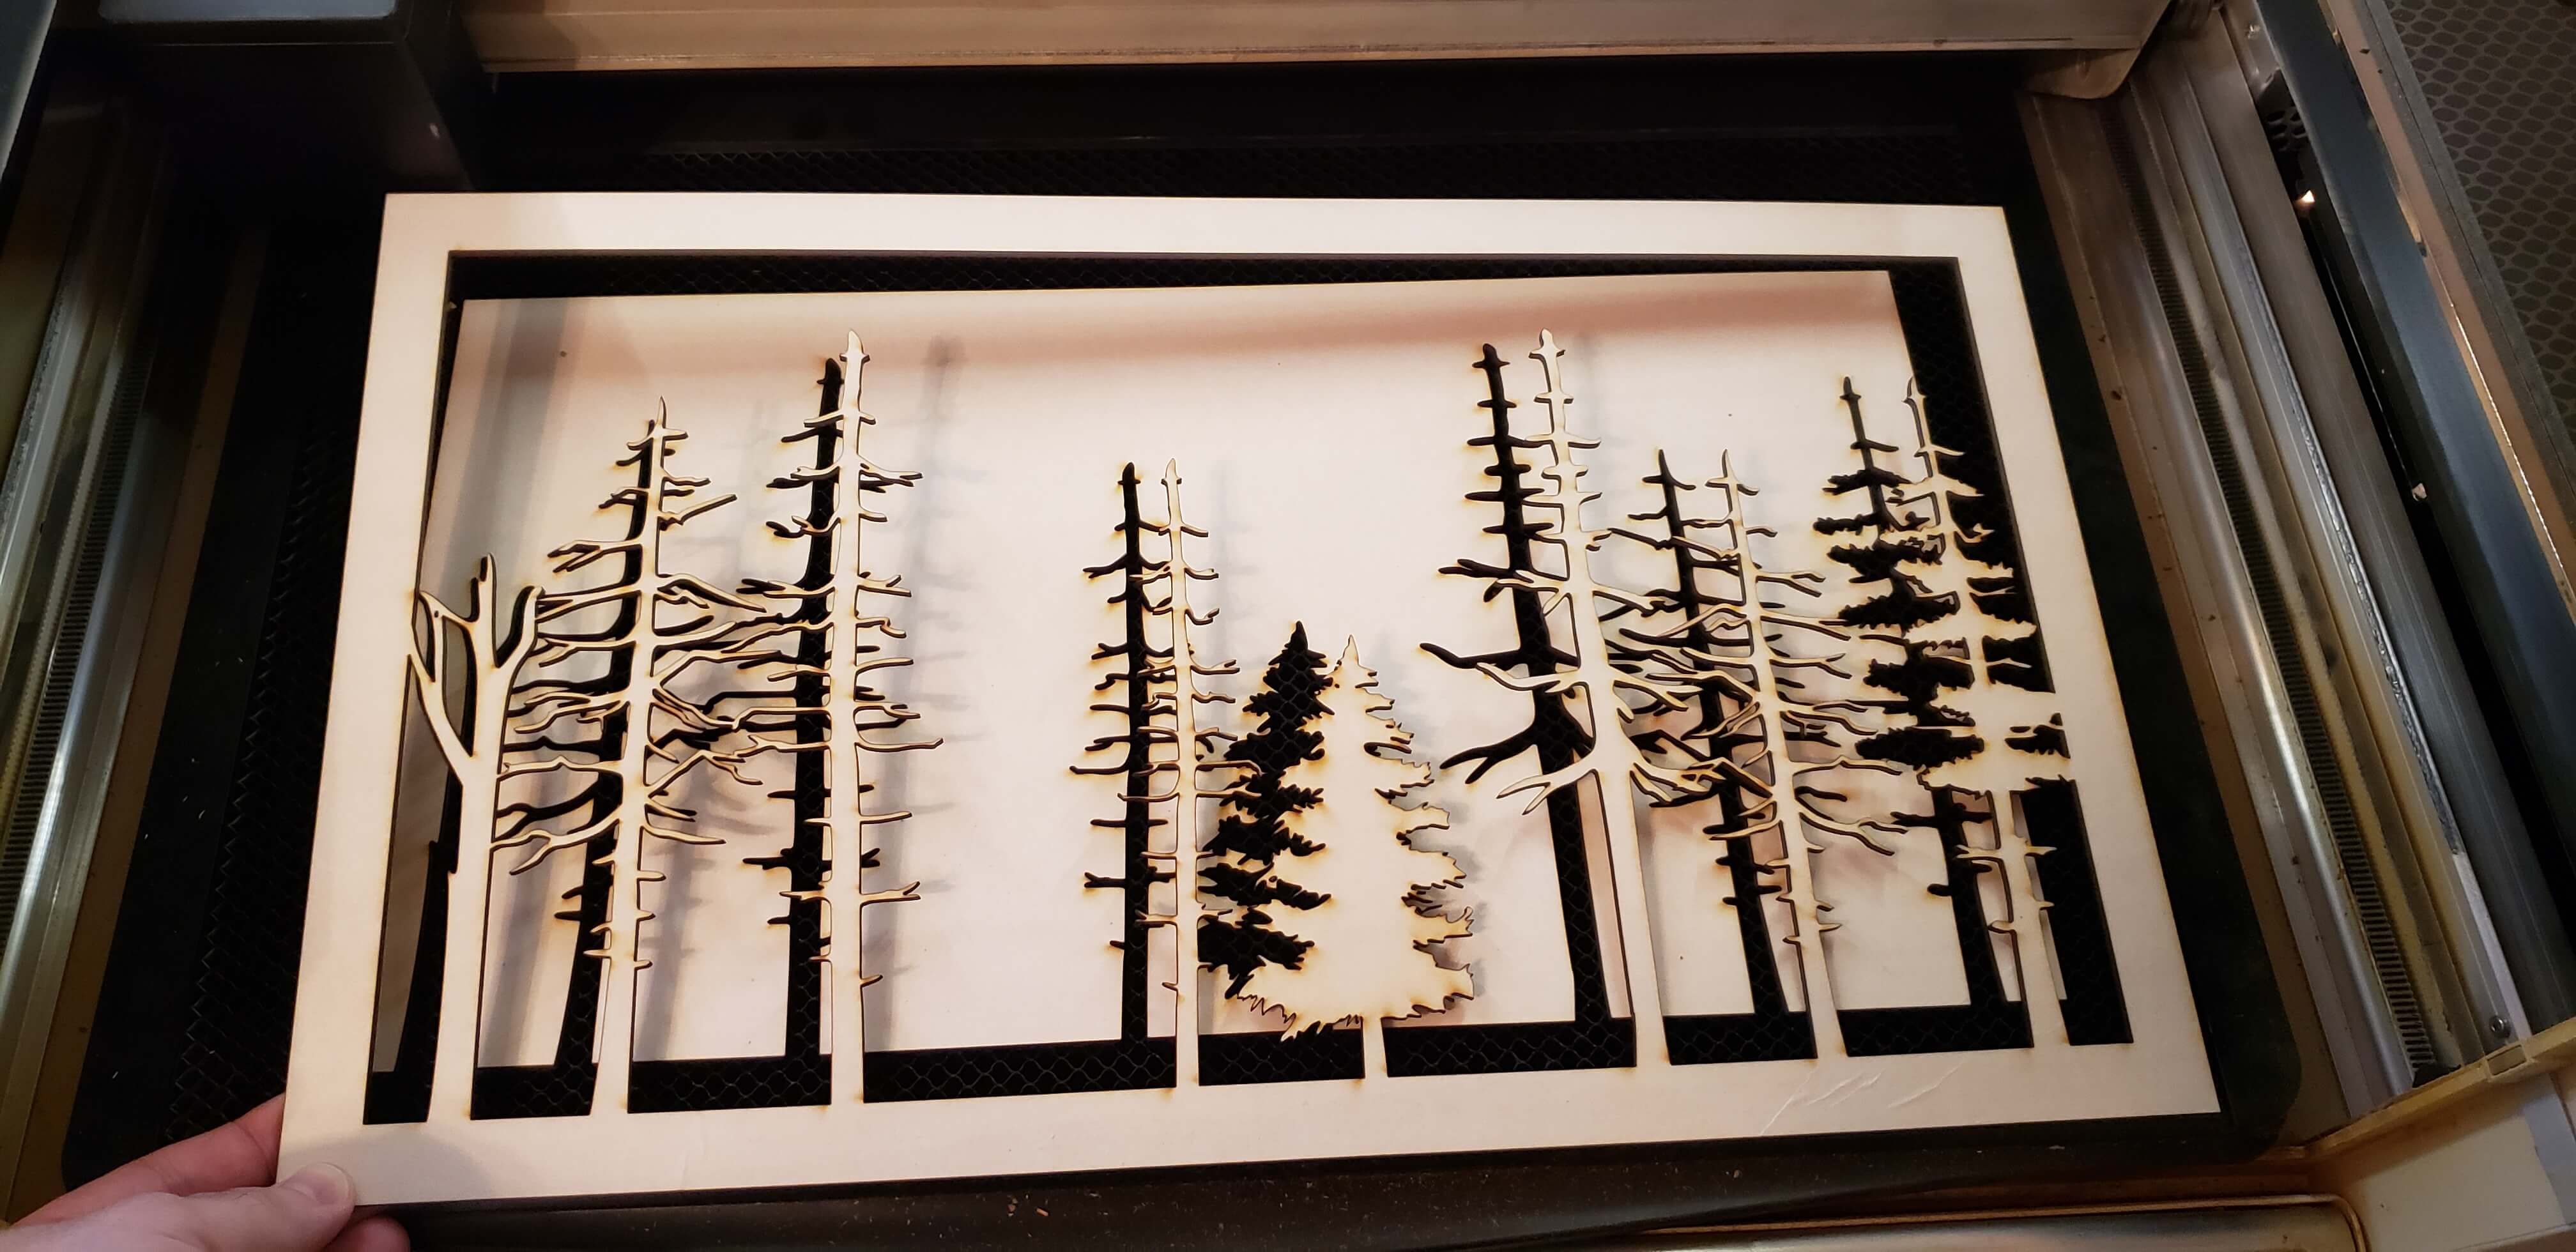
In the picture above I’ve already removed the outer excess and I’m now pulling the actual piece out of the leftovers, breathing a sigh of relief that nothing seems to have gone wrong!
The leftovers create a negative image of whatever you cut out and can look really awesome, but unfortunately it’s incredibly hard to remove or do anything with them as they fall apart and can’t be realigned easily. We keep this wood as scrap for smaller cuts as there are lots of large open spaces that can be reused.
We repeat this process for all four full layers.
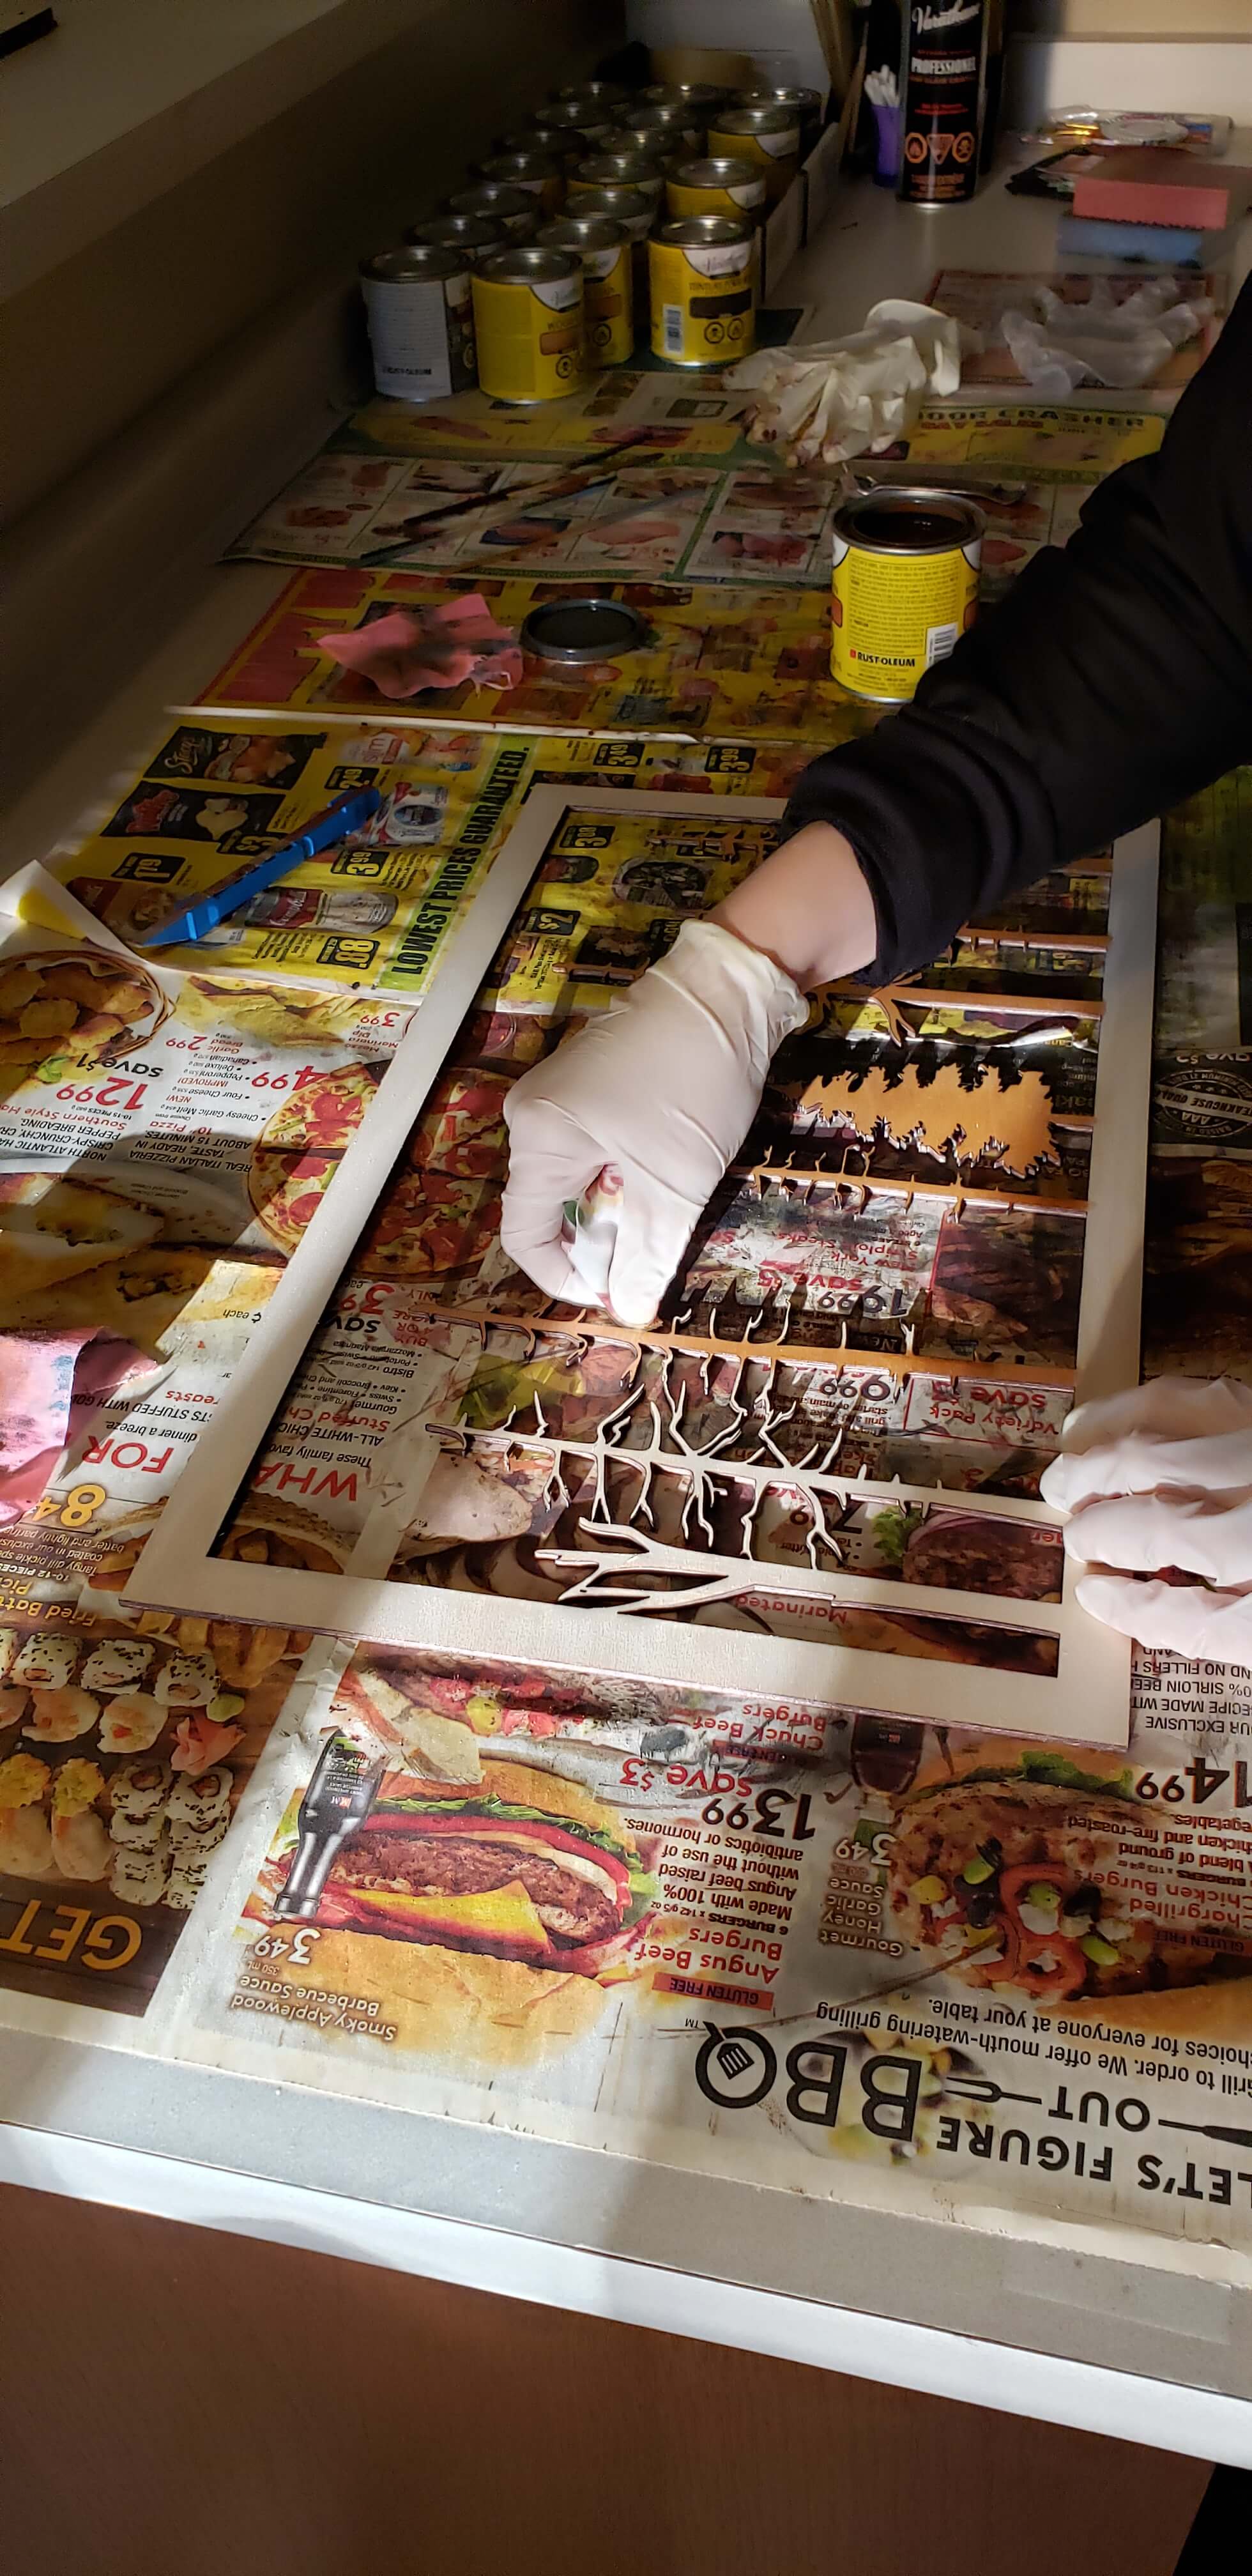
Step 4. Demasking the Wood
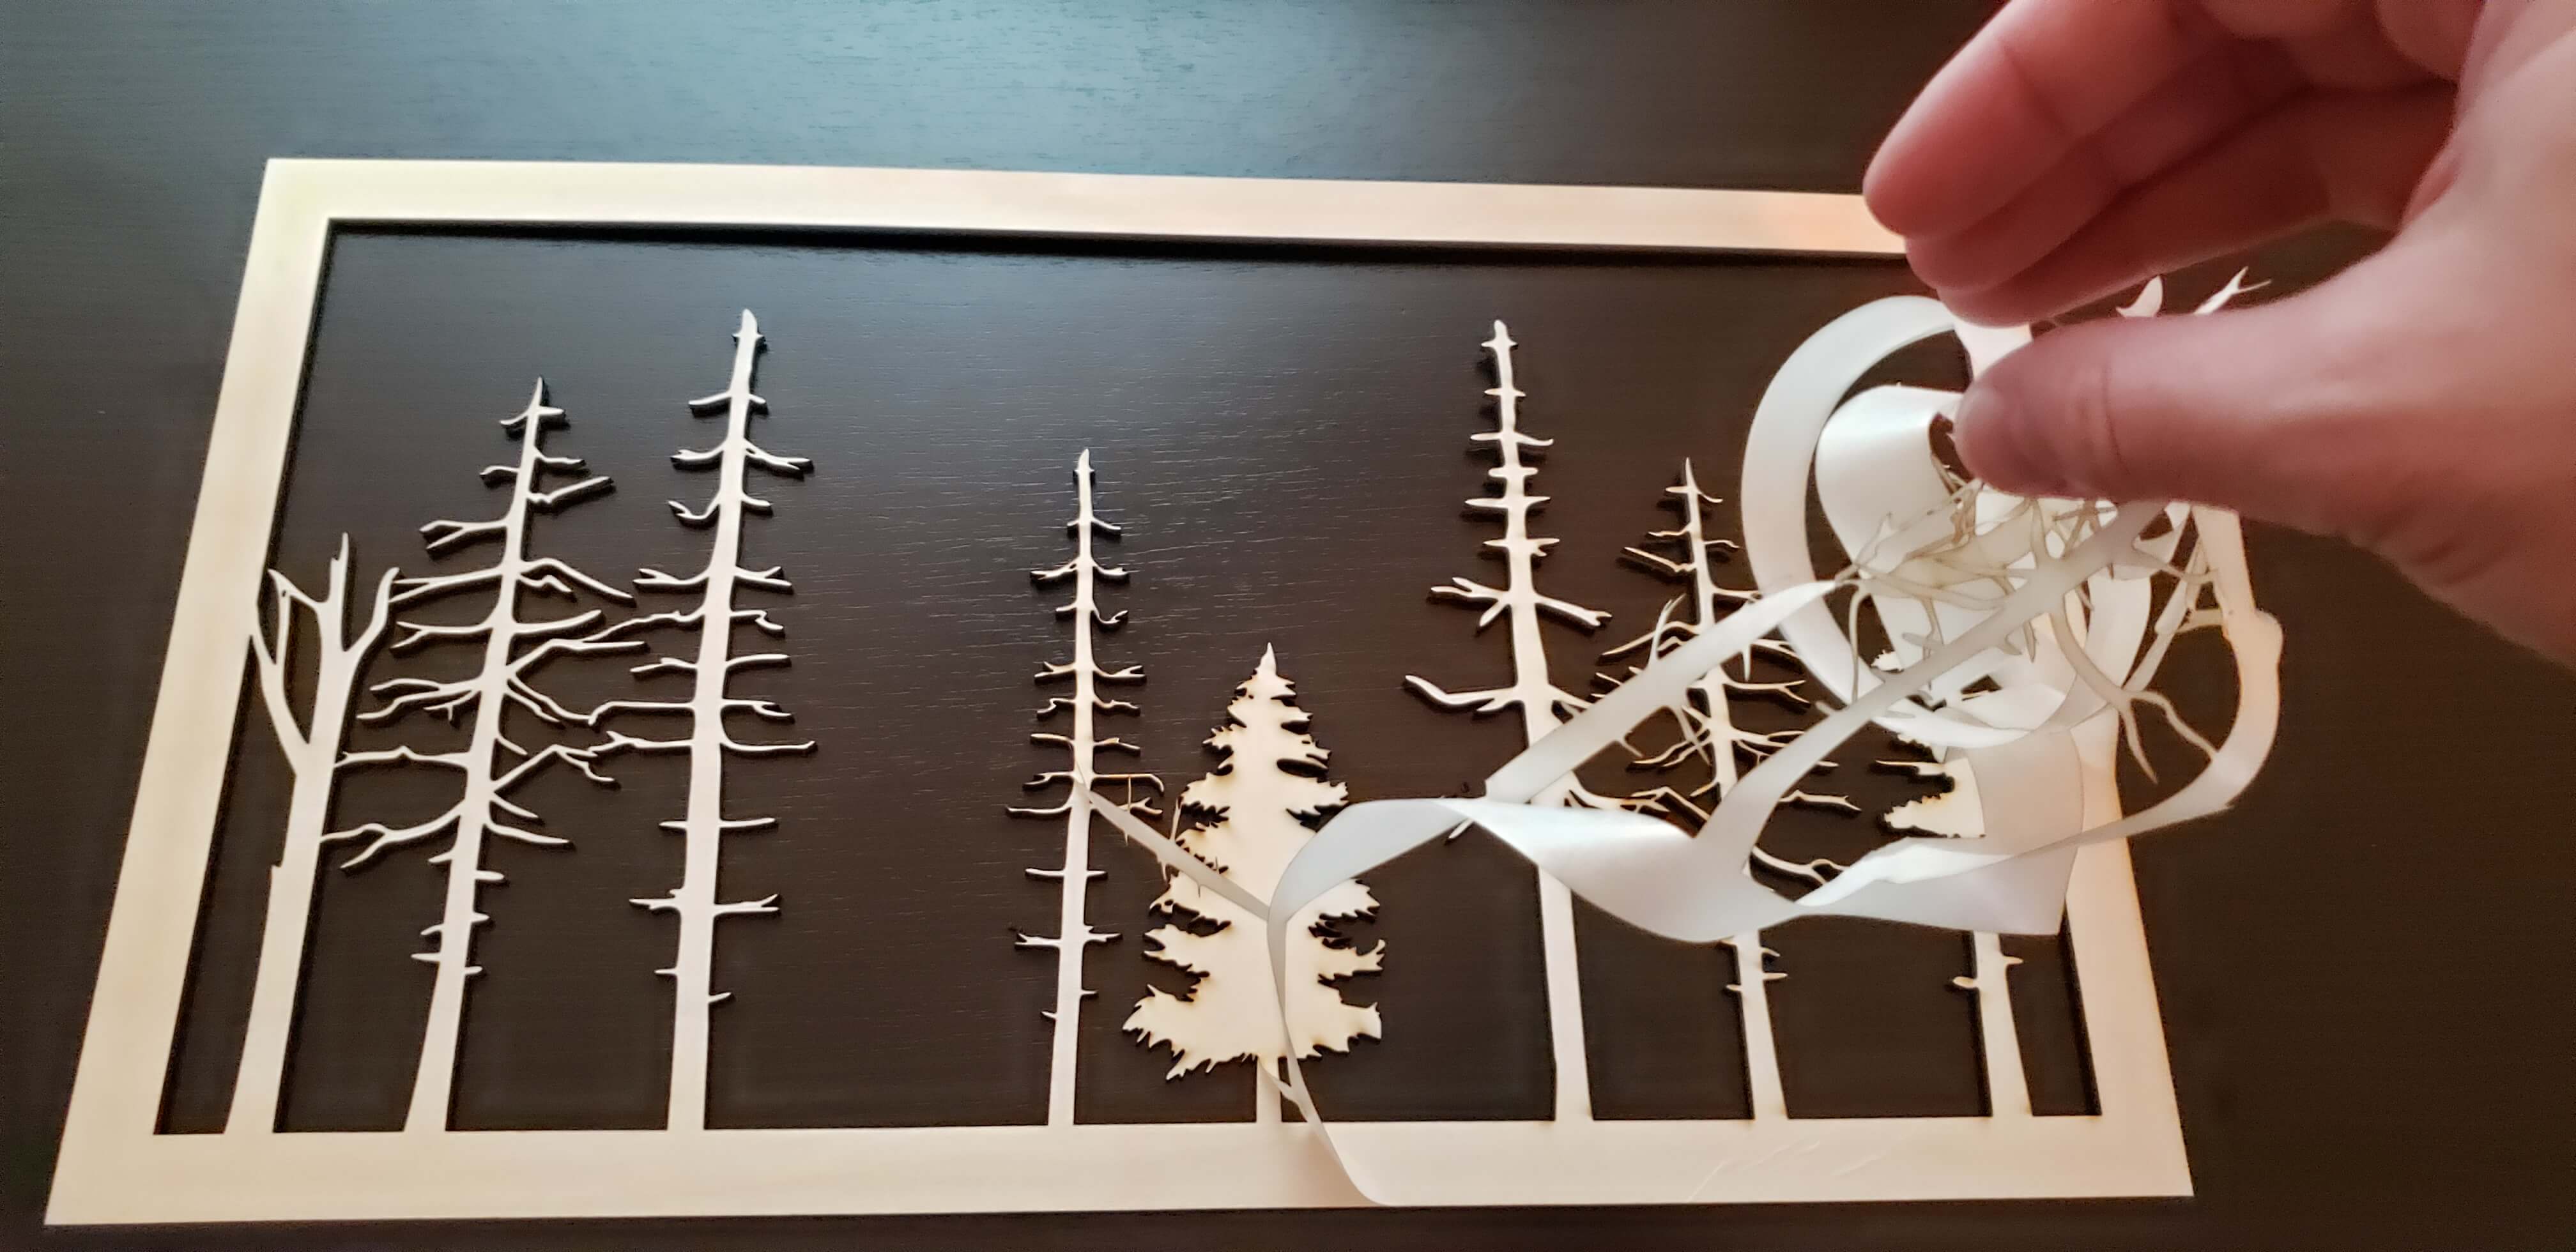
So remember that tape we so lovingly applied to each board? Once the cutting is done it’s time to rip it off! For some pieces this is quite easy, but for skinny complex pieces like this one it can be a pain. In cases like this it’s best to go slowly so the tape doesn’t rip and you aren’t forced to pry incredibly skinny pieces off with your fingernails or tweezers where you can risk breaking thinner branches. Once you remove the tape you get to see how beautiful (and clean!) the cut wood looks on it’s own.
This process does waste a lot of time and makes your fingers both sticky and orange/black from all the burnt sawdust from cutting. As the laser cuts there is a constant blower pushing the dust away, which is what creates the messy orange hue. After demasking a lot of wood you end up with cheeto/oompaloompa/trump fingers which don’t really wash out well. Expect to be orange for a few hours.
Step 5. Optimizing our Cuts for Smaller Pieces
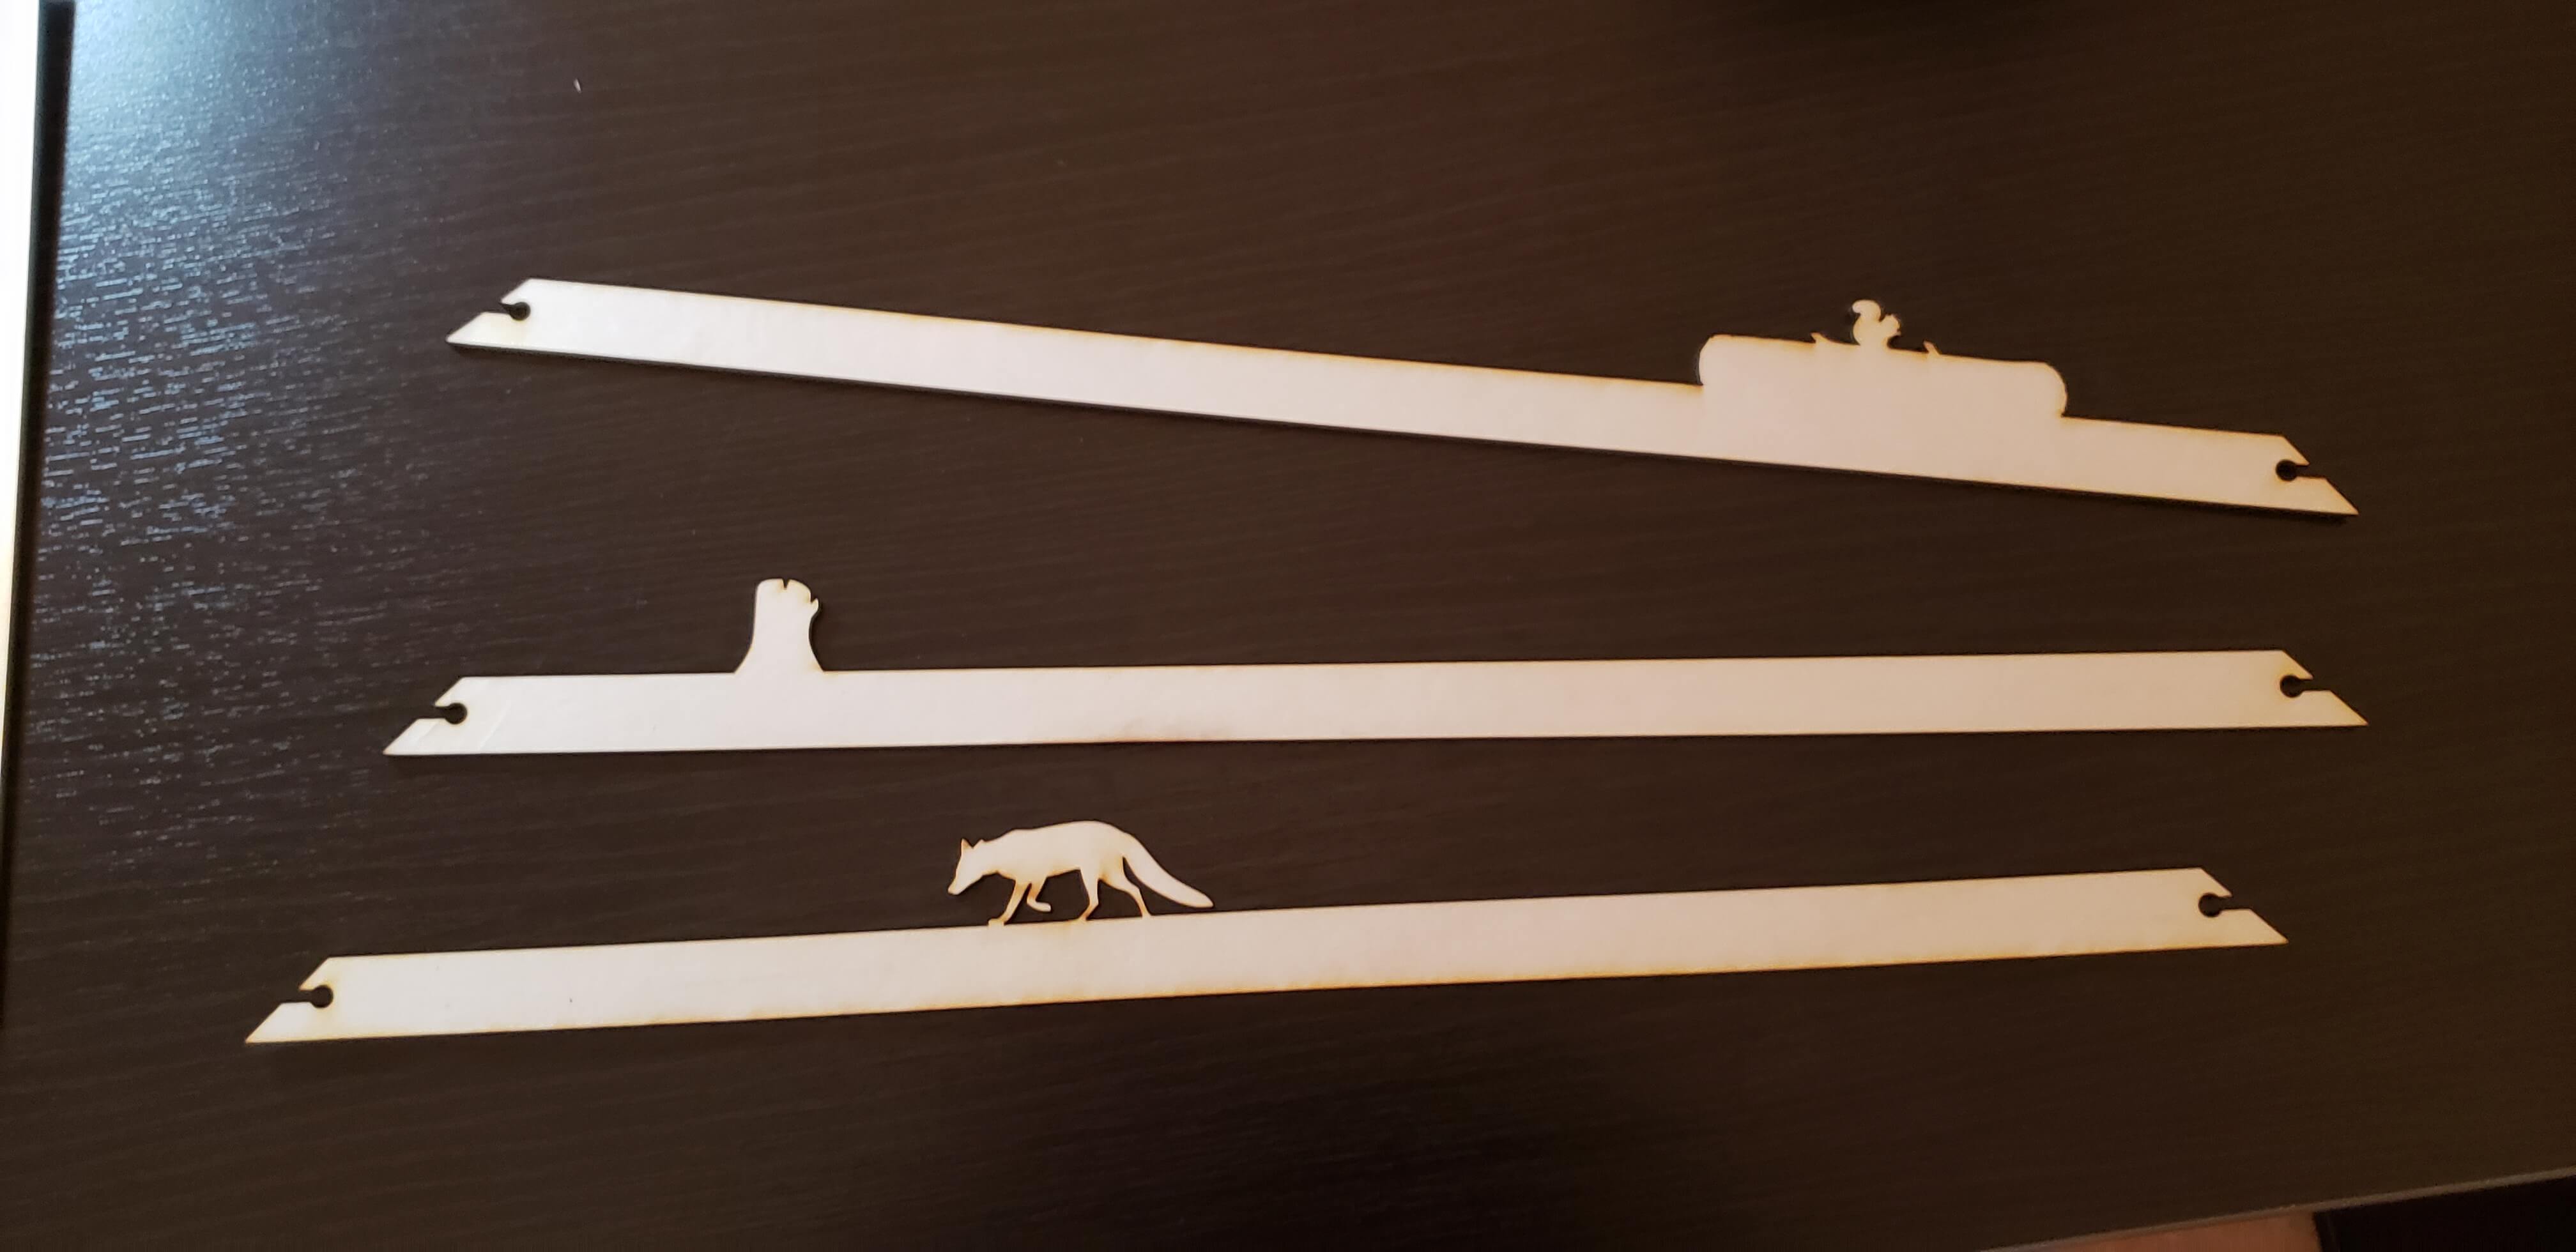
There are 7 layers to The Wide Woods, however only 4 layers are actually full framed pieces! Since some layers only have minor details, such as the stump, fox, and log + squirrel, it would be a major waste to cut out the frame along with them, as this would leave a large, yet oddly shaped piece of uncut wood. We could of course still use this wood, but it’s still really limiting to what could actually fit in there efficiently.
This is where our scrap wood comes in handy, utilizing every square inch we can get so nothing goes to waste.
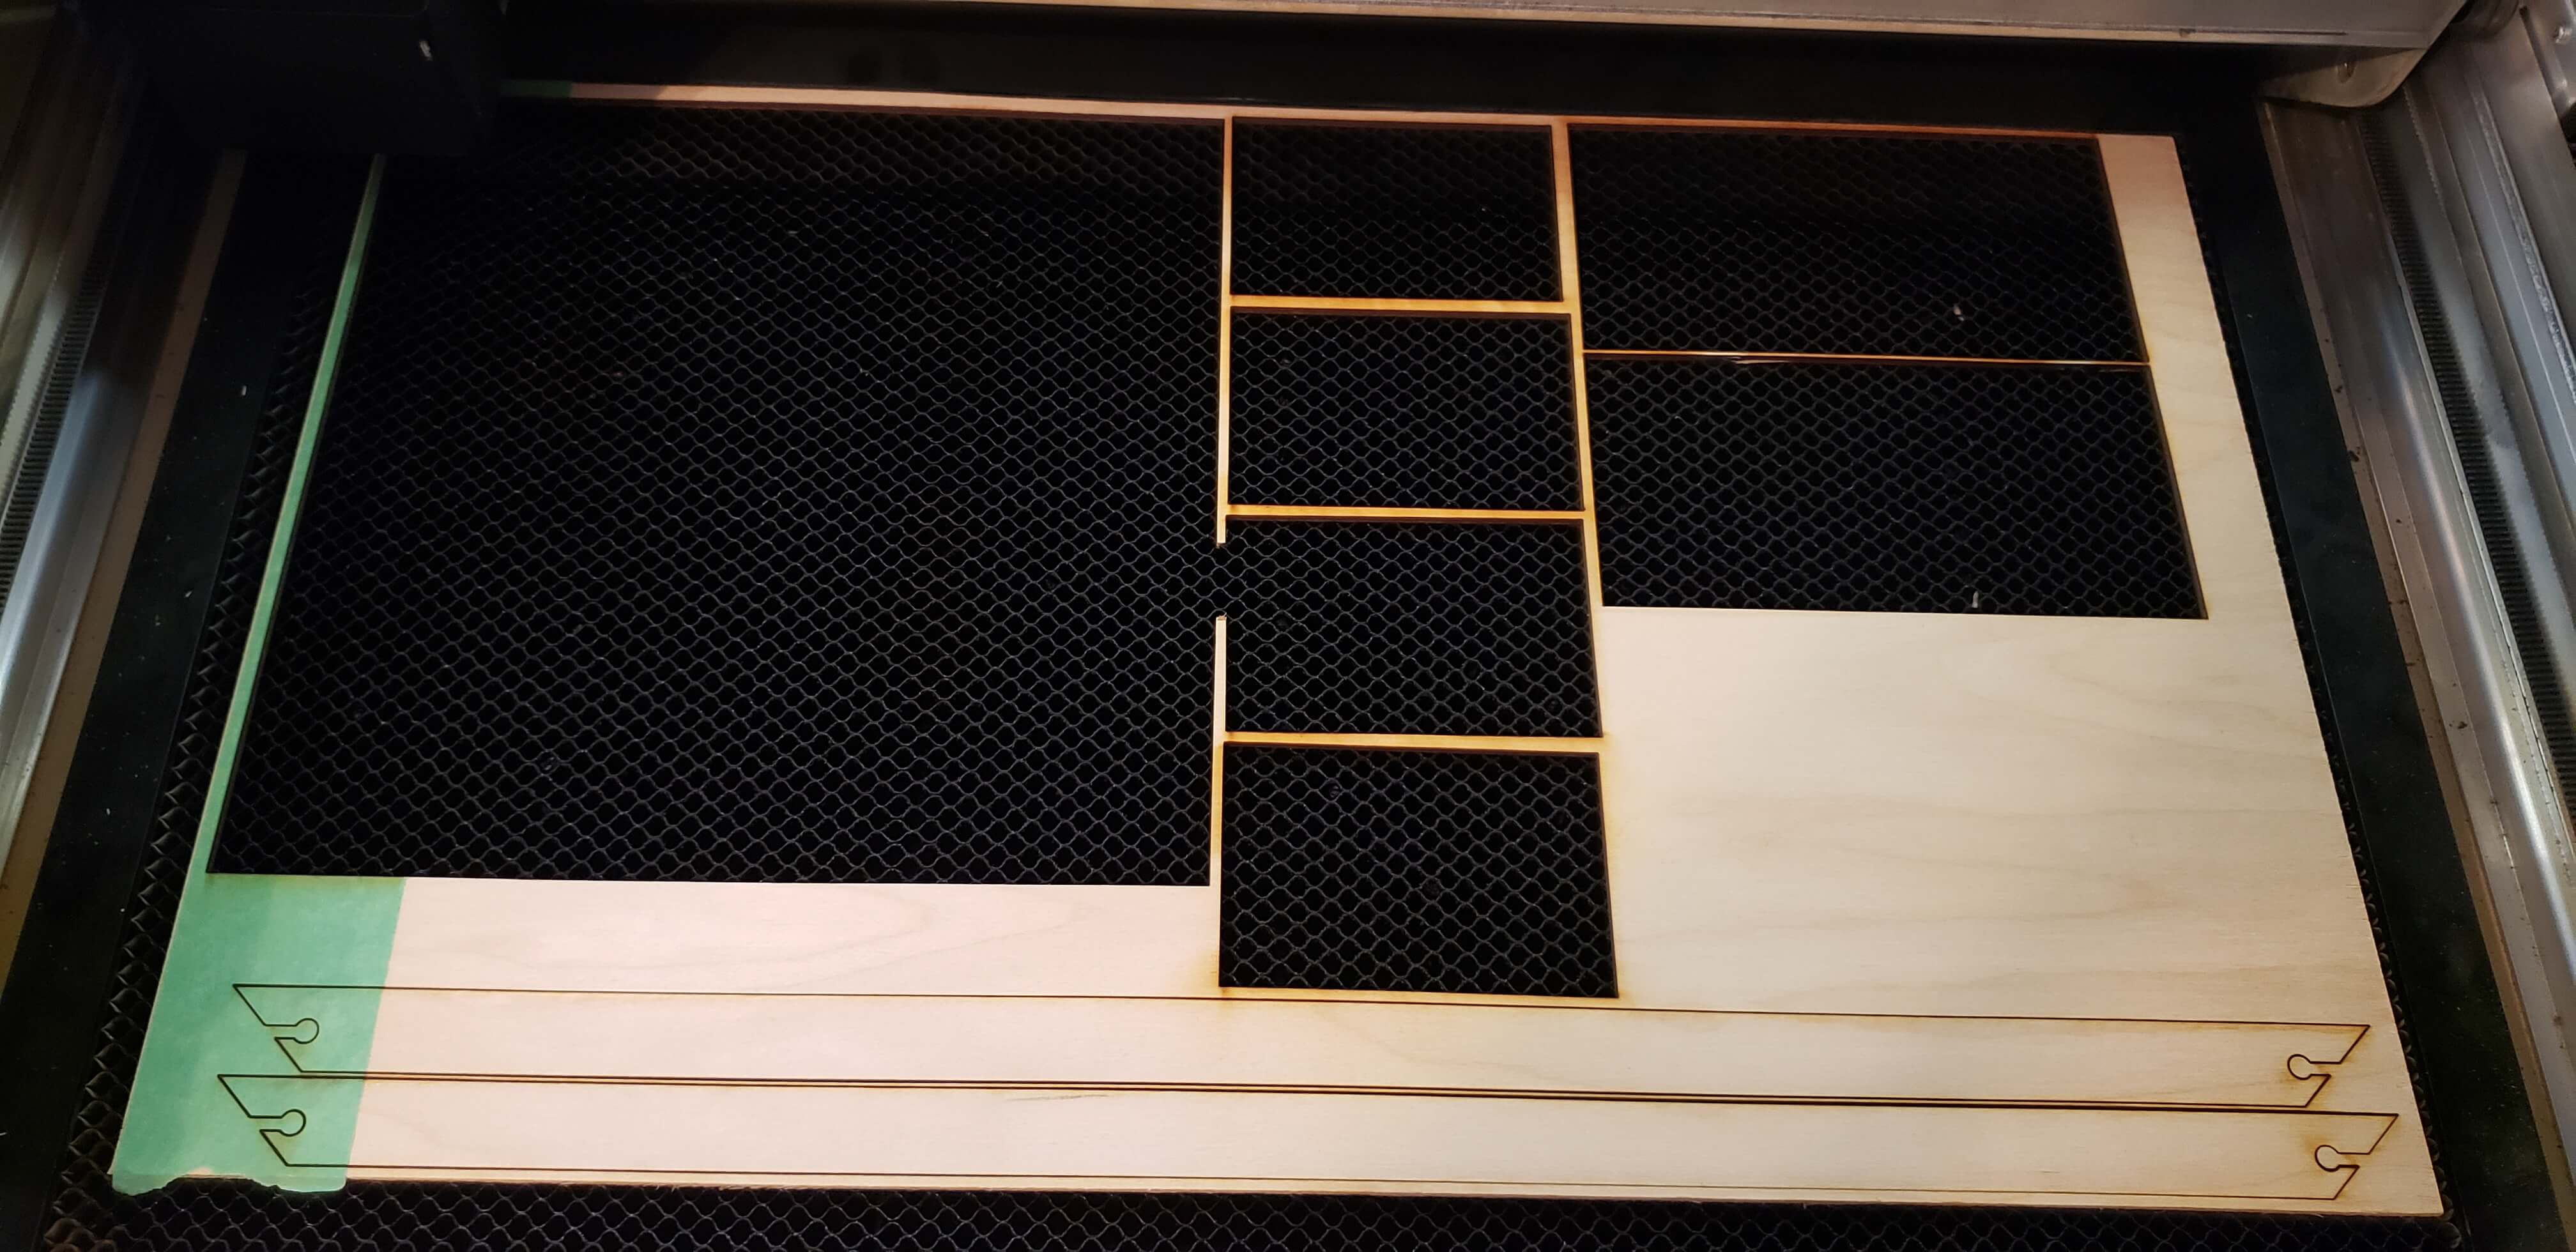

Sometimes you are really pushing the limits of what will fit and the board may not be in perfectly straight and you cut a little too close to another hole, which is what happened in the last image with a frame edge slightly dipping into the cut out Punisher skull. Oh well, we tried! We have LOTS of scrap just waiting for frame edge pieces like this.
The thing to note about saving wood this way is that it can be quite time consuming to find the right piece, make sure what we want will actually fit in there, waiting for the laser to align, and then cutting out one piece per board and repeating. Considering we need 9 interlocking edge pieces, this time adds up, but at least we can put more scrap boards into the garbage afterwards. It only takes about 1-2 minutes to cut out a frame piece, but at least 5 minutes to get it setup and going, if not longer when trying to figure do I use this board or that board.
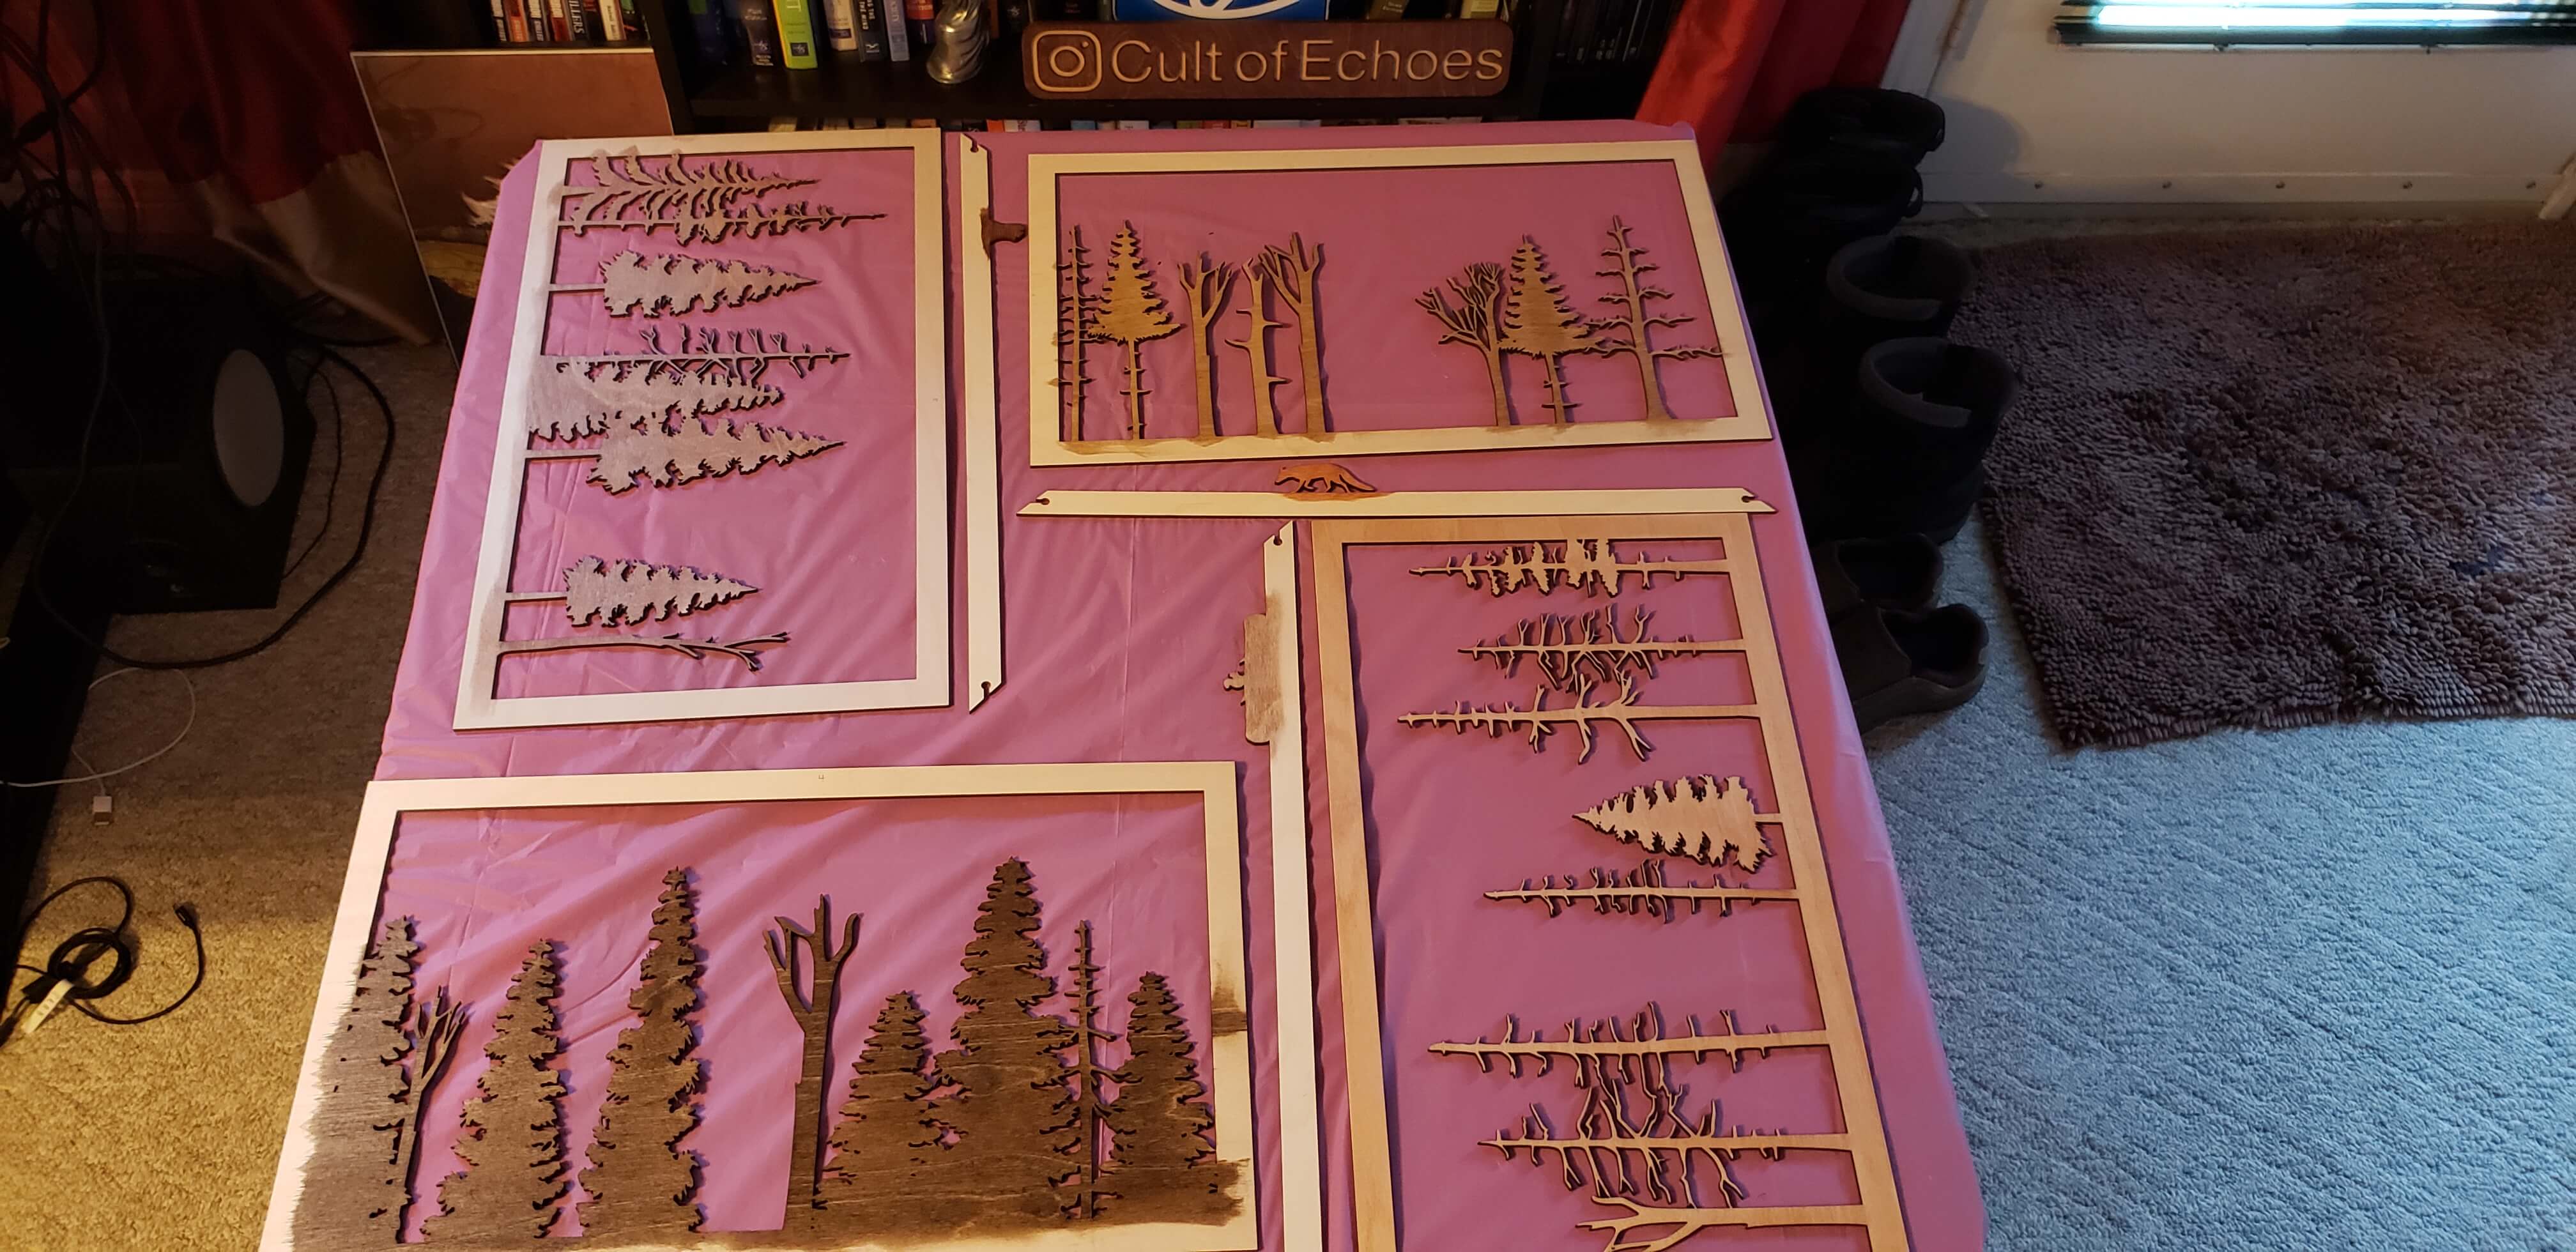
Interlude
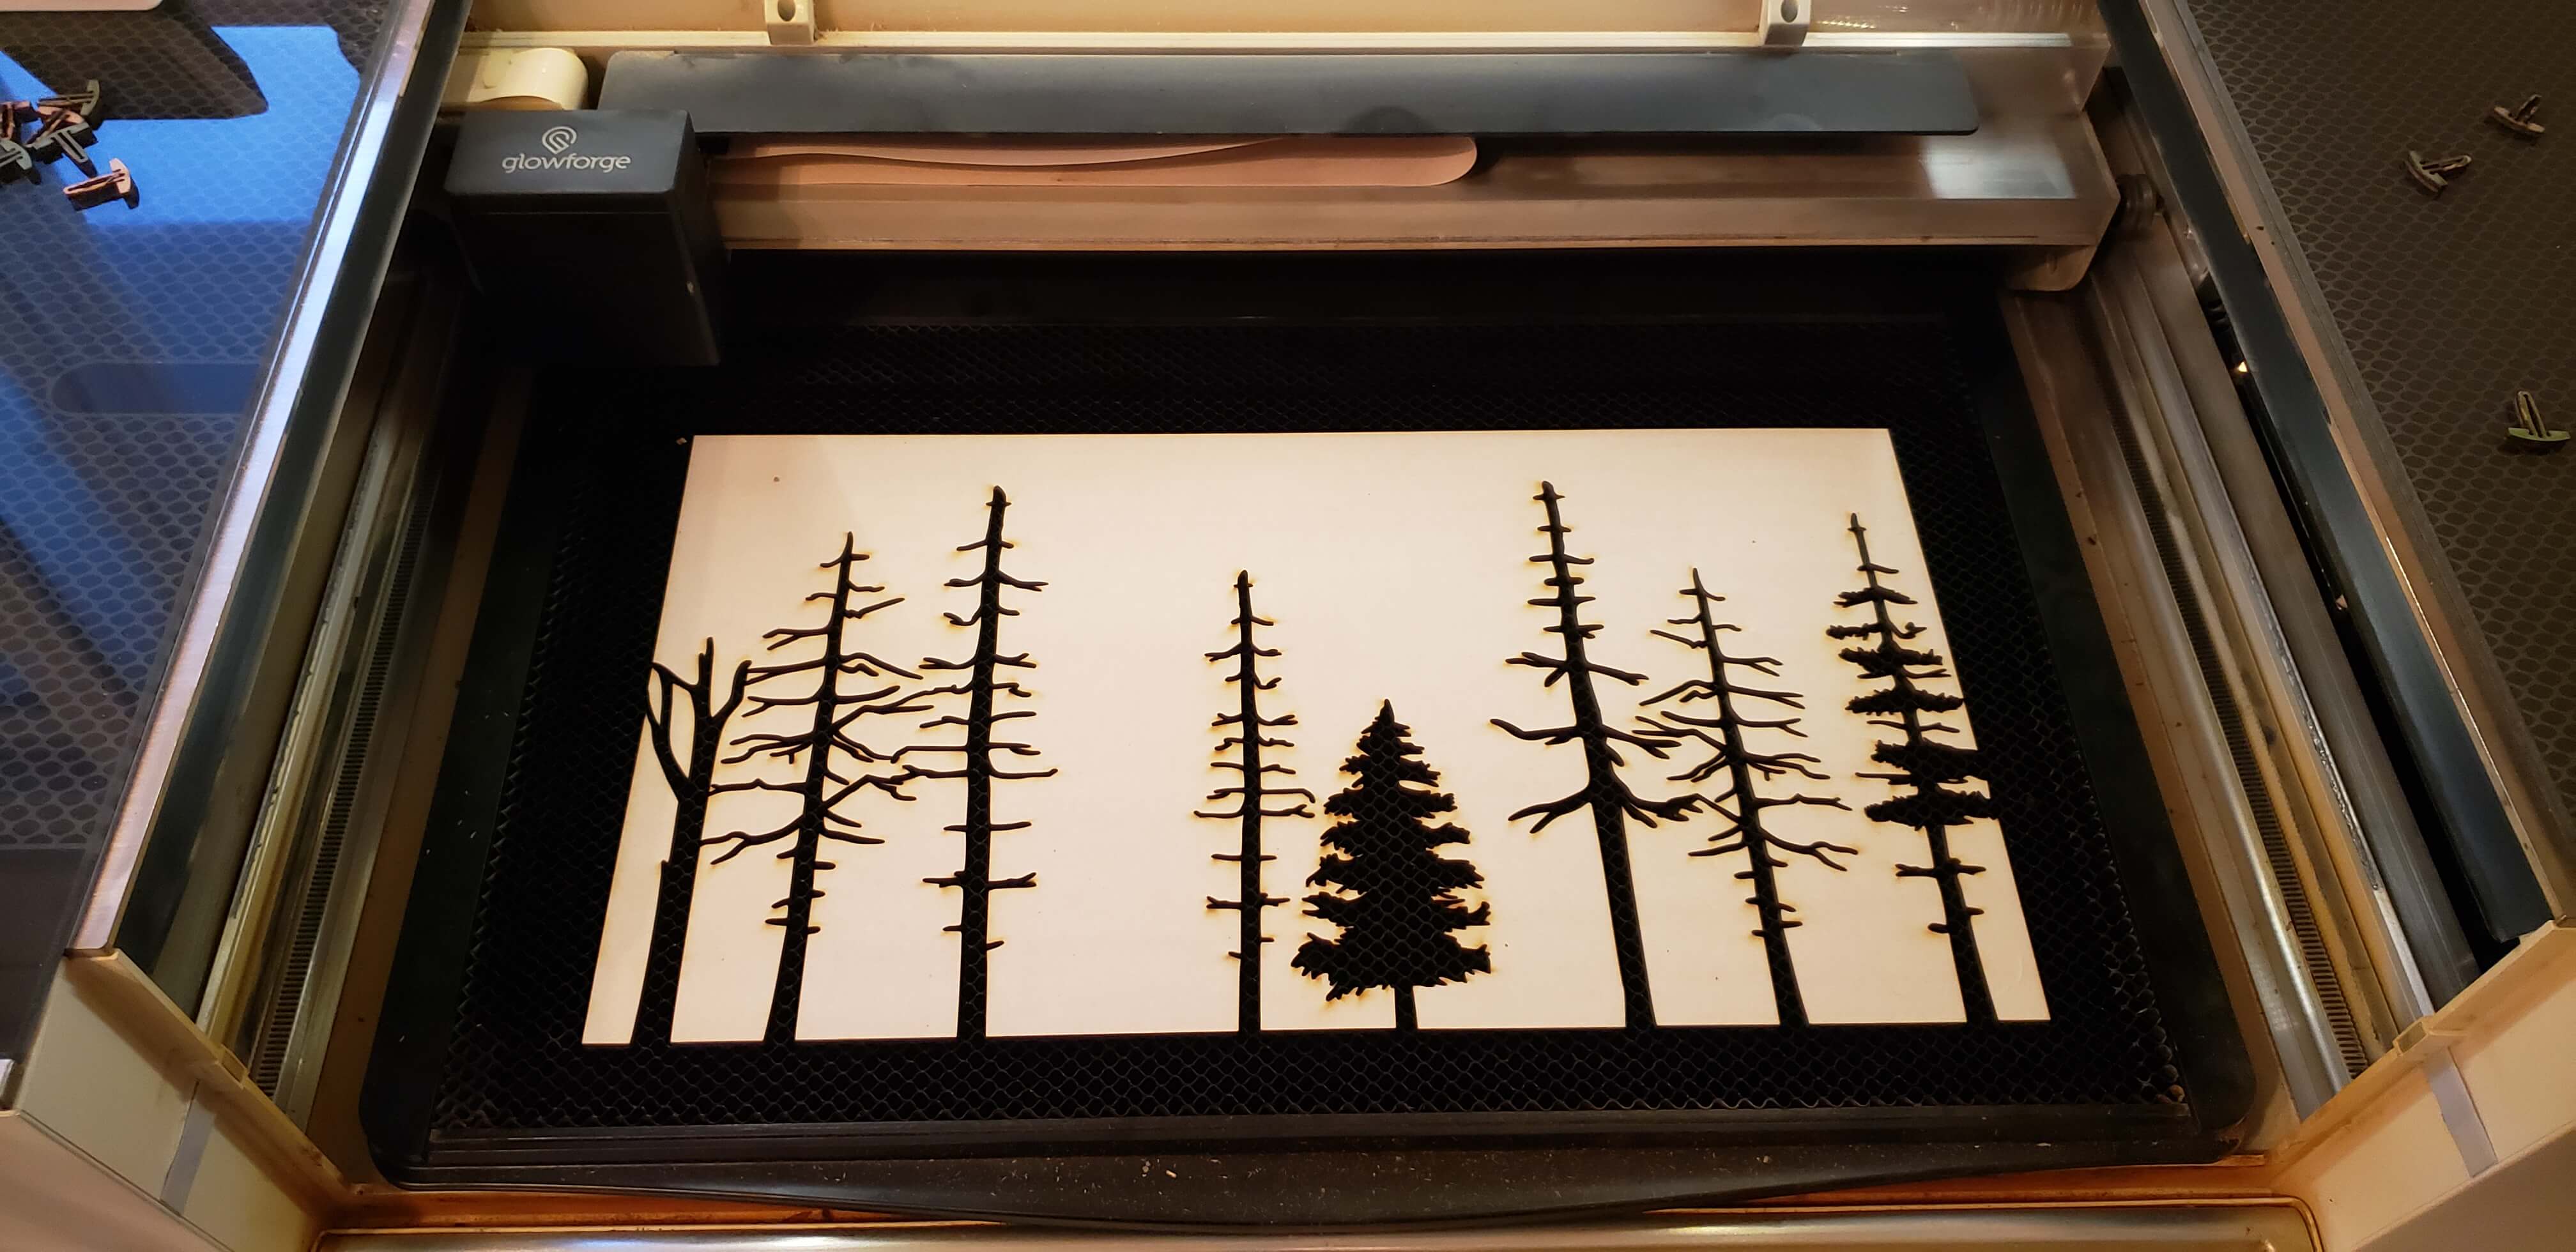
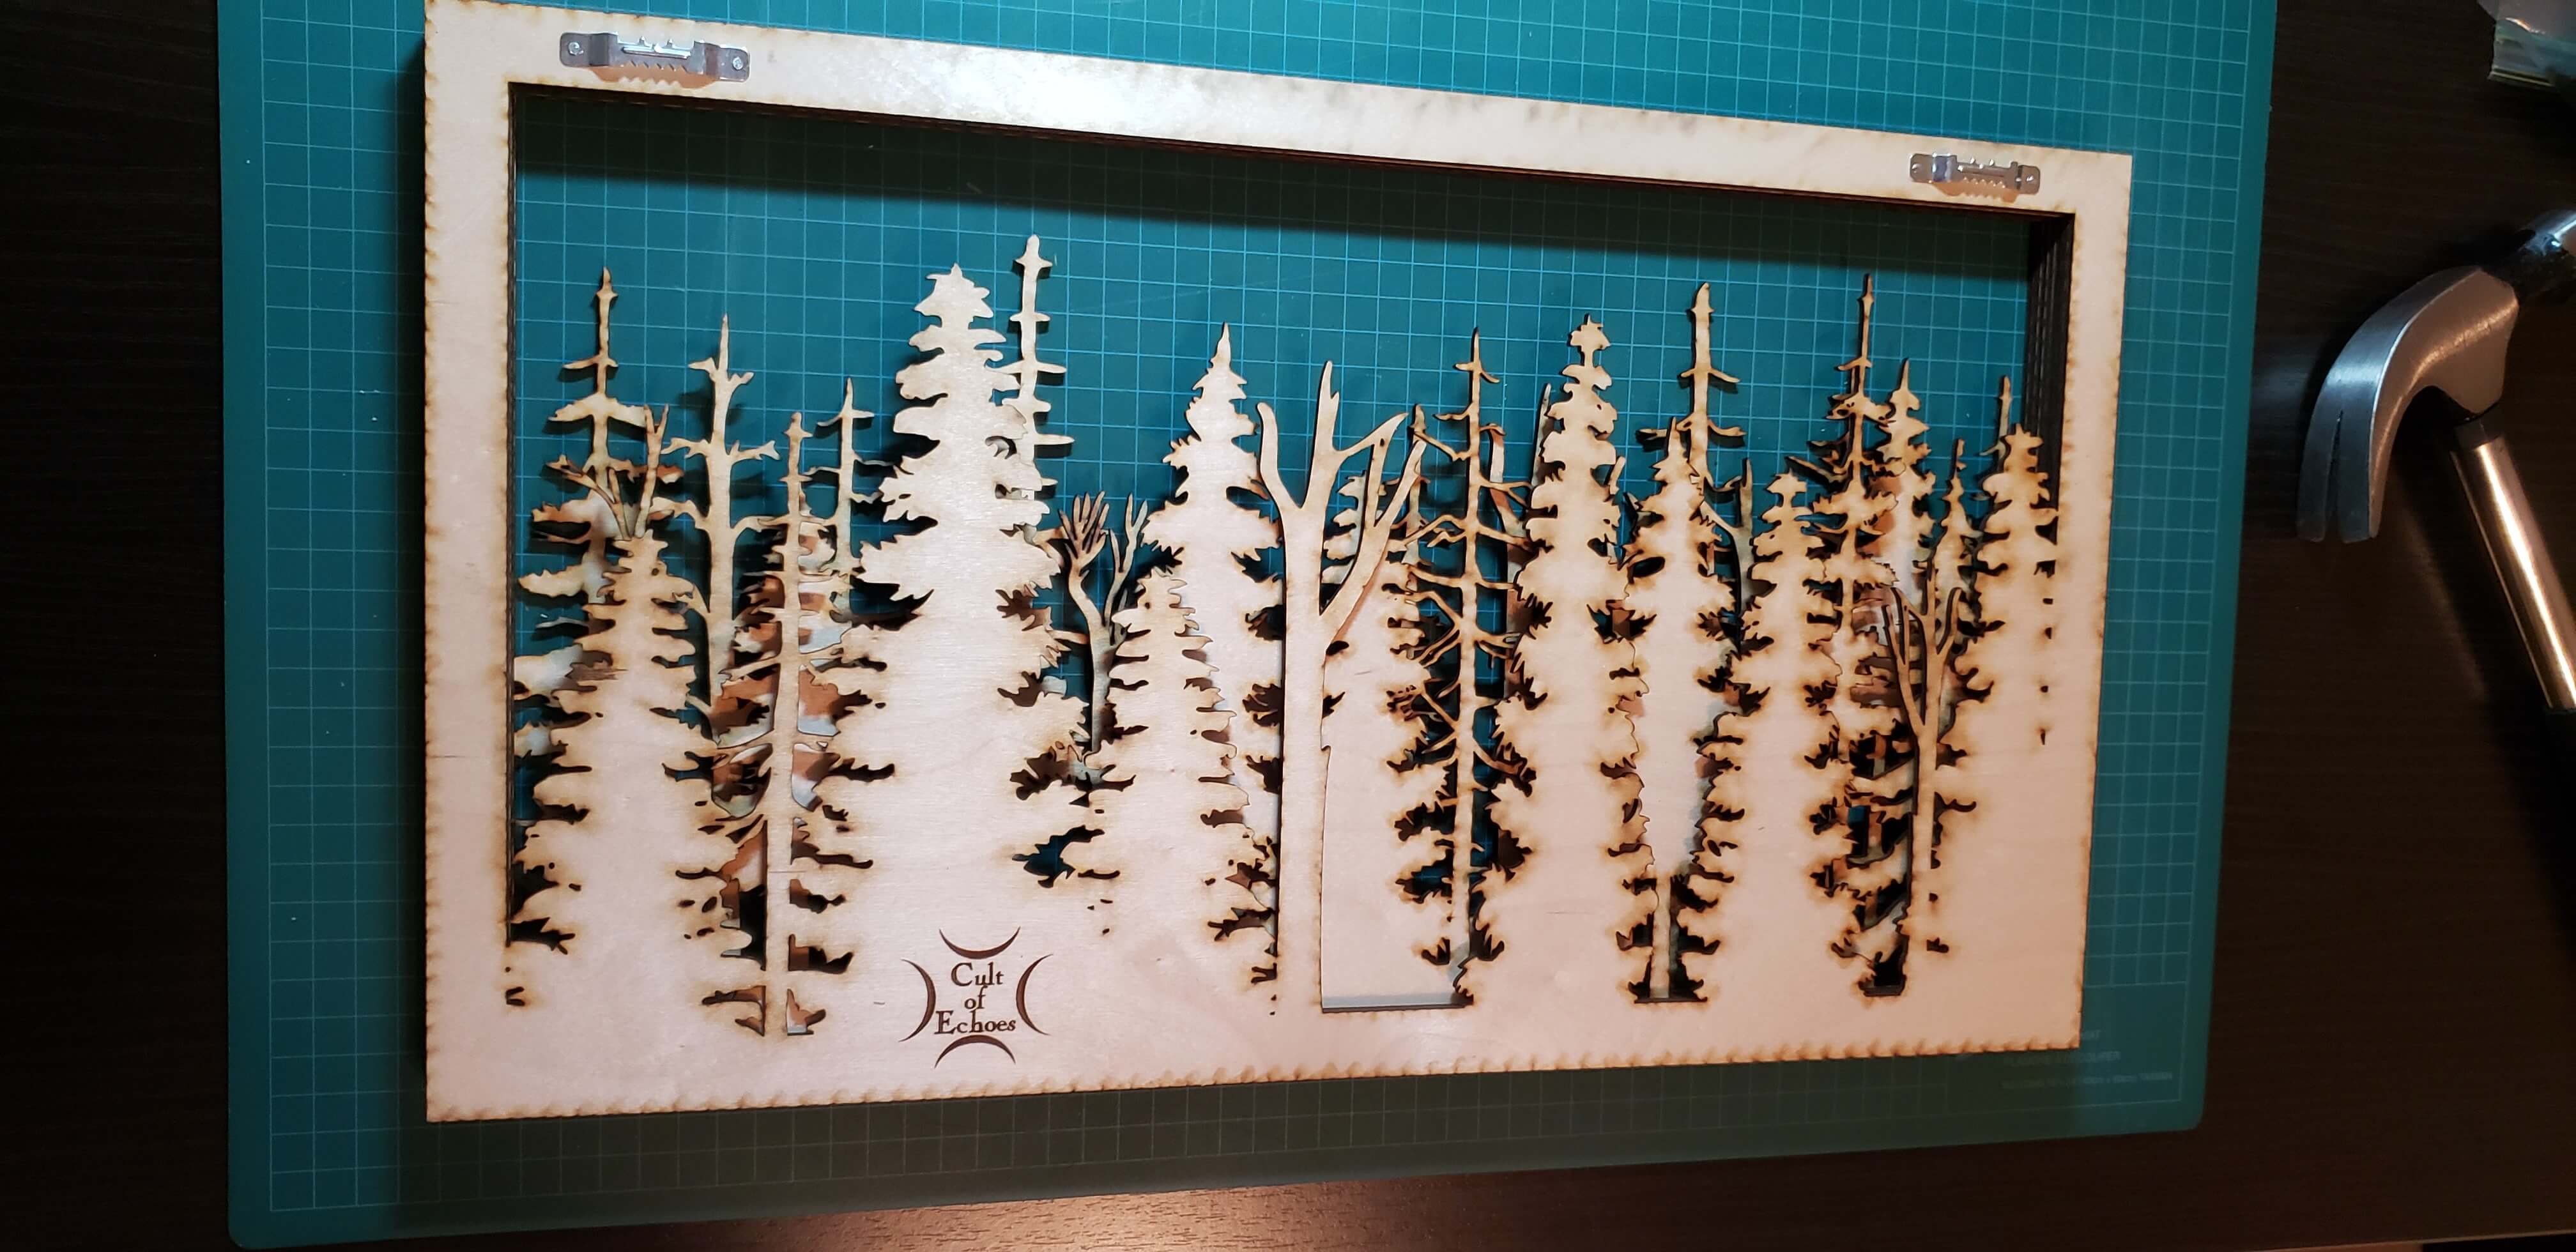
So now we’ve finally cut out all of our pieces, and now we stack them up to see how it would look and make sure everything is fine!
Step 6: Staining the Wood
Now that we’ve got all of our pieces cut, it’s time to starting adding some colour! Each layer has it’s own unique stain that we use to add depth and life to this piece.
For each layer we need to open and stir the stain, get a scrap cloth ready and start staining. Luckily the staining doesn’t take that long, but can be a real pain on those little branches that you don’t want to accidentally snap off. Sometimes you find a small piece of tape on a branch that was missed and you need to remove it which will slow you down.
We have to setup a temporary table every time we do staining so we can leave all the pieces to dry.
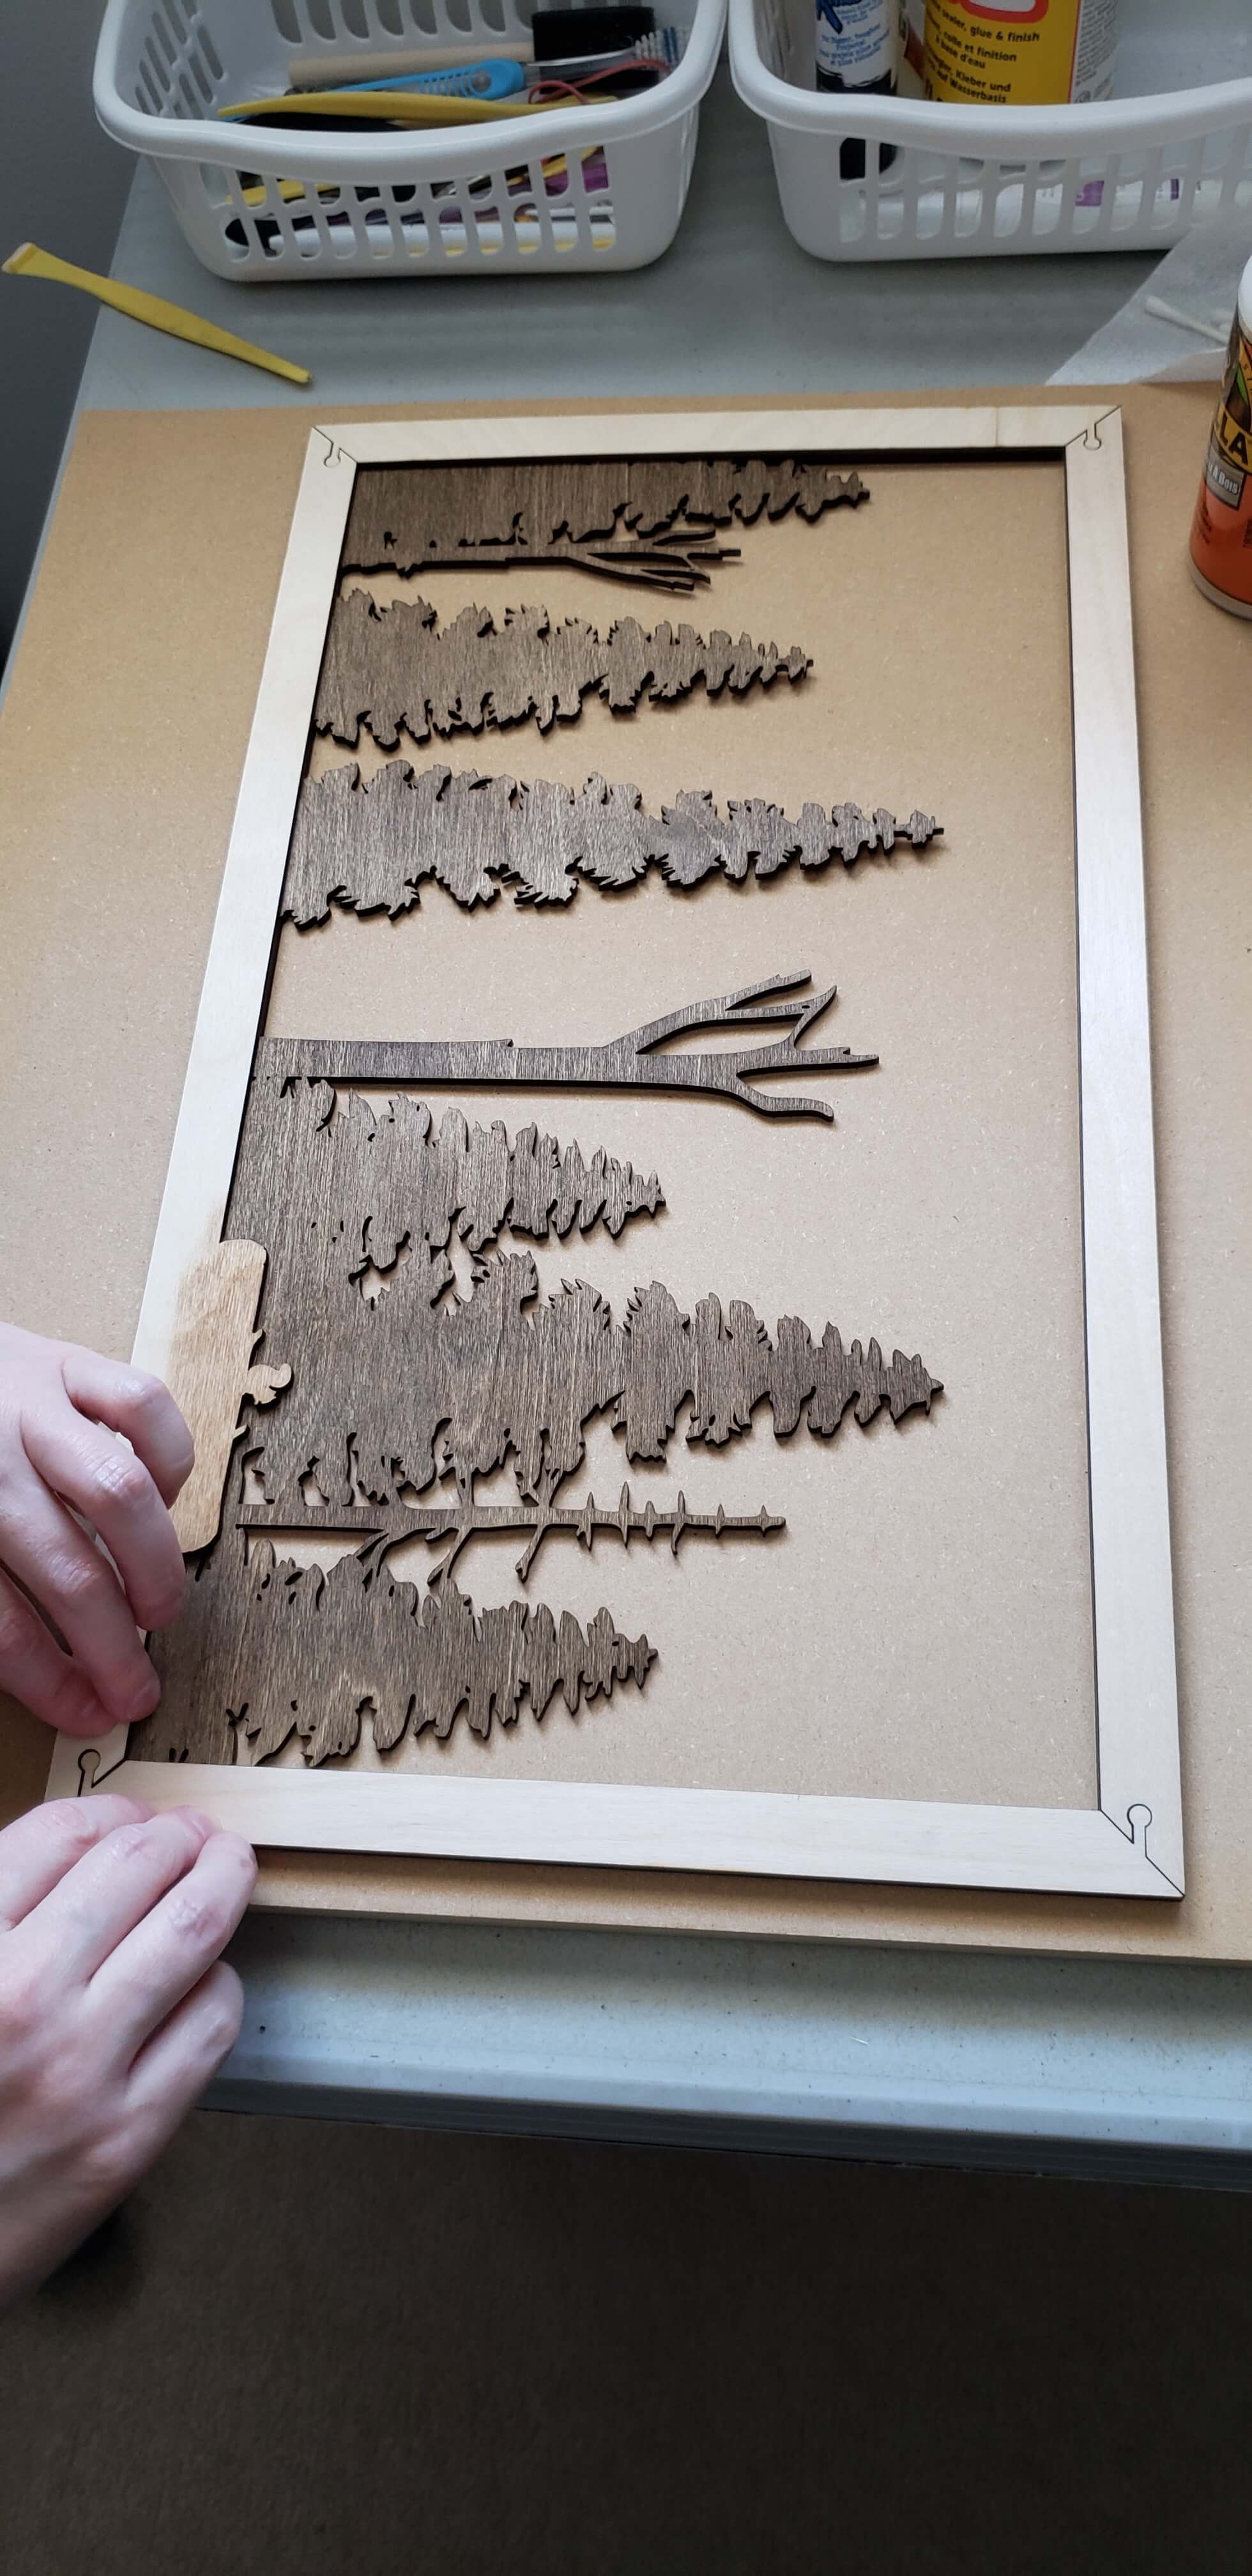
Step 7. Gluing the Layers
Once the stain has dried, we need to start putting this thing together and that means glue. We start with the back layer and work our way to the front. Every second layer is separate pieces. We apply some Gorilla Glue (white) and then spread it / flatten it down before placing each frame piece.

The individual frame pieces were built with key locks cut out so they can hold each other in place, kind of like puzzle pieces do. They still require aligning though, so we have to inspect and adjust both ends of every side to make sure everything lines up well before applying pressure to hold it in place.
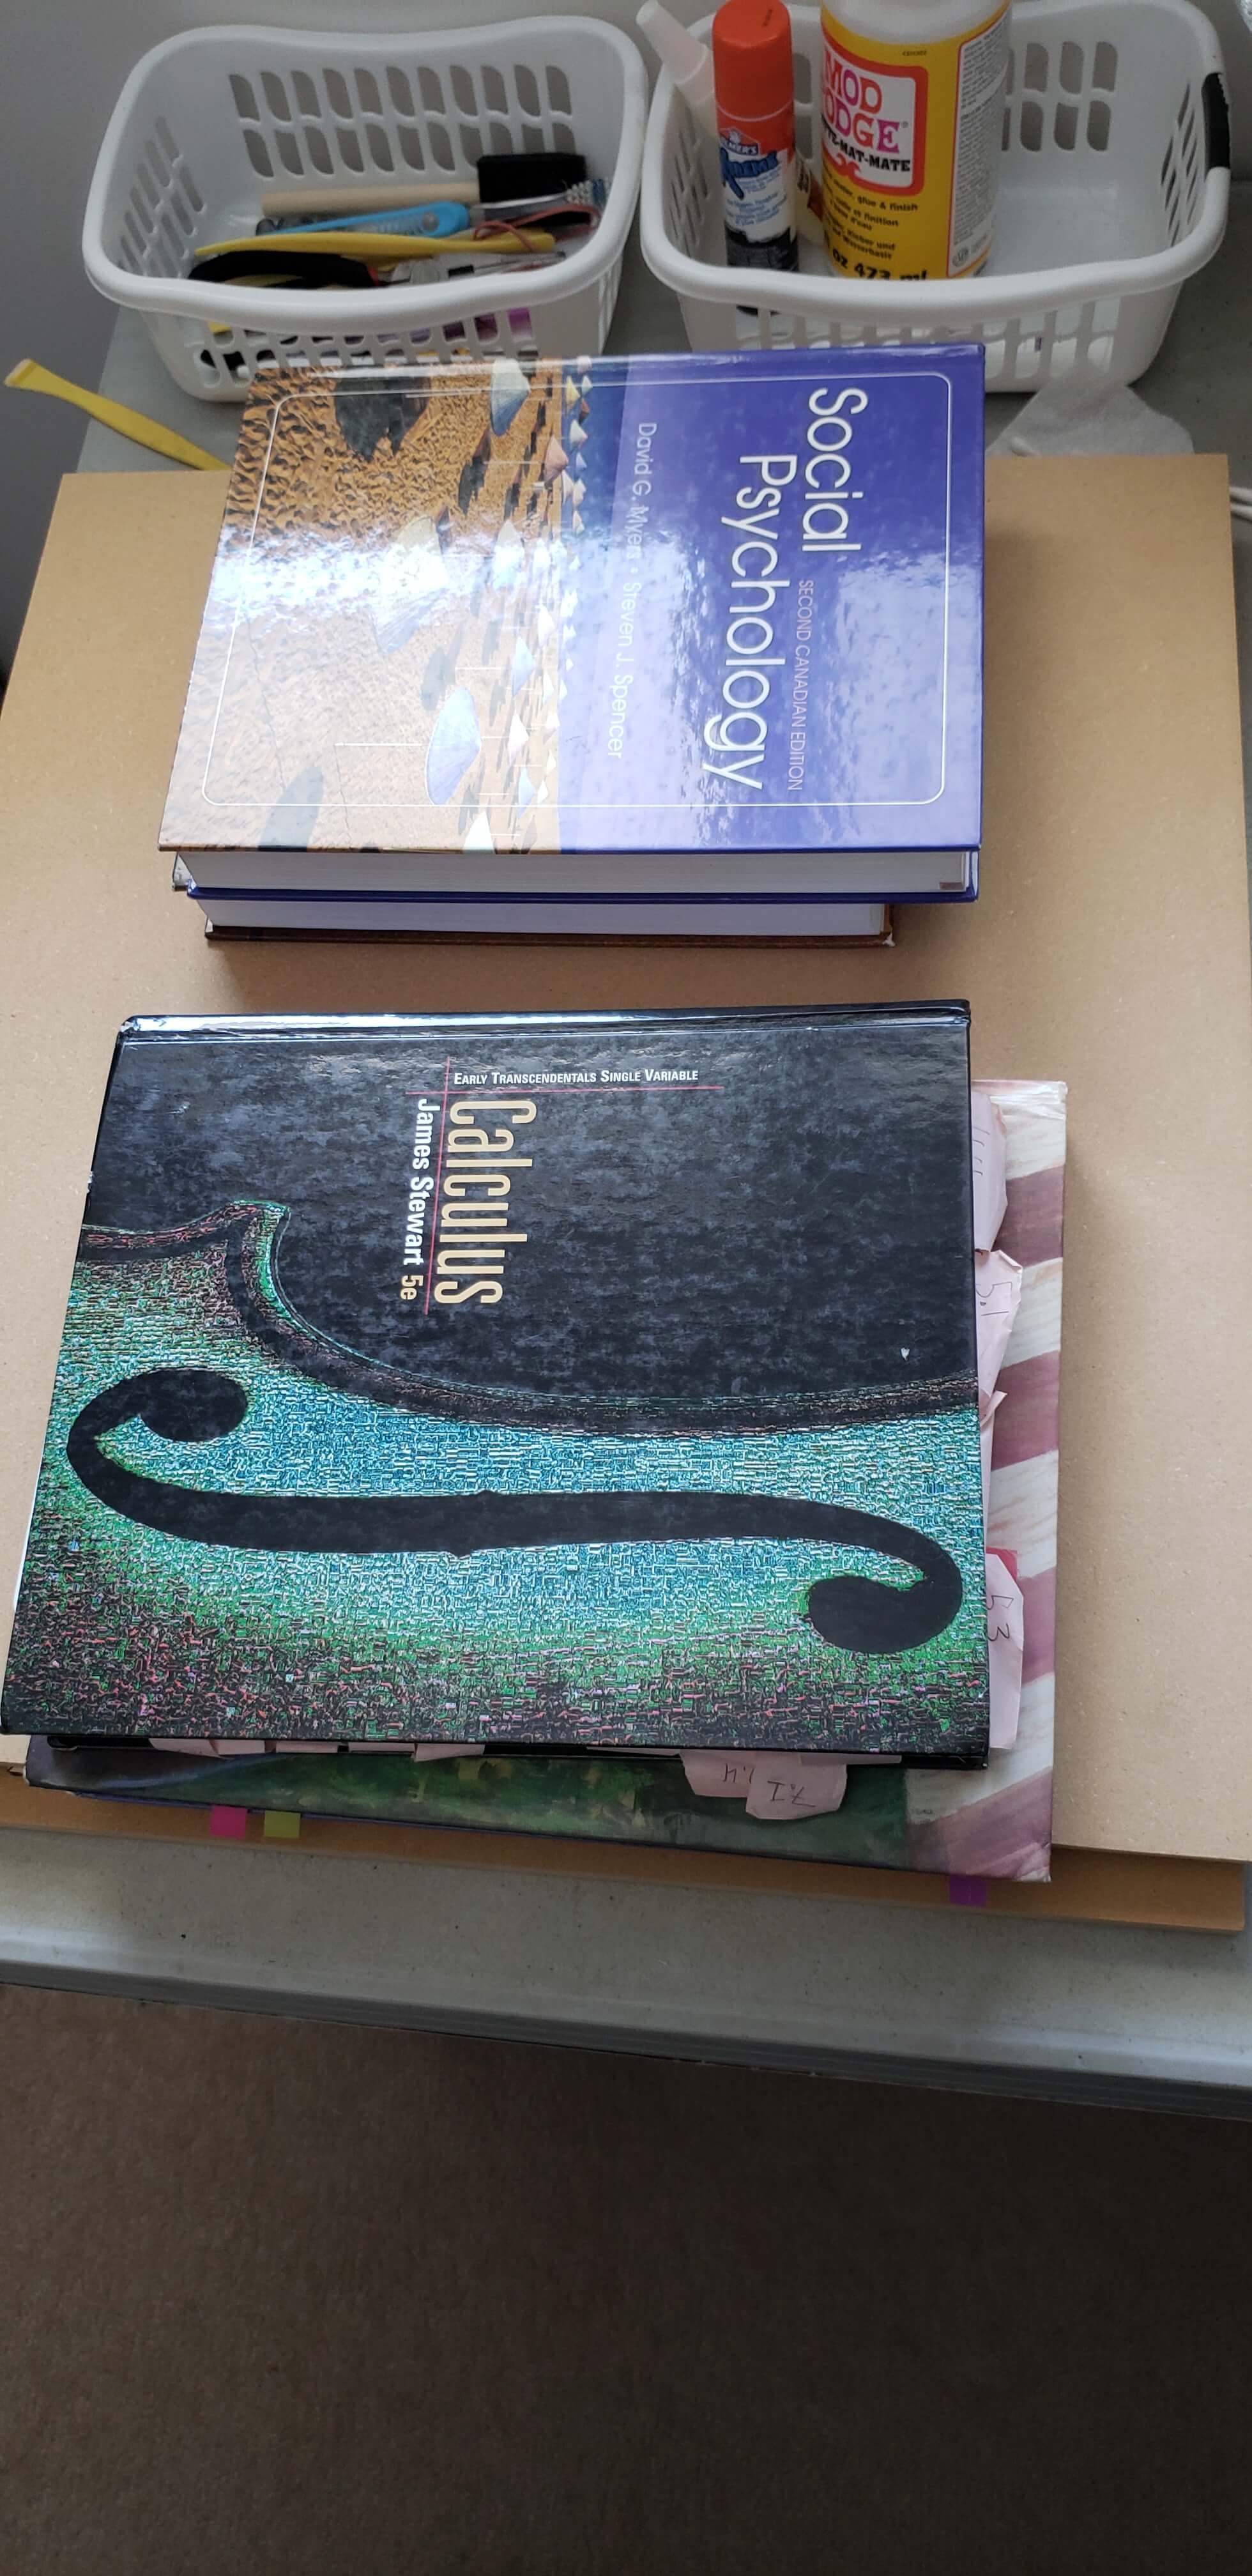
We sandwich the layers together between some thick and heavy MDF and then apply extra weight using some old text books.
We hope everything is lined up well, because there is no going back now! It doesn’t take long for the glue to dry and then we can repeat the process again. As I mentioned before, every second layer is full frame, so we can easily keep every edge lined up. This gluing process can be pretty tedious because there are seven layers and you can’t do them all directly in a row, you have to wait at least 10-15 minutes between each one, but we usually do it while cutting out other pieces so we can pass the time more efficiently.
Step 8. Finishing Touches
Once all the layers are glued we just need to apply the sawtooth hangers to the back so we can hang the piece. We’ve actually cut out a custom measuring stick to draw points in the exact spots we are supposed to place the nails on this piece. The joys of having a laser cutter!
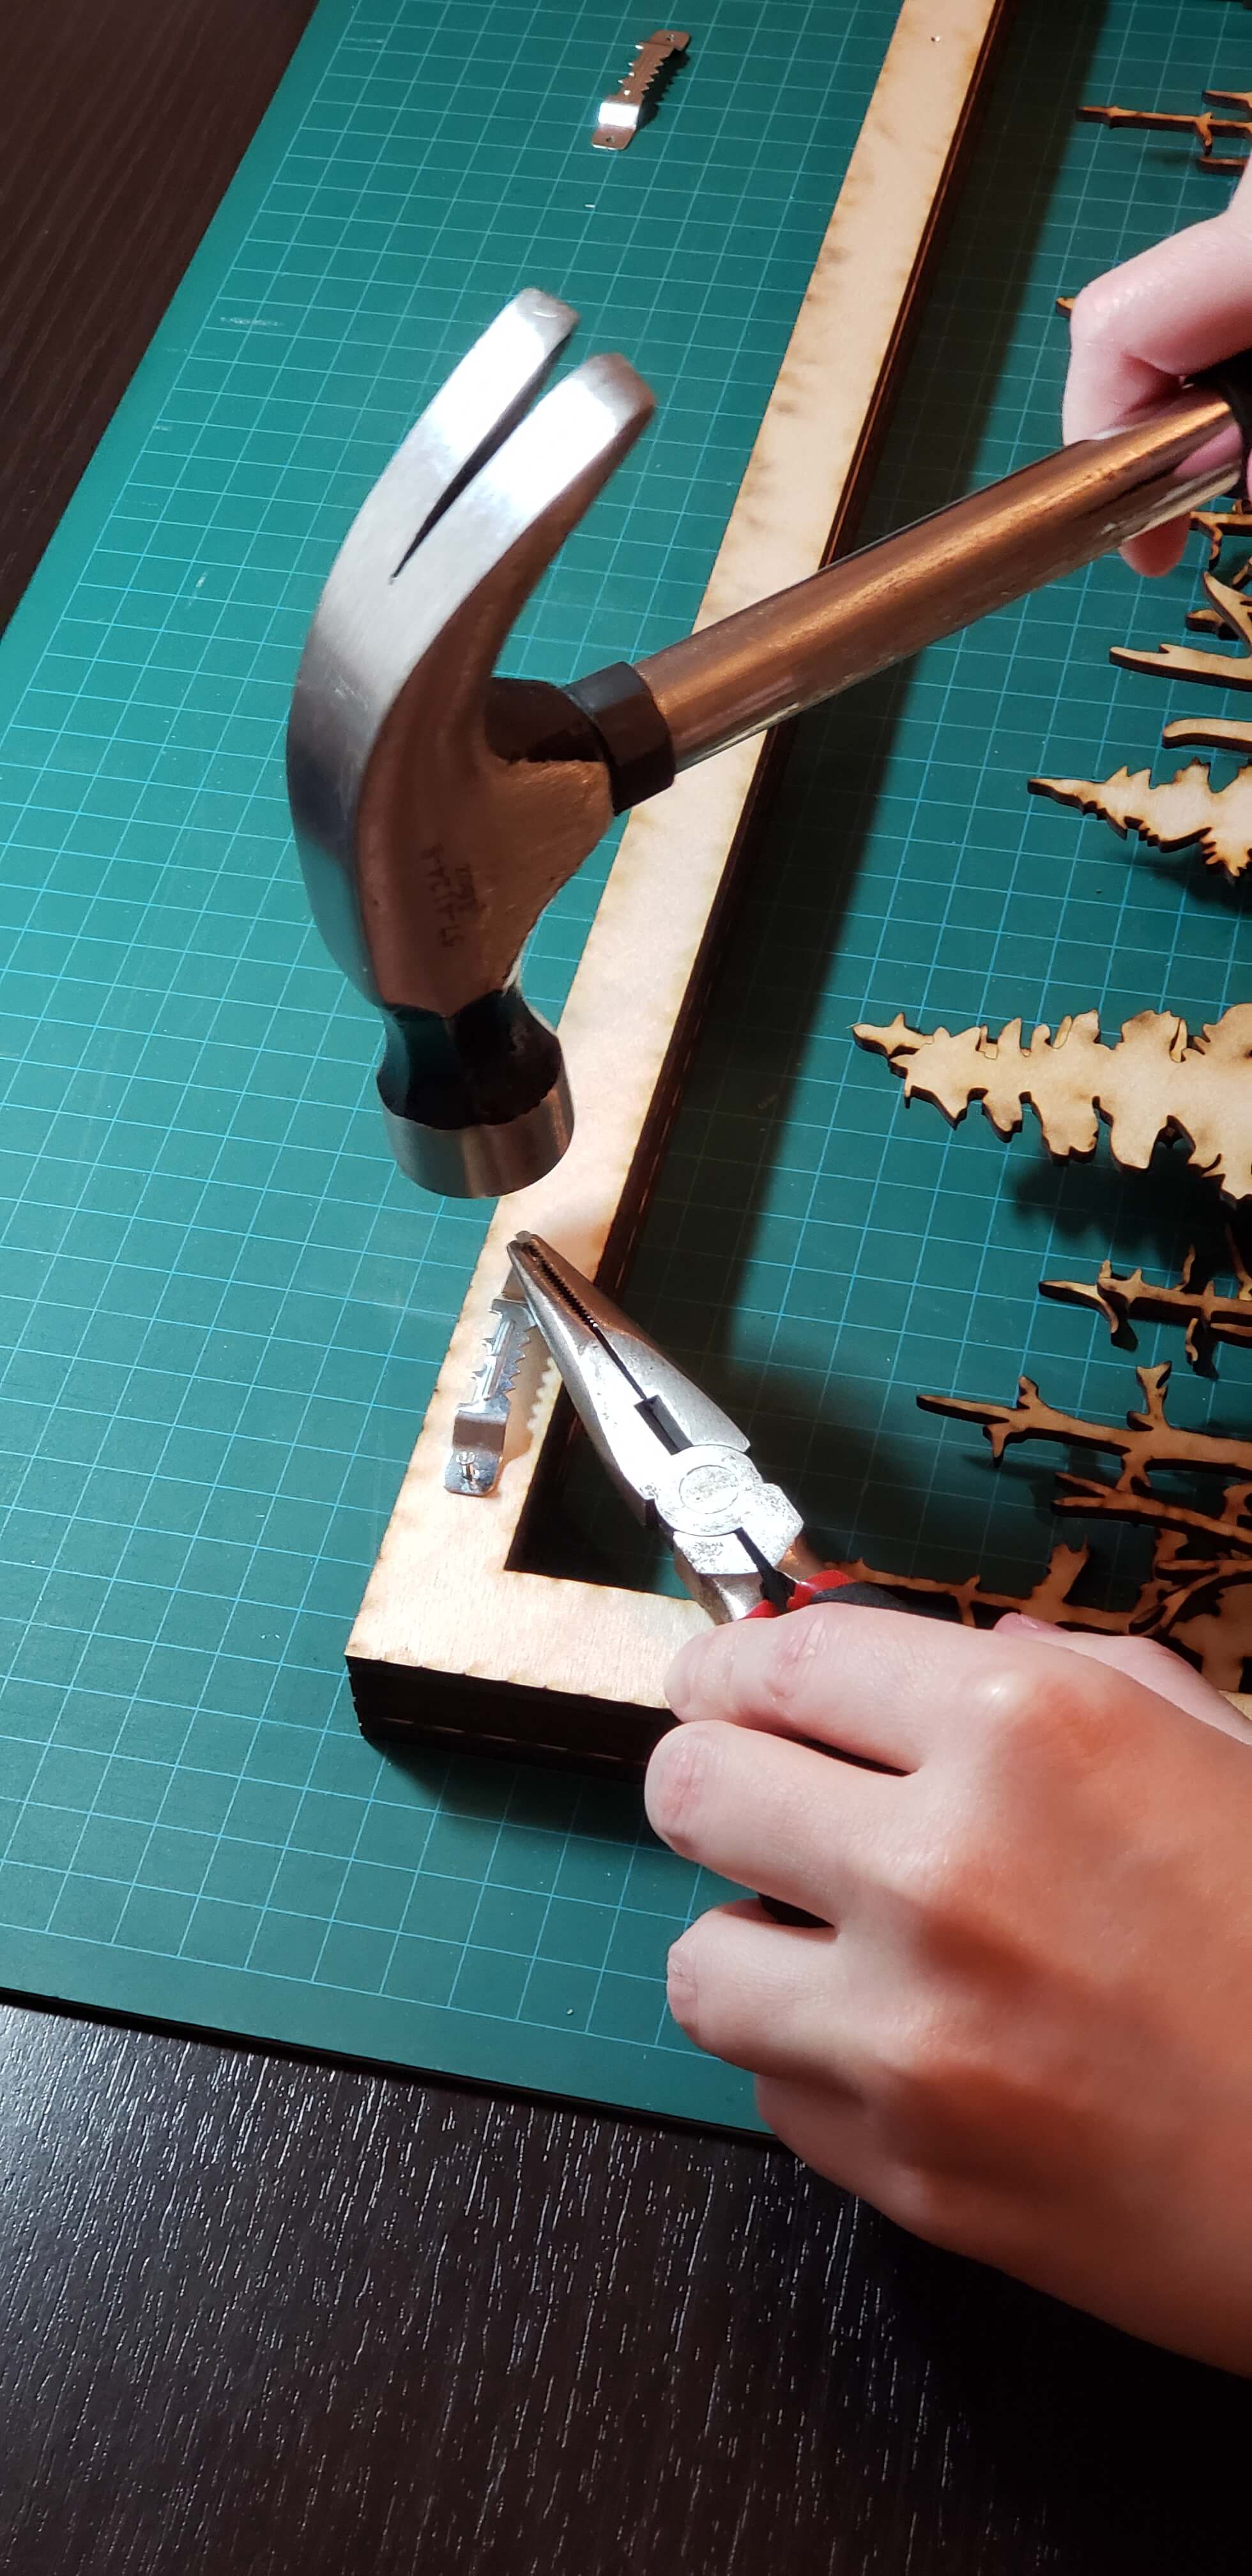
Holding such small nails is hard, so we use pliers to get it started. Was this lesson painfully acquired? Perhaps.
One step I did not show above, but is technically a finishing touch, is applying our branding to the back of the bottom layer of any piece we do.
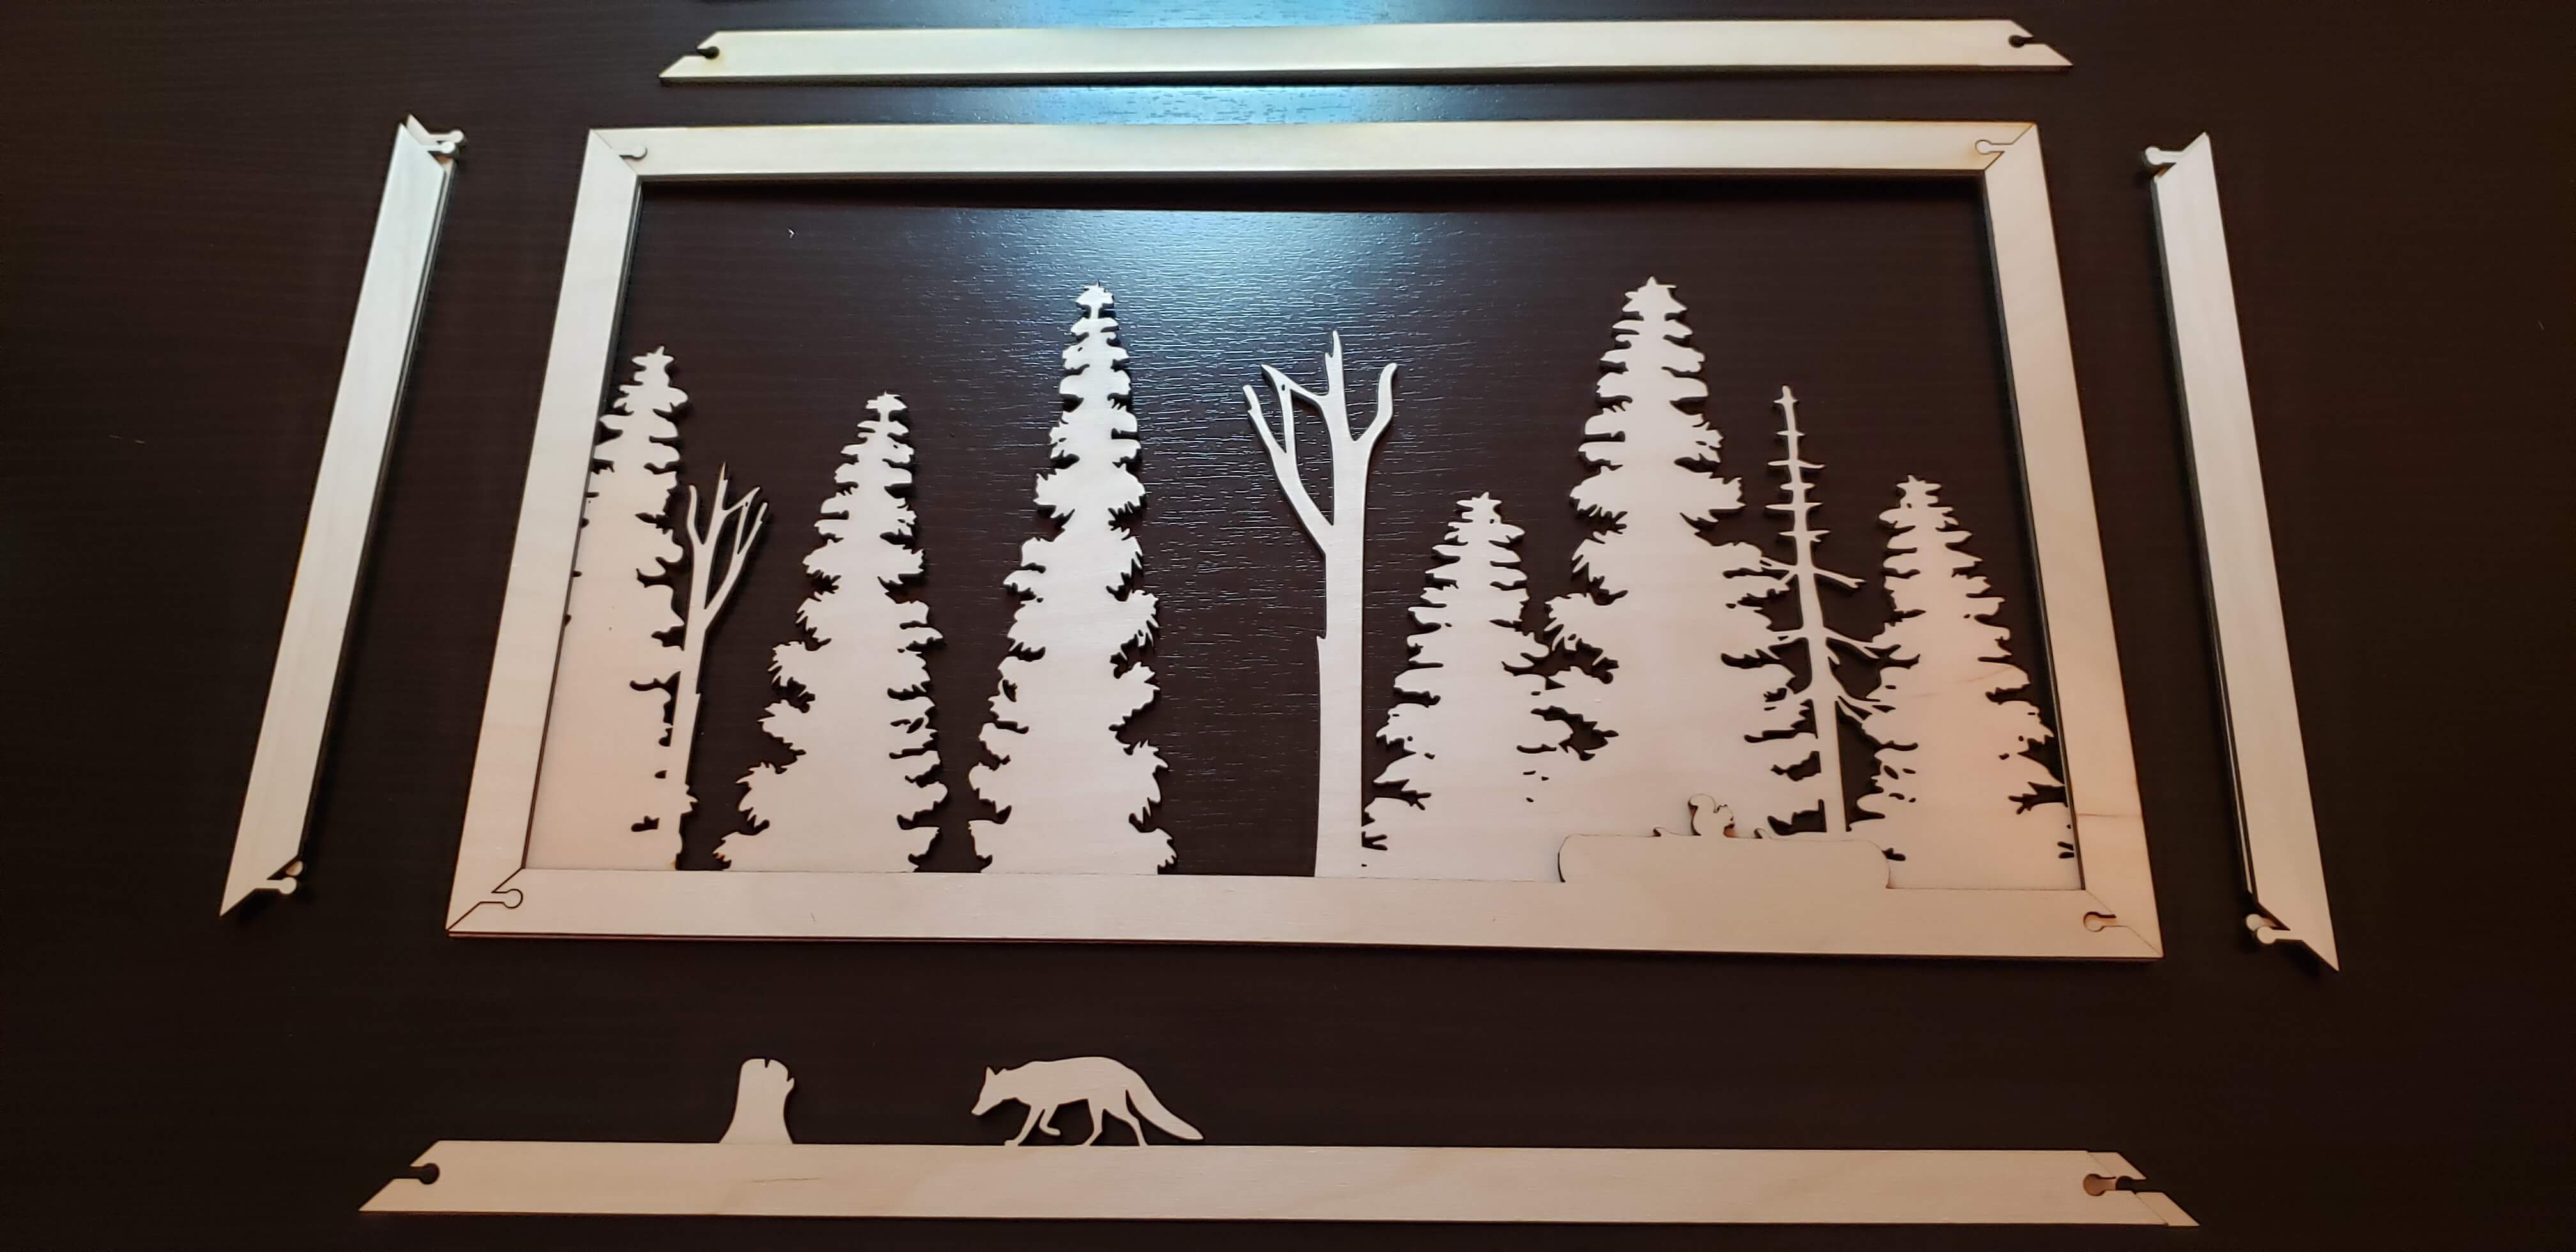
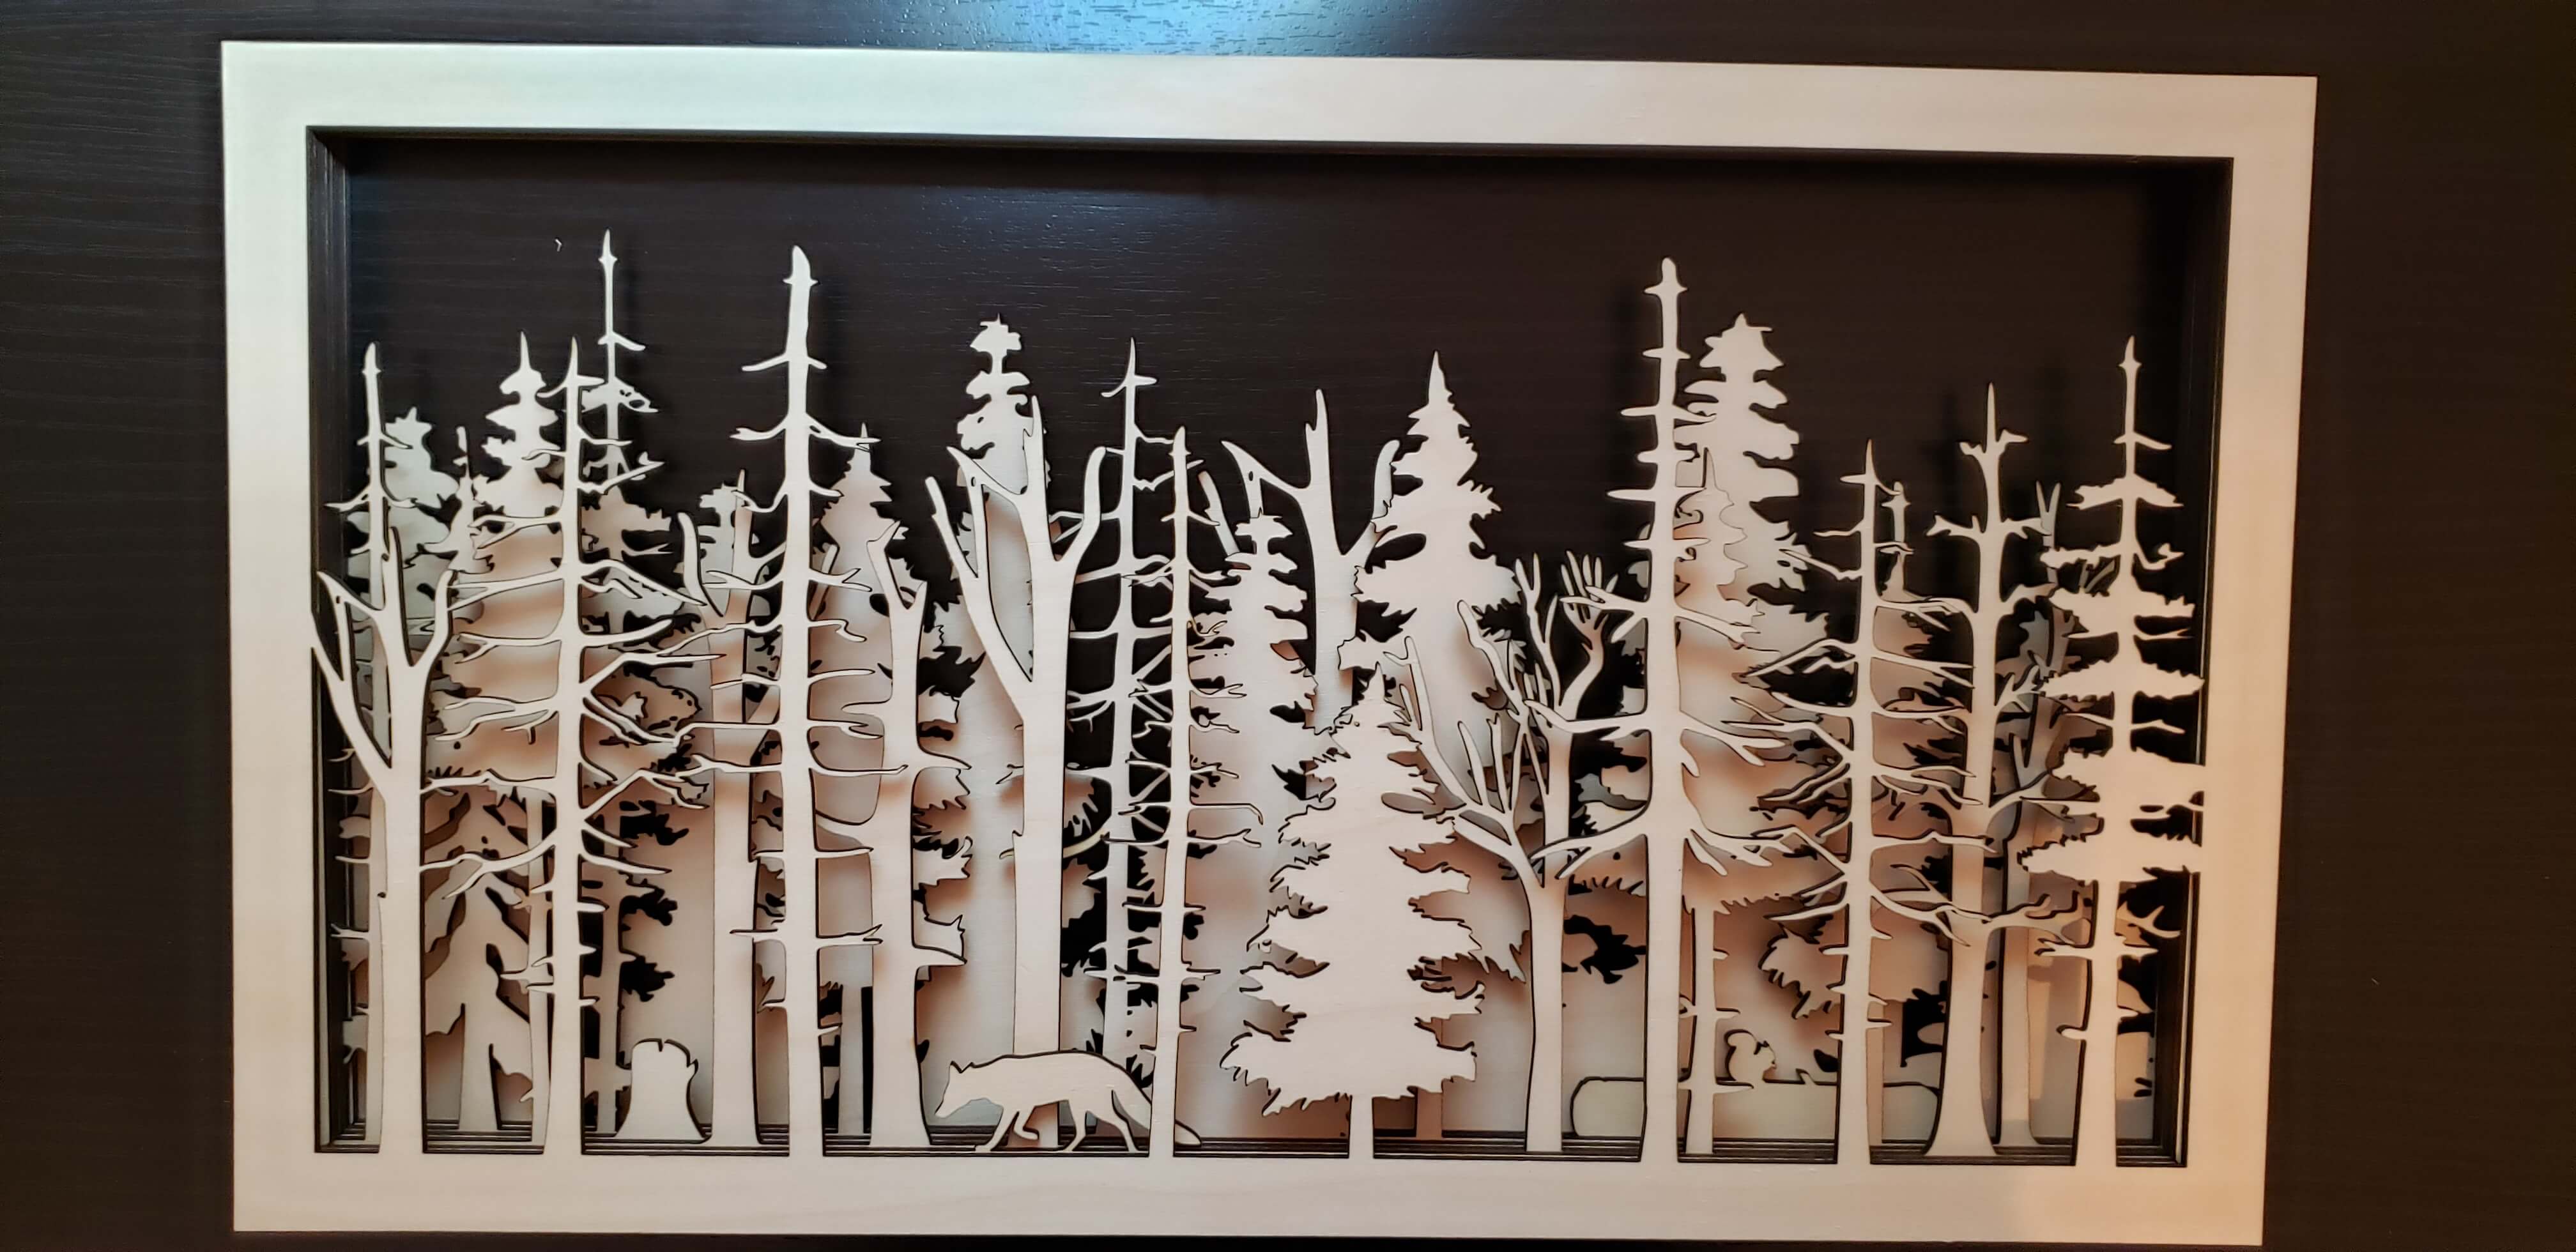
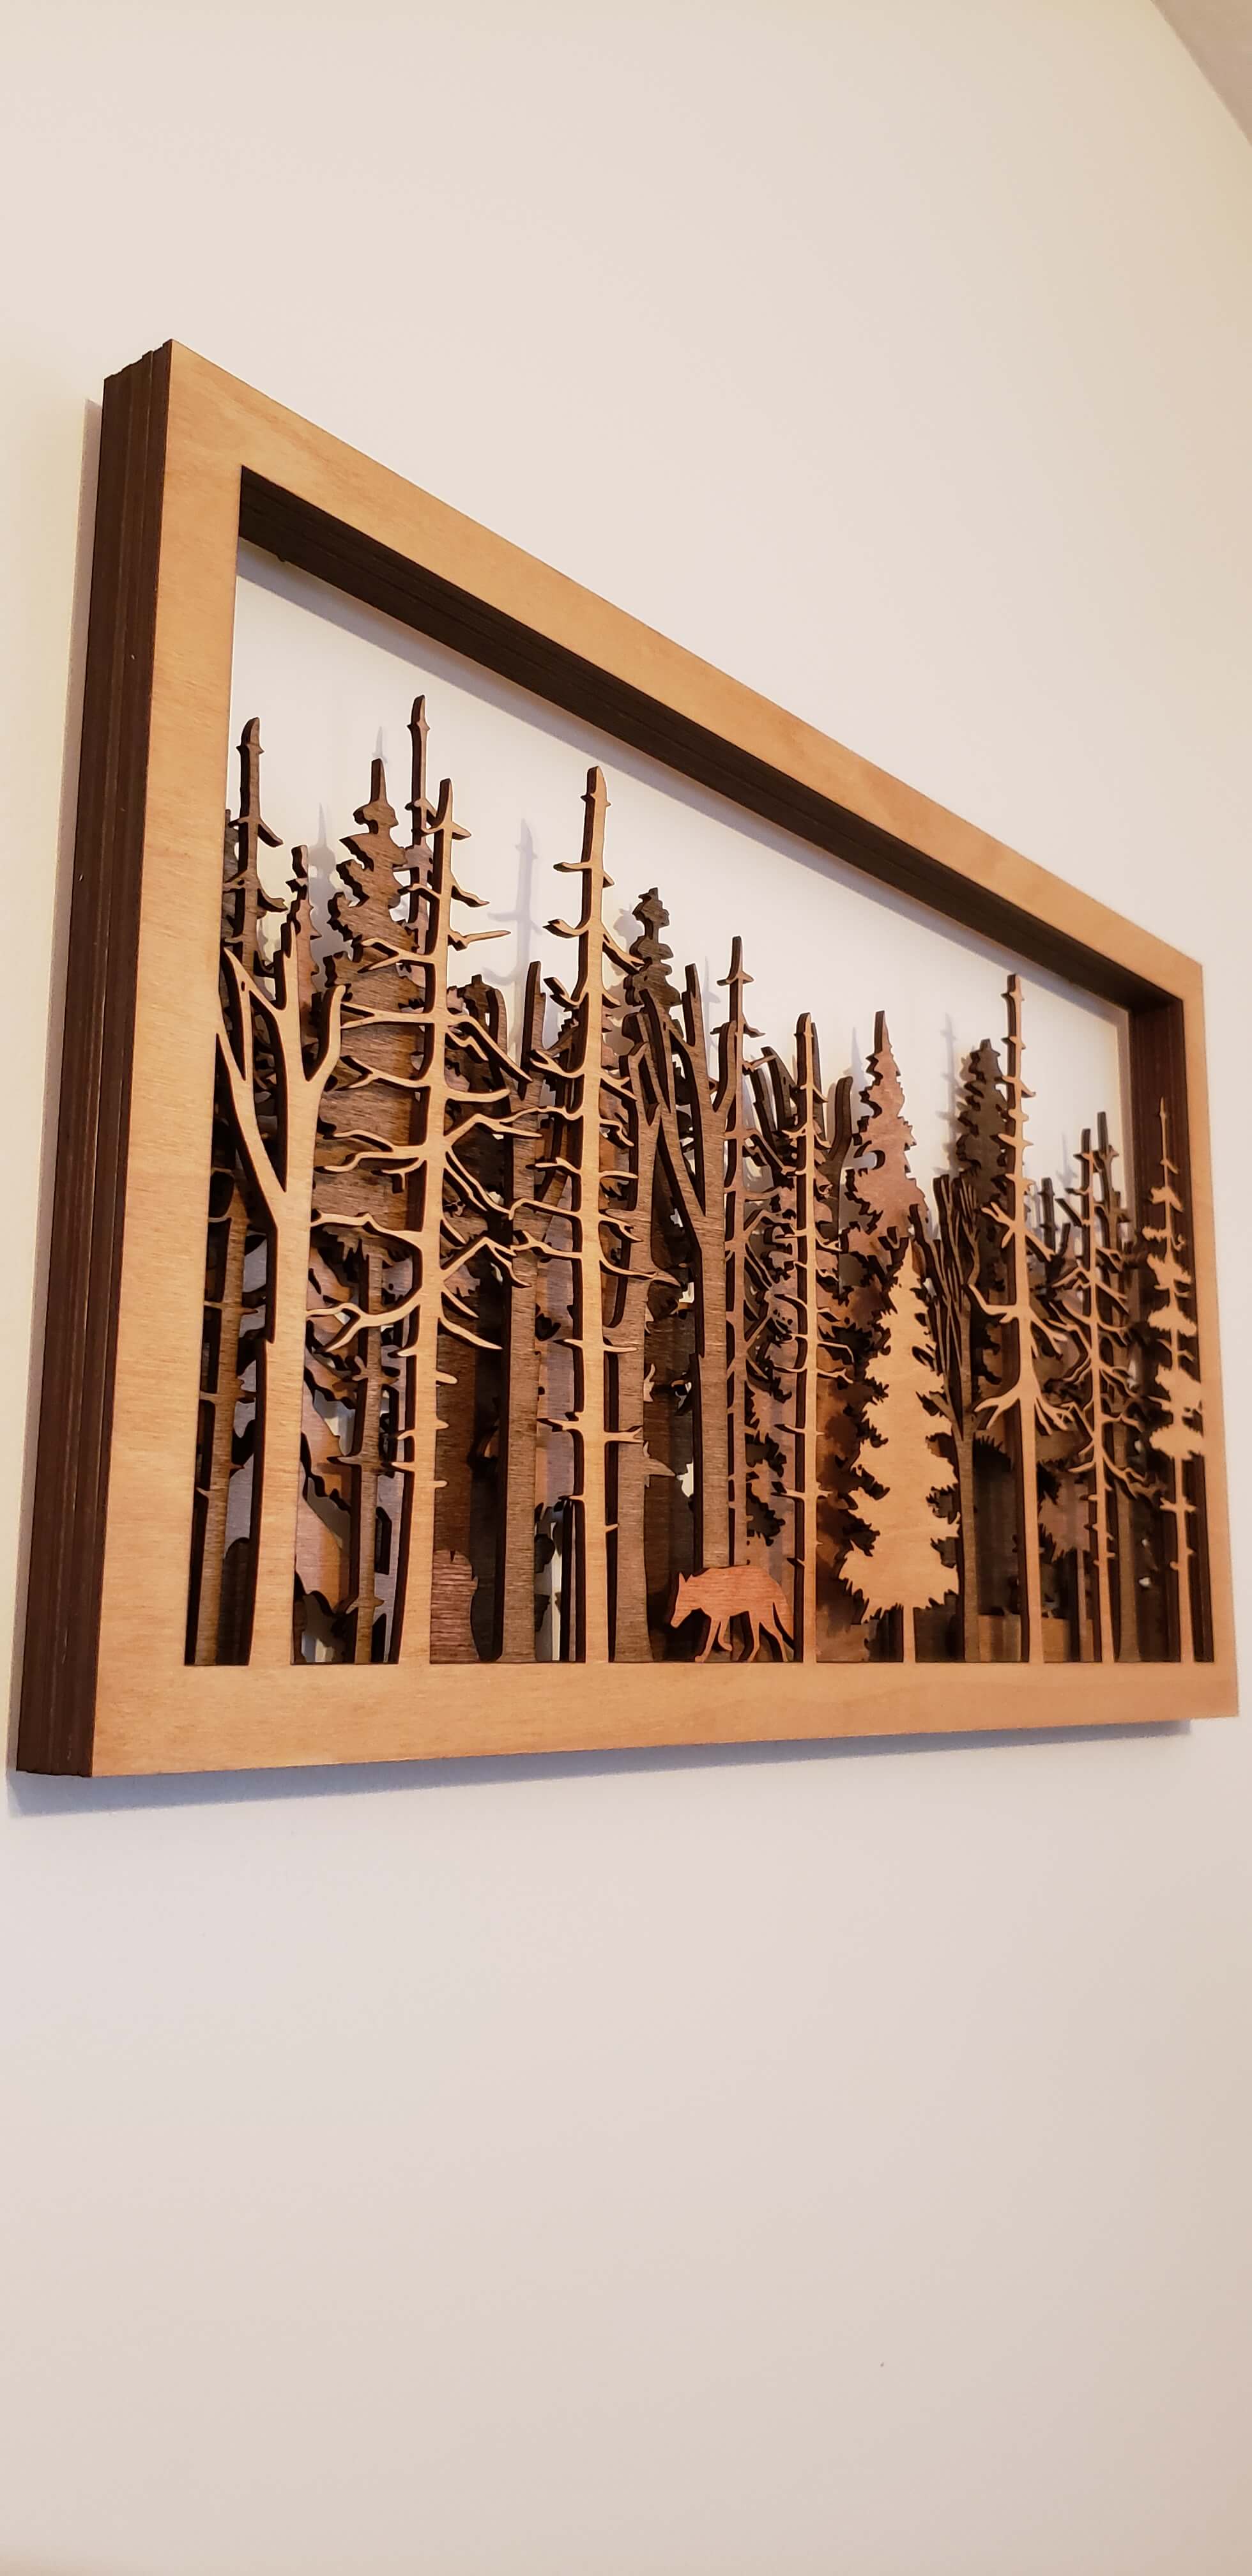
The Completed Piece
After all that work is done, which takes place over the course of several days, we’ve got our completed Wide Woods!
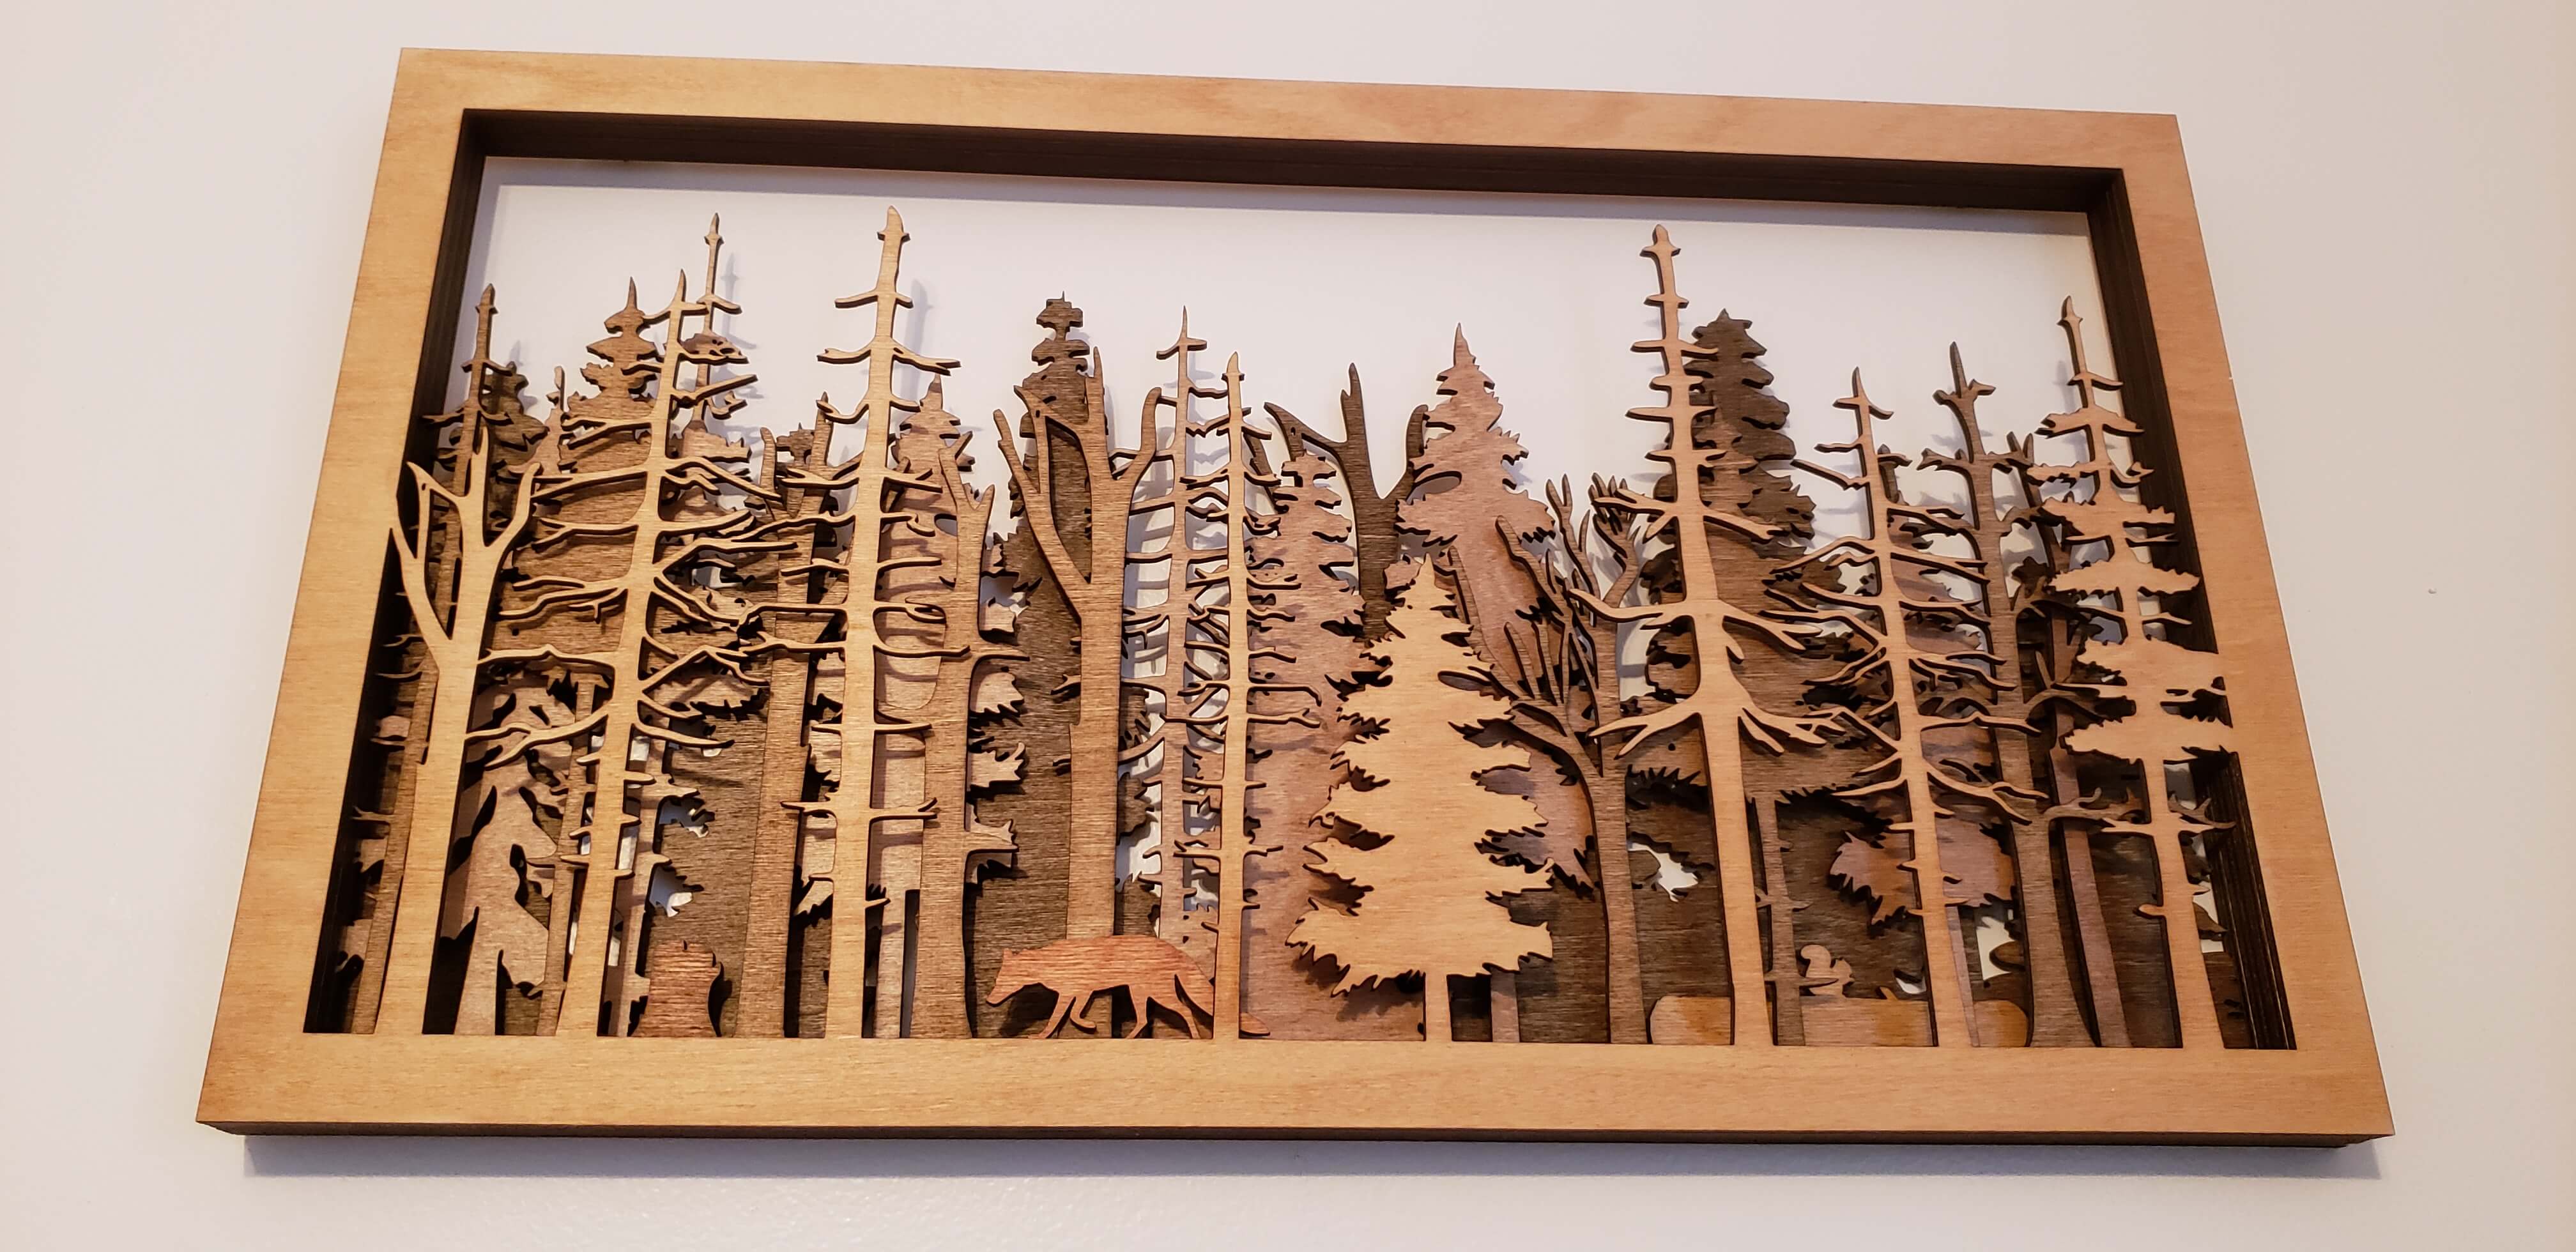
I wish we had better lighting when I took these pictures, but we were rushed at night and had to package it up and ship it out!
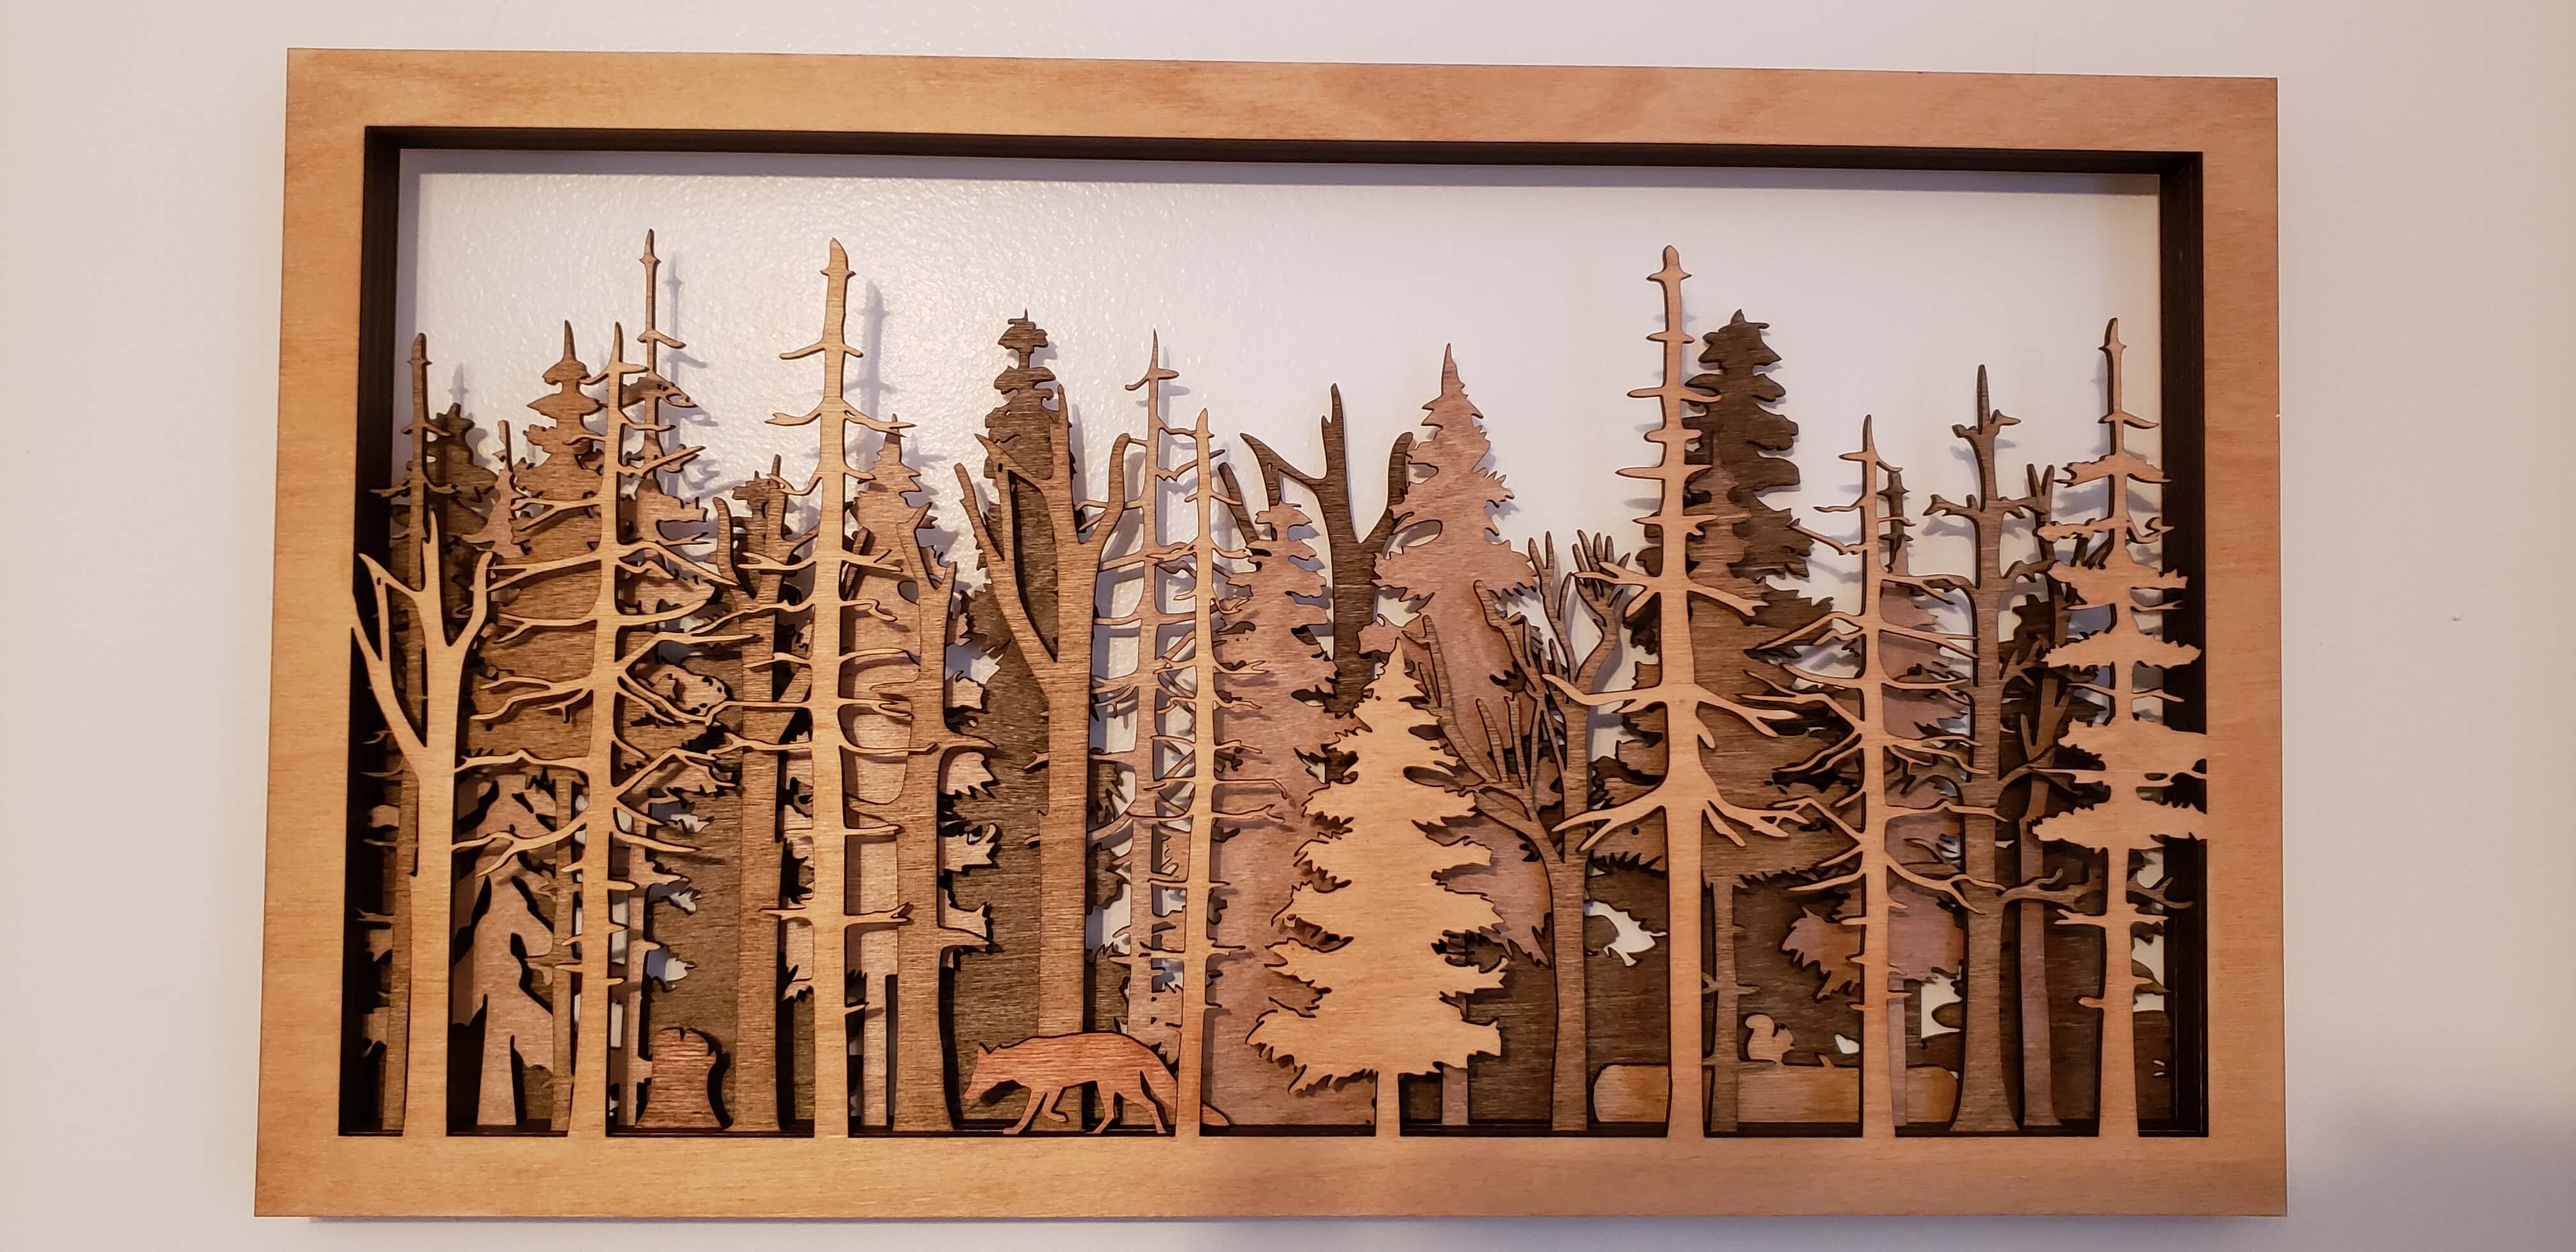
Every piece we do comes out a little different due to the grain of the wood and how it absorbs the different stains. Here is an older piece we did to compare:
So that’s that! If you’d like to own your own piece of The Wide Woods, you can find it on our Etsy shop here!